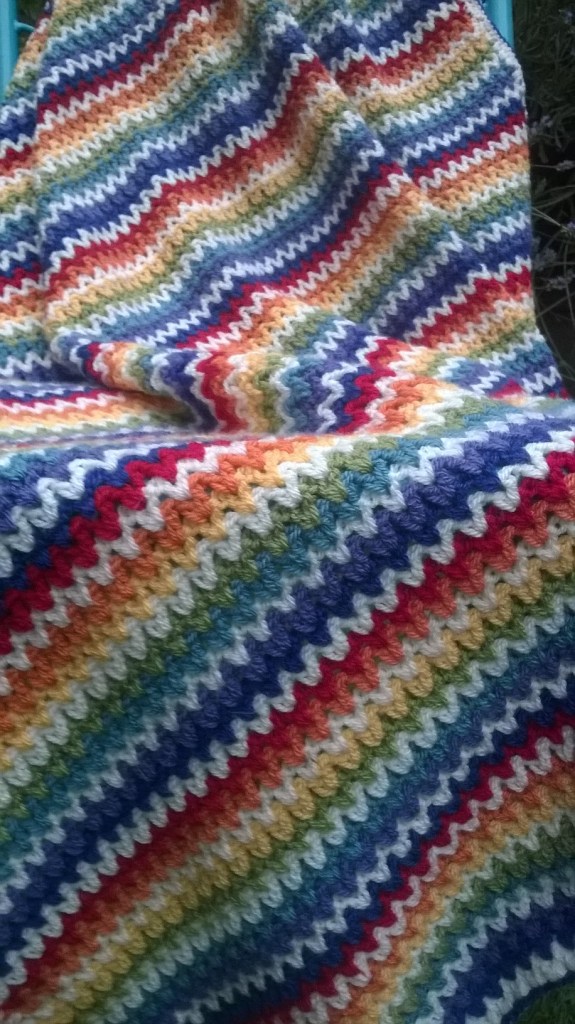
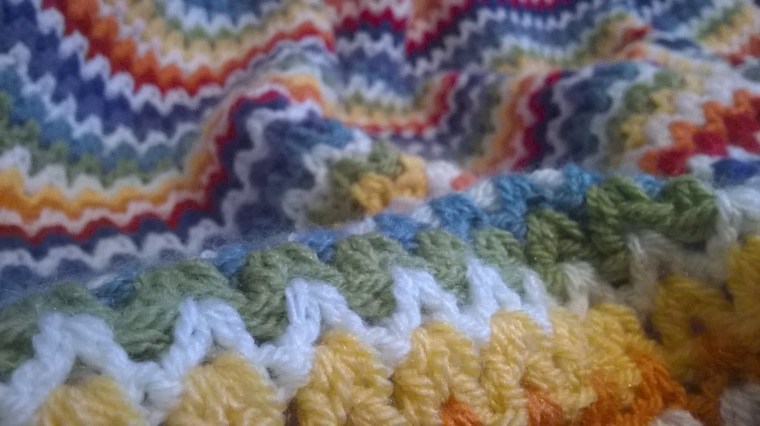
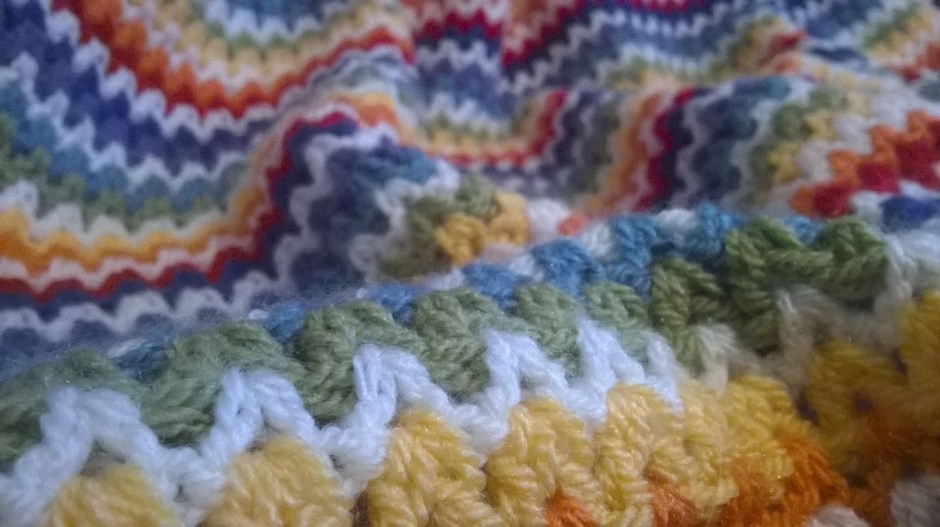
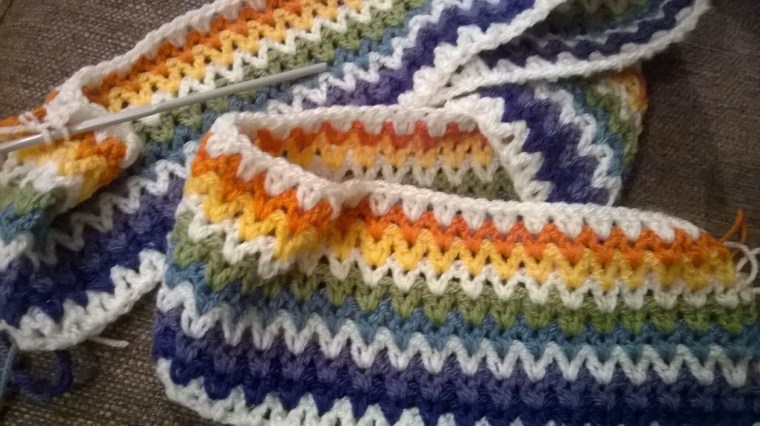
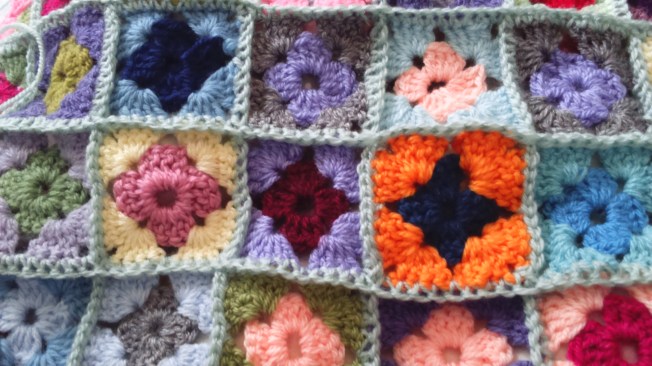
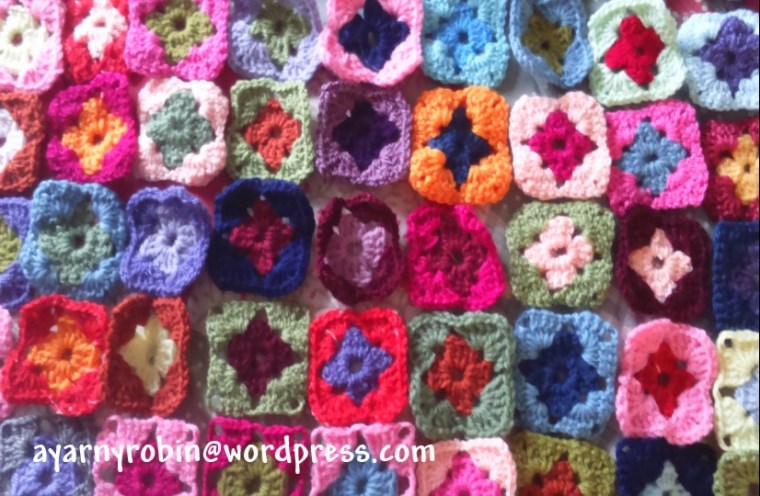
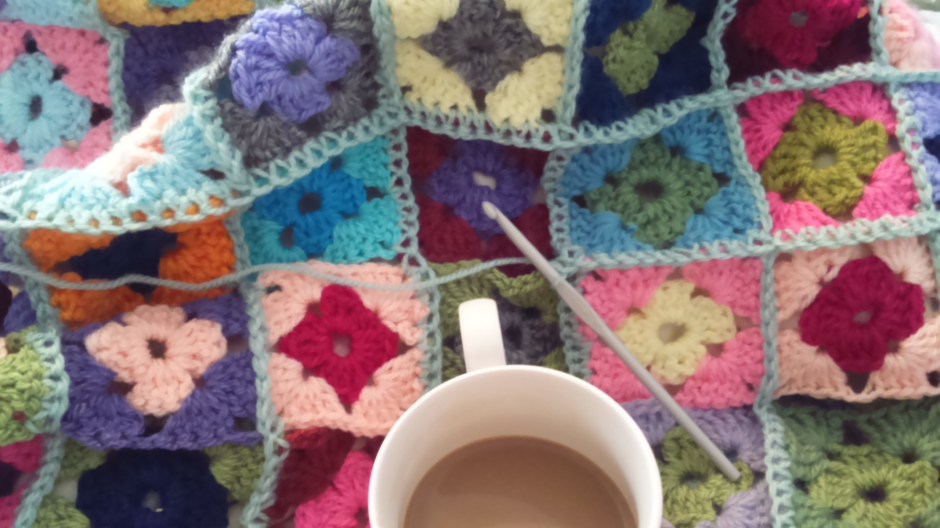
Thank you for your lovely comments about my latest blanket off the hook…the ‘Very V’ blanket.
It really is very simple to hook, so I thought I would put together a little tutorial, as I have not done one for a while and because I have some rare time off on my own. The tutorial can be found below. You can also check out my latest free pattern The Angelece baby blanket by clicking on this link.
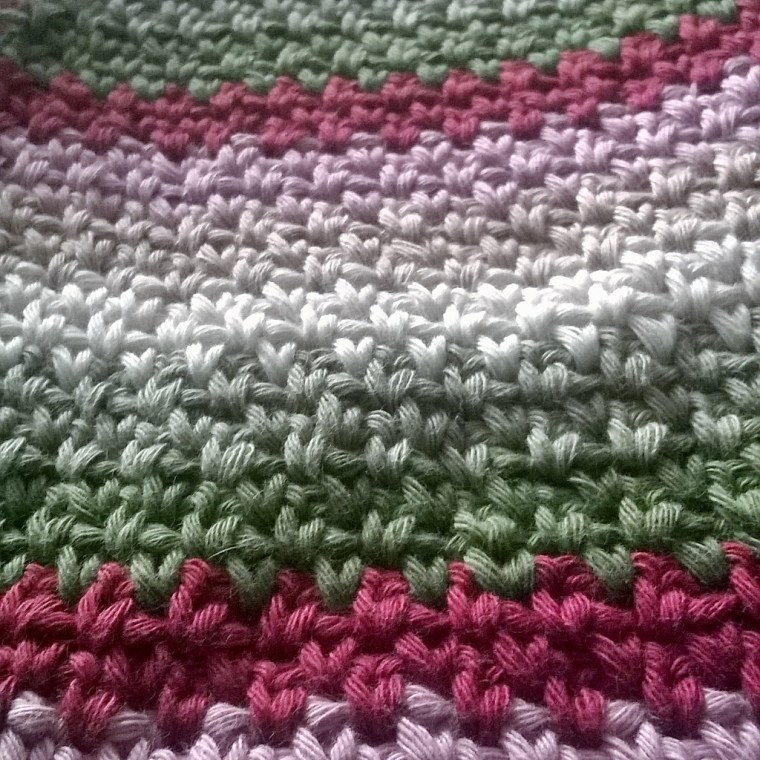
 So, clearly this is not an original pattern. I say that from the offset because of copyright and all of that. Let’s be honest…the humble ‘v stitch’ has been around for years. But this is my tutorial in case you want to have a crack for yourself and you have never done a ‘v stitch’ and you are a visual kinda gal or guy.
Processing…
Success! You're on the list.
Whoops! There was an error and we couldn't process your subscription. Please reload the page and try again.
Here we go!
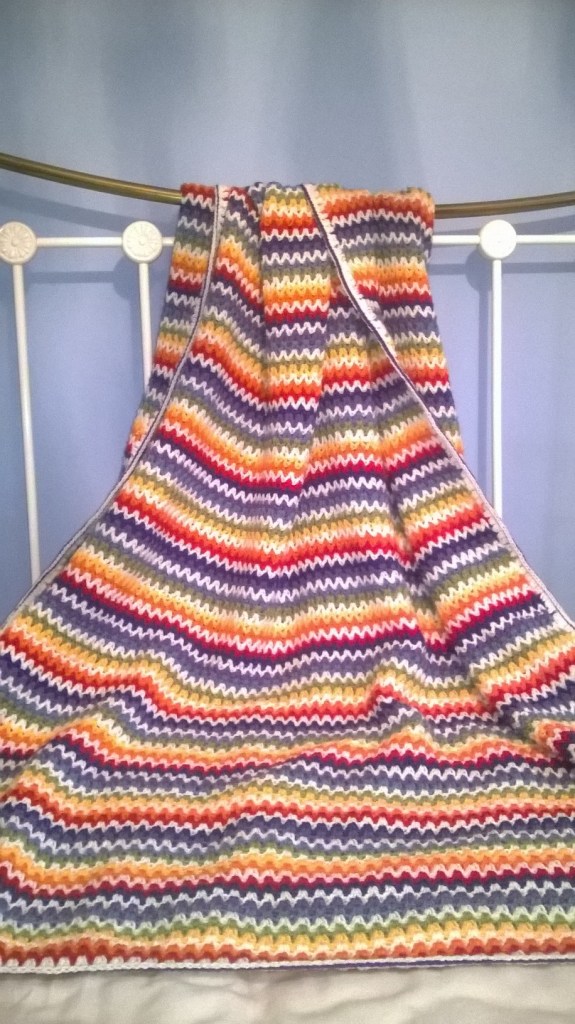
Final measurements: 132cms x 120cms / 52″ x47″
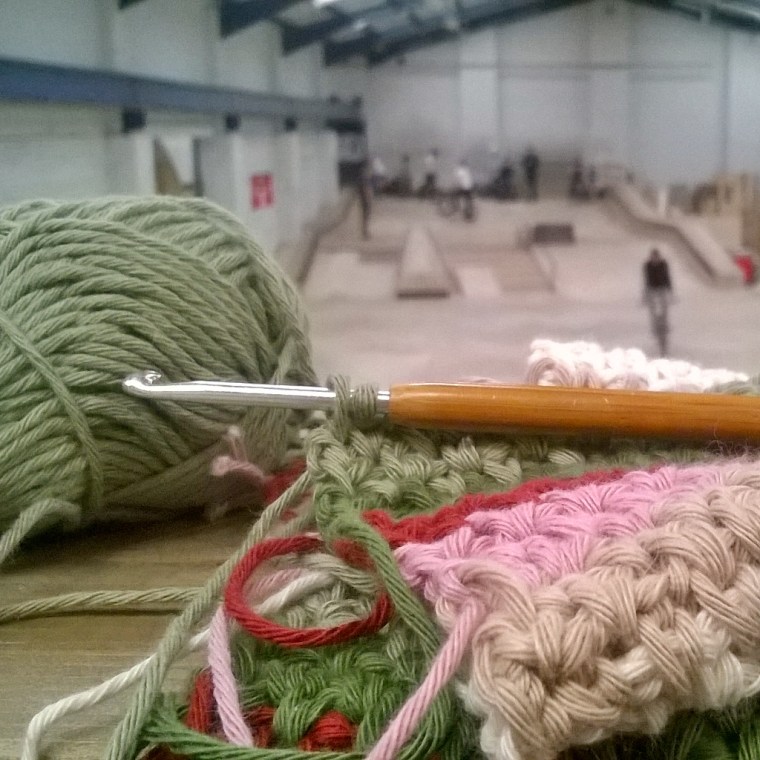
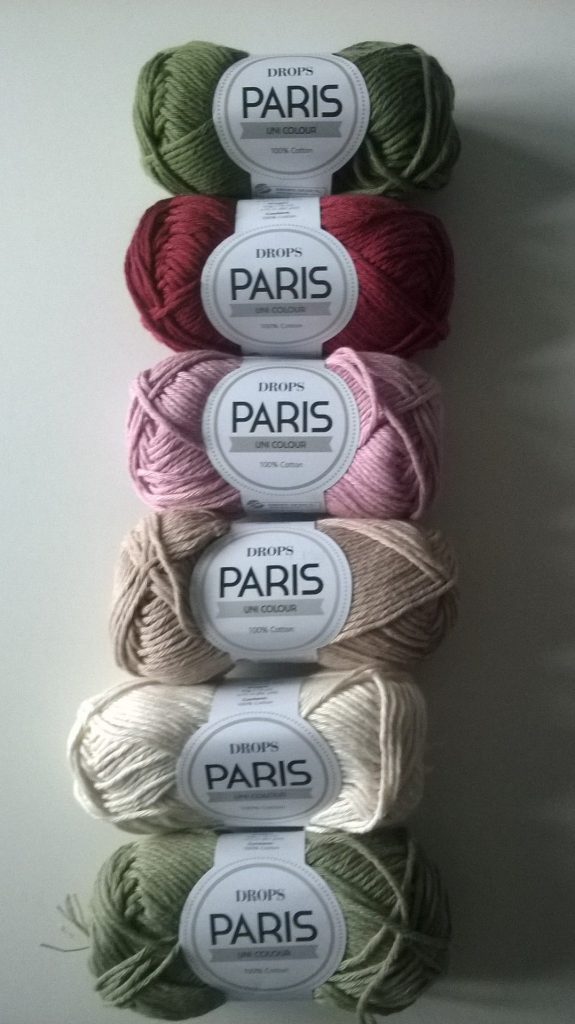
I used Stylecraft special dk , for it’s durability, softness and price! The colorway I used:
Lipstick x 1 ball
Meadow x1 ball
Saffron x 1 ball
Violet x 1 ball
Spice x 1 ball
Lobelia x 1 ball
Storm blue x 1 ball
Cream x 3 balls
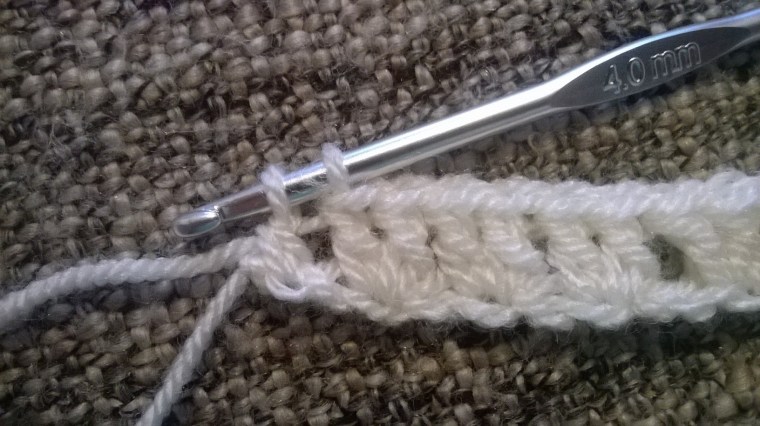
You will also need a 4mm hook and a darning needle to weave in those ends!
Of course if you are using different yarn then you may need to use the recommended hook size for your chosen yarn; and of course you can alter the finished size by hooking more or less chains to start.
Your hooking tension (we are all different) may also mean you need more or less chains to start with.
Lets start, are you ready?
Abbreviations used are below and are English terminology.
Ch = chain stitch
Chs = chains
Tr = treble stitch (double crochet in US terminology!)
St = stitch
Slst = slip stitch
Sp = space
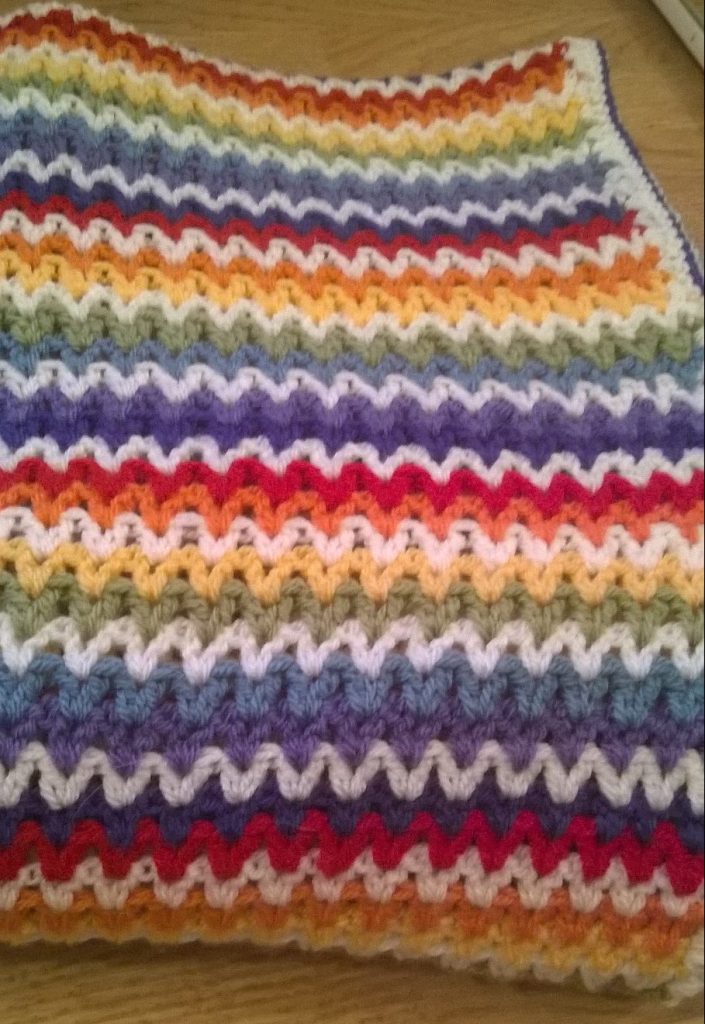
Pattern order I used:
Row 1: Cream
Row 2: Lobelia
Row 3: Violet
Row 4: Cream
Row 5: Storm blue
Row 6: Meadow
Row 7: Cream
Row 8: Saffron
Row 9: Spice
Row 10: Cream
Row 11: Lipstick
Row 12: Indigo
Row 13: Cream
Row 14: Violet
Row 15: Storm blue
Row 16: Cream
Row 17: Meadow
Row 18: Saffron
Row 19: Cream
Row 20: Spice
Row 21: Lipstick
Row 22: Cream
NB/ the first and last row form the edging for the top and bottom of the blanket so use the colour you wish to edge the blanket in, for row 1.
Chain 175 in cream
(This gave me about a 1m 15cm /42″ length of Ch. But any odd number of Chs will work to suit the size blanket you are wishing to hook!).
2tr in 5th ch from hook,
 miss a ch, 2tr in next ch
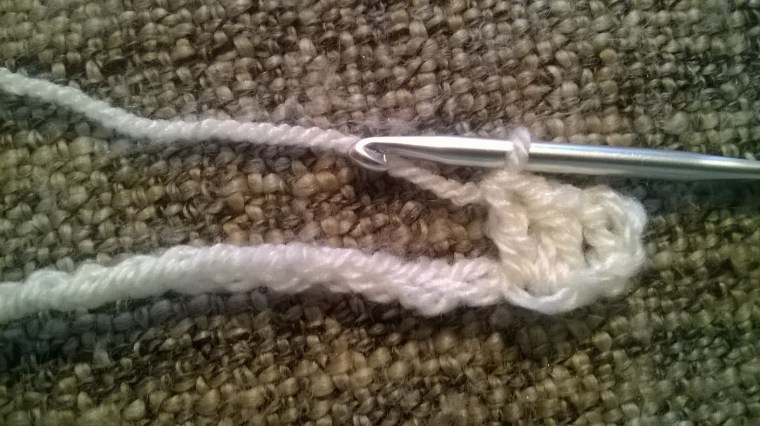
miss a ch, 2tr in next ch

*miss a ch, 2tr in next ch*
Repeat * – * across the row.
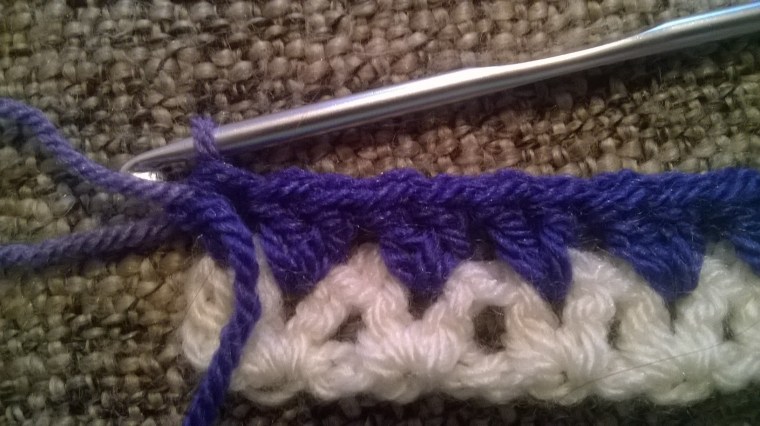
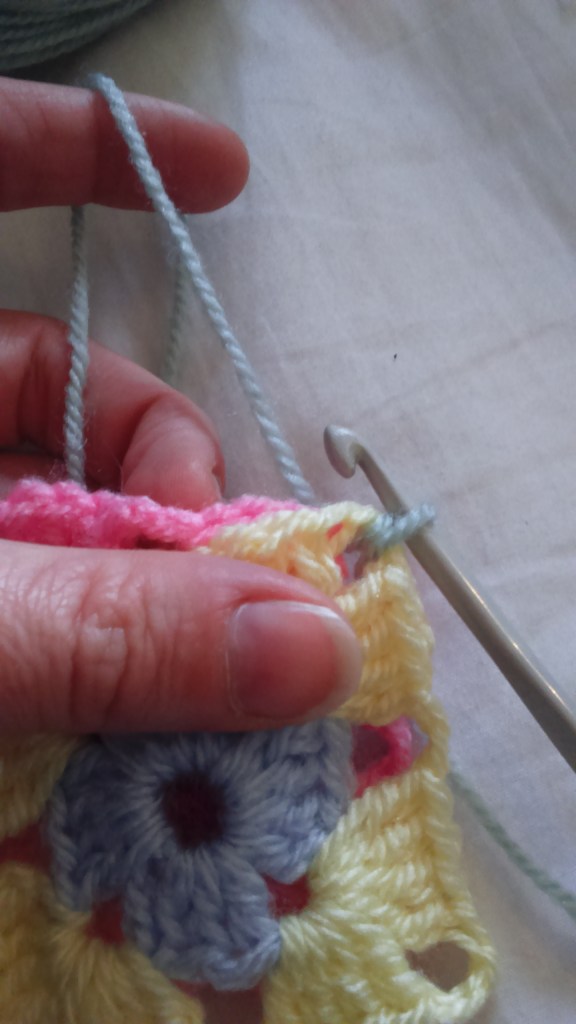
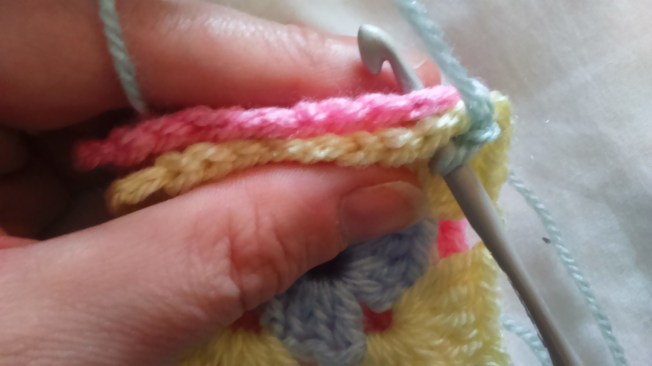
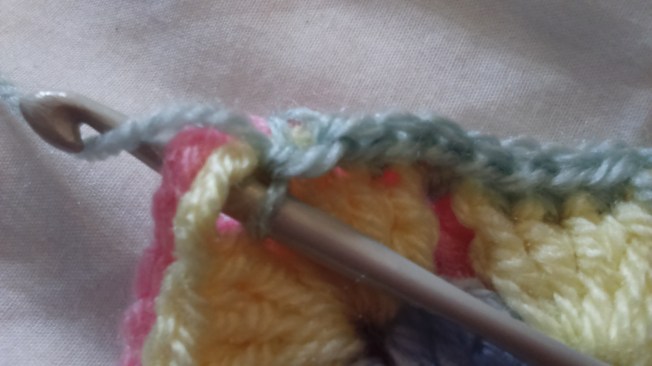
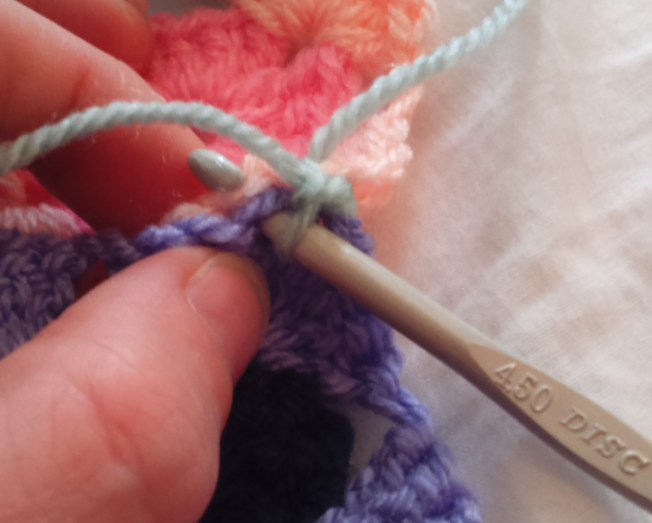
Finishing with 1tr in last ch. Change colour. As shown below, I change colour by completing half of the process for the last tr (ie/ leave two loops on the hook). Complete last part of tr in new colour as shown.
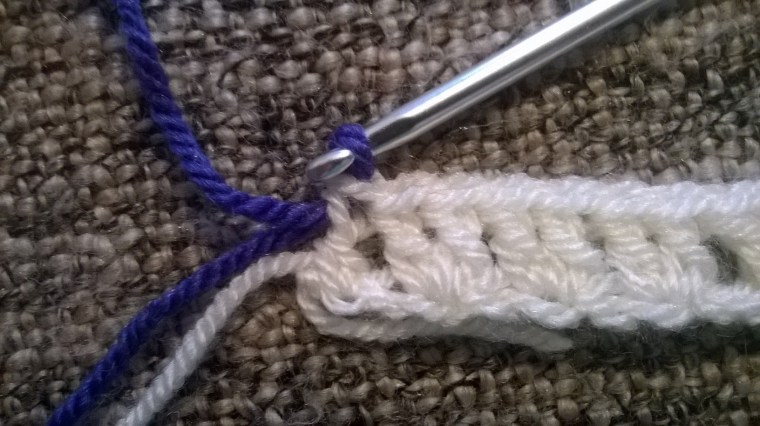 I find this makes colour changes more secure. These ends should be tied to secure further. Top tip! leave the ends long (approx. 10cms) so that weaving in is easier.
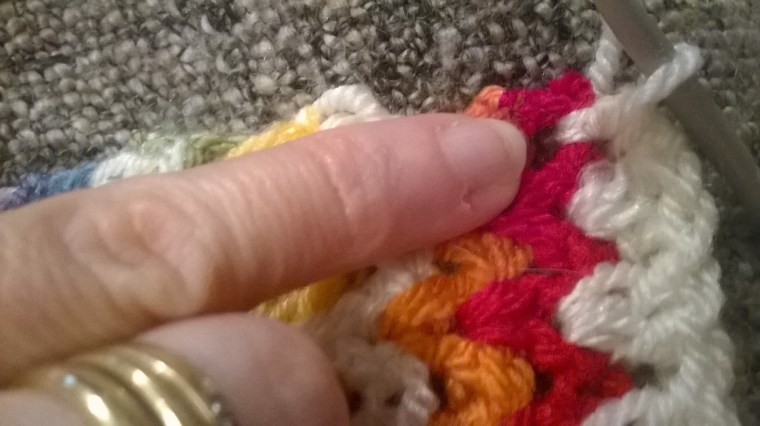
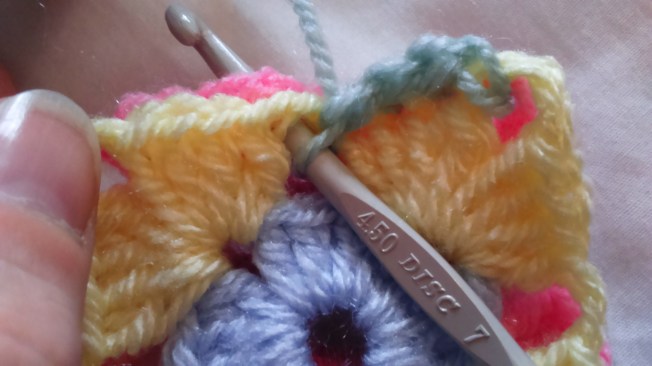
Turn. Ch3 (counts as 1tr)
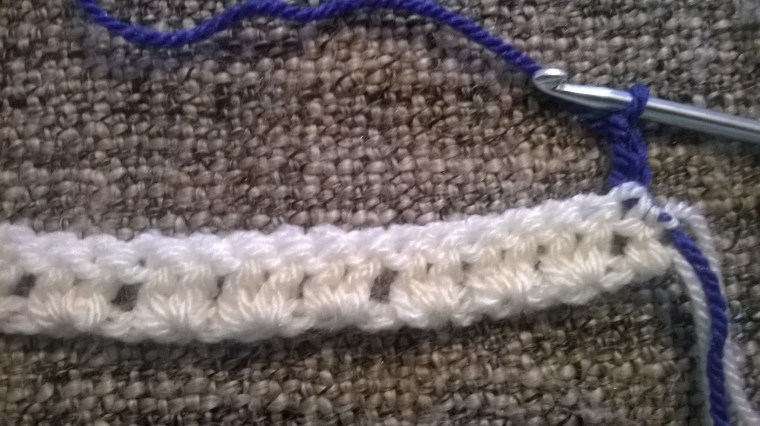 2tr in the middle of set of tr’s of previous row

Continue along the row.


finishing with 1tr in top of 3rd ch on previous row.

Change colour. Turn.
And that’s it!
Top Tip!! Weave in the ends every few rows.
Repeat rows 1-22 x5 times.
Then repeat rows 1 – 13 to finish body of blanket. And if you did not adhere to the top tip above…now is the time to weave in those ends!

I’ve gone all minimalistic for the edging because the blanket itself is simply stunning in this colourway and I did not feel like it needed something fussy to detract from its beauty.

This is what I did.
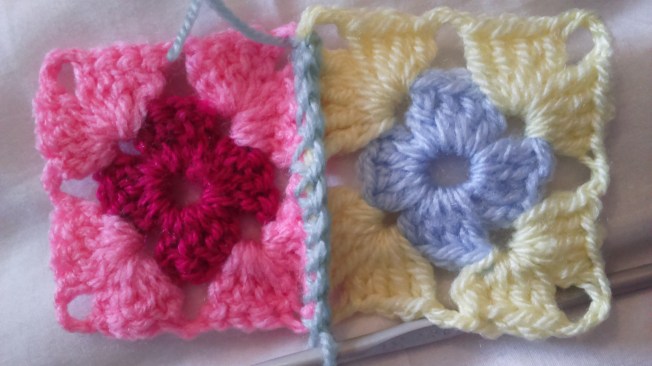
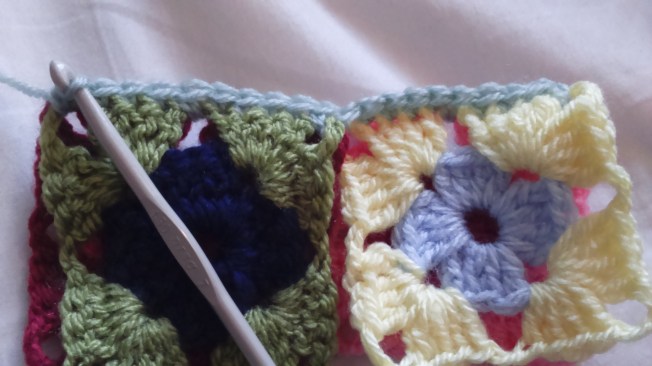
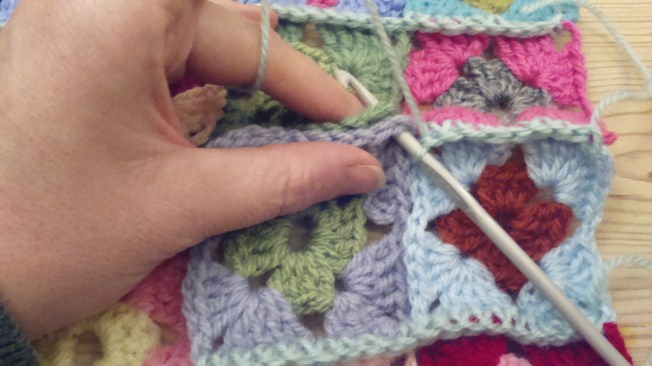
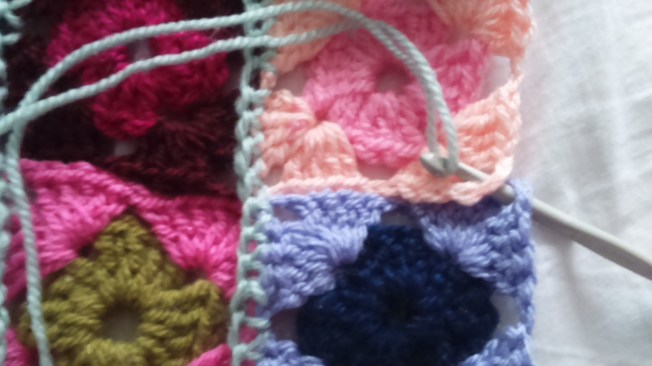
The first and last row (in cream if you have been following this colourway) form the edging for the top and bottom of this blanket. In cream / your chosen edging colour join in the space at the bottom right of your blanket as shown.
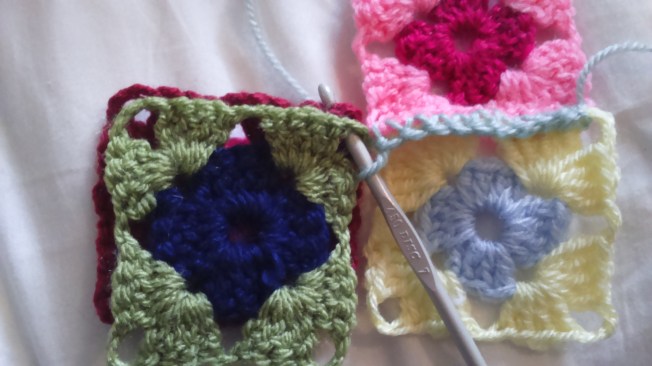
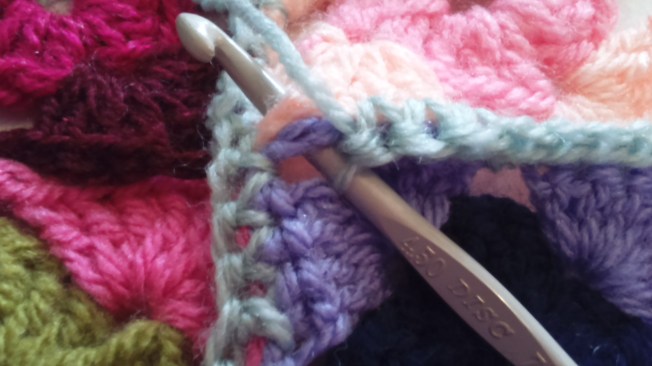
Ch 3 and slst into the top st of the first tr/ch3 of 1st row.
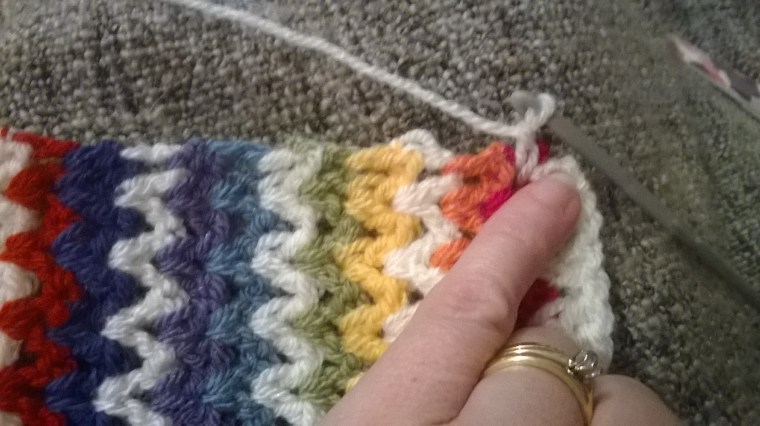
Ch1, 2tr in same sp
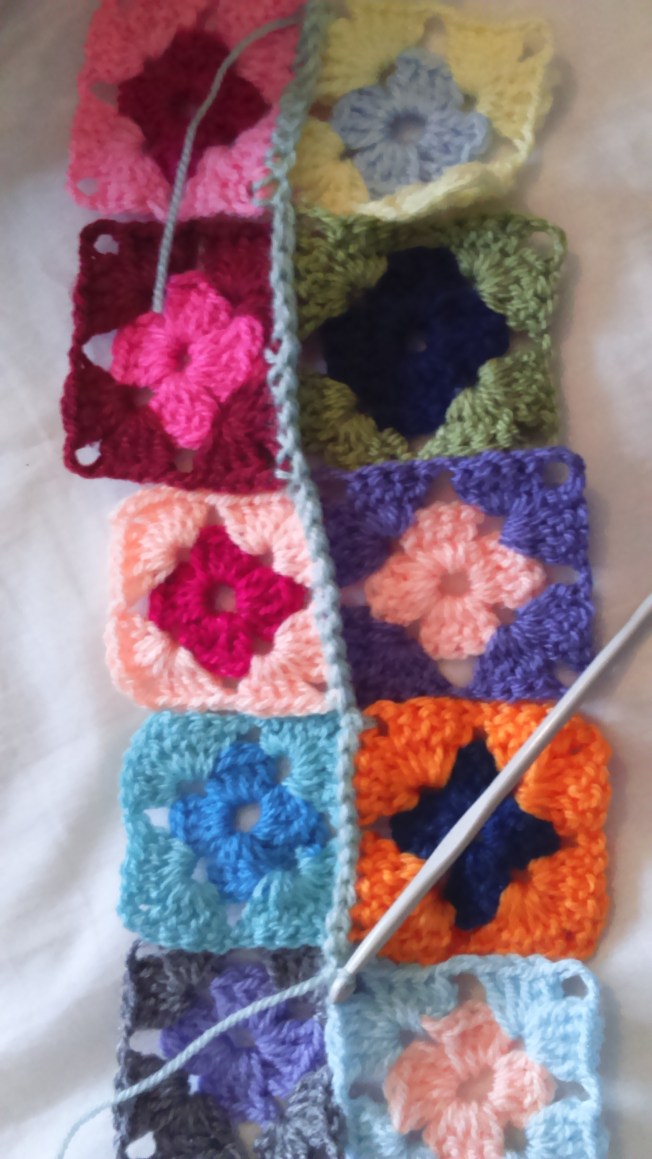
 2tr in next sp (the sp is the gap between the side of the first sts of each row), 2tr in next sp.
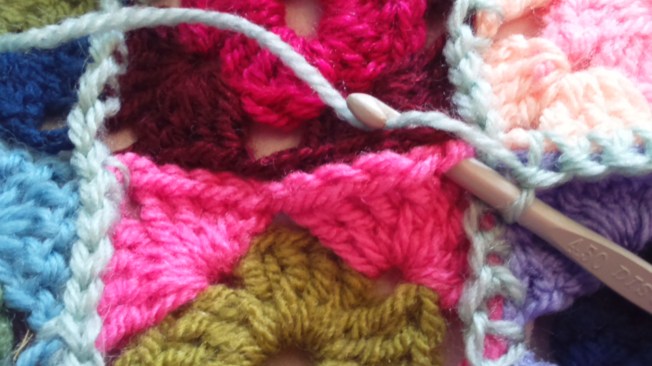
 Continue along the edge until you come to the top corner. 2tr in last sp, ch 1, 1tr in same sp.

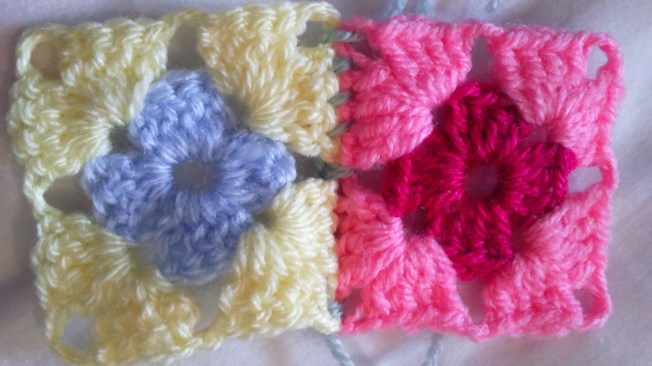
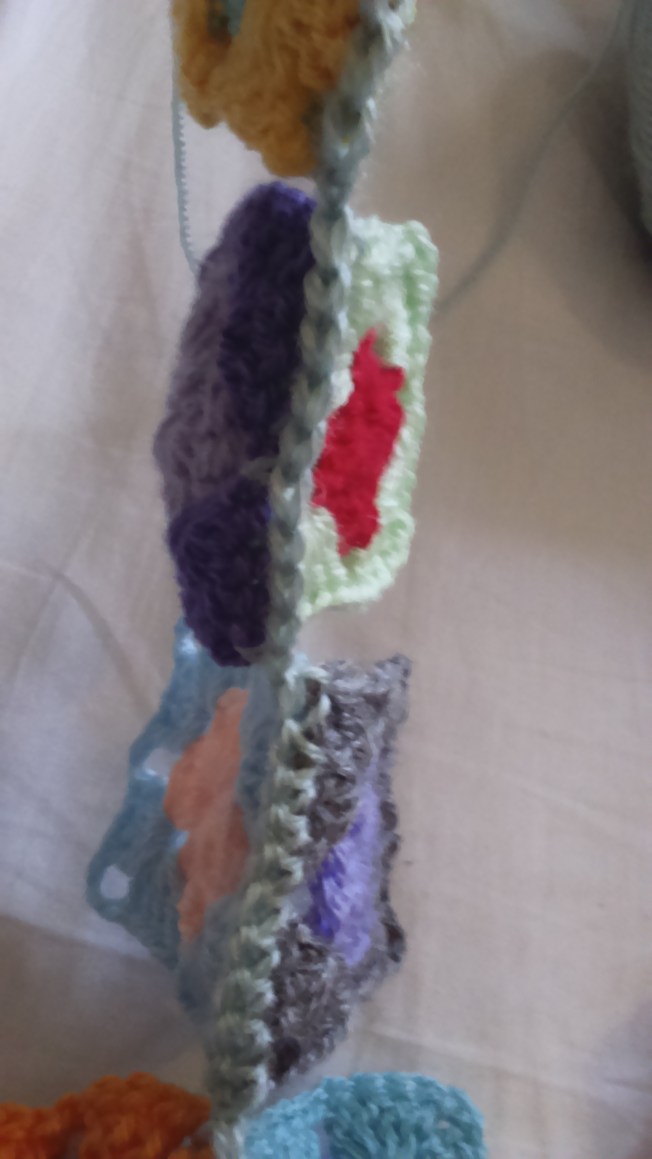
Then slst into the top st of the first tr/ch3 of last row as shown. Fasten off. Repeat for the other side of the blanket.
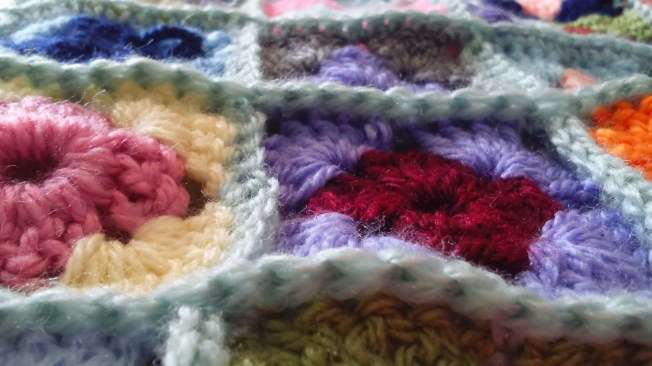
Finally, in Lobelia (or your chosen colour) join in any st of edge with a slst.

Slst in each st around edge of blanket. Fasten off and weave in loose ends. And that is it, you should now have one of these to snuggle under…or reluctantly gift.


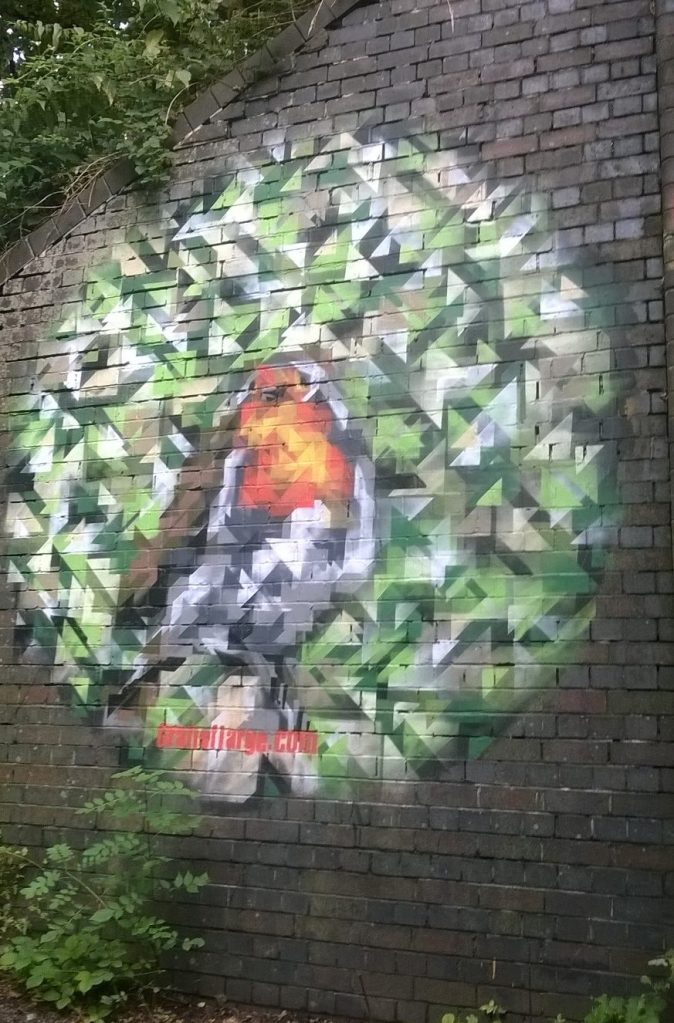


 my study buddy…