Introducing the ‘Grandma Mary’ tea cosy…the first in the Grandma Collection
Grandma Mary Tea Cosy
Dedicated to my Grandma Mary who was a truly inspirational woman. Born in October 1916 and christened Vera Mary, she grew up in England in the West Midlands and trained as a primary school teacher. I was privileged to have had her in my life for 34 years before she left this world at the grand old age of 94. Granny Mary played a huge part in nurturing my creativity as a little girl, teaching me how to make pompoms and to French knit using a wooden cotton reel and some nails that my Grandad would have made. She was a gentle and patient woman, who always had a smile and a piece of chocolate. I once asked her what the best invention of her life time had been and without hesitation she quipped…’washing up liquid!’
Granny Mary worked hard, but always took time to make things pretty… whether that was pansies in the garden, geraniums in the porch, sugar on a peeled apple, a pretty apron whilst doing the housework or a tea cosy for the teapot.
Prettiness was important because it was the way she cared for people and her care was a true blessing.
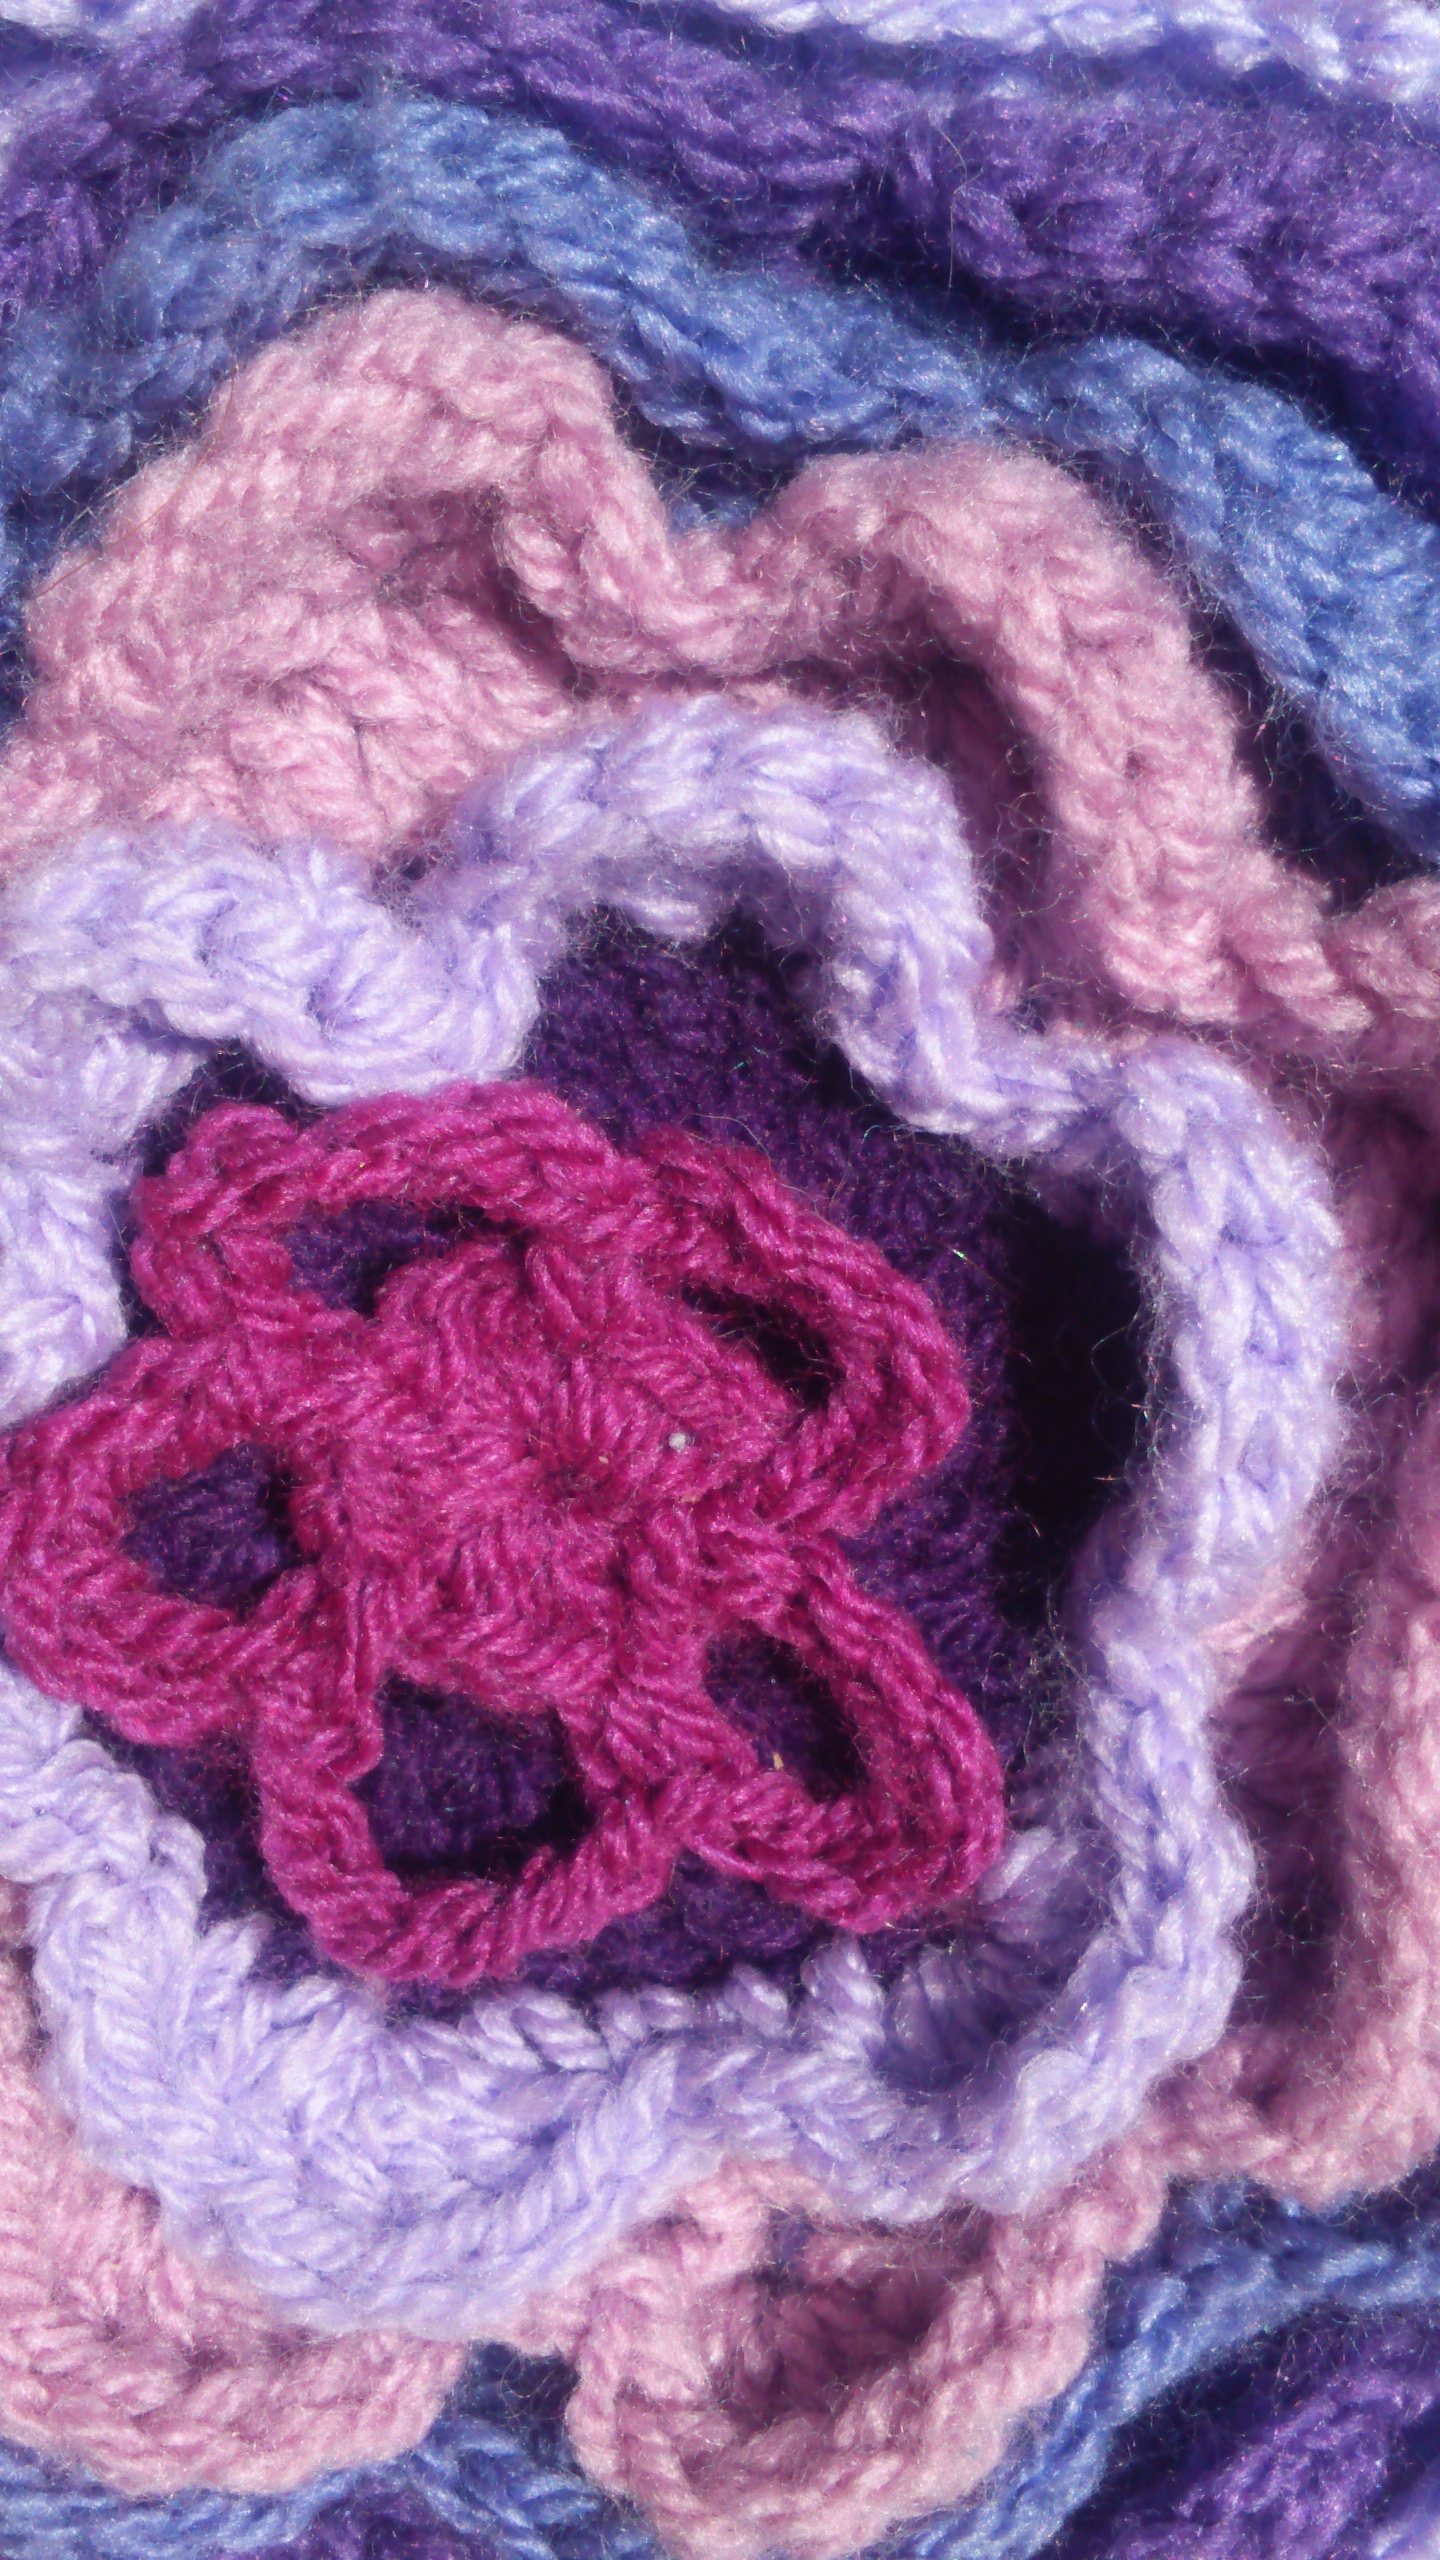
So this cosy had to be pretty, in colours that evoke memories of her and of course had to be covered in flowers.
The beads at the bottom of the cosy actually belonged to her. I have a bag of broken plastic beads that she gave me – she never threw anything away!
I am honoured to put them to good use…I think she would be really very pleased with their new use.
So that is the Grandma Mary tea cosy in all of its glory, here is the pattern linky thing.
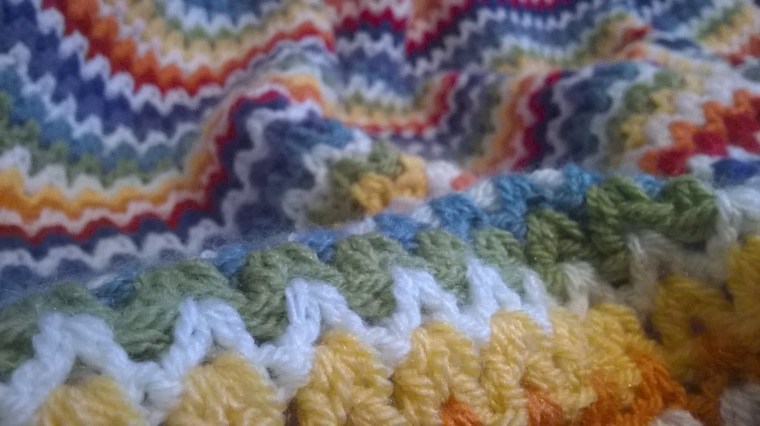
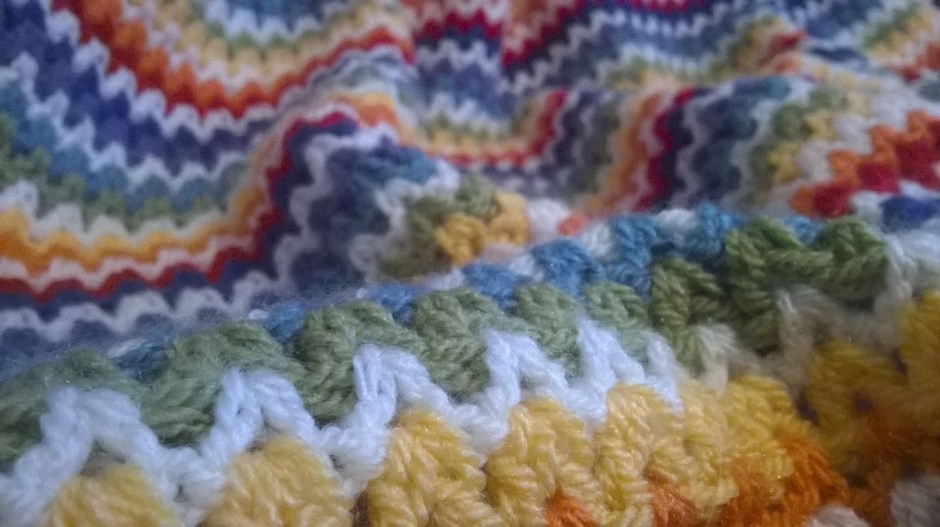
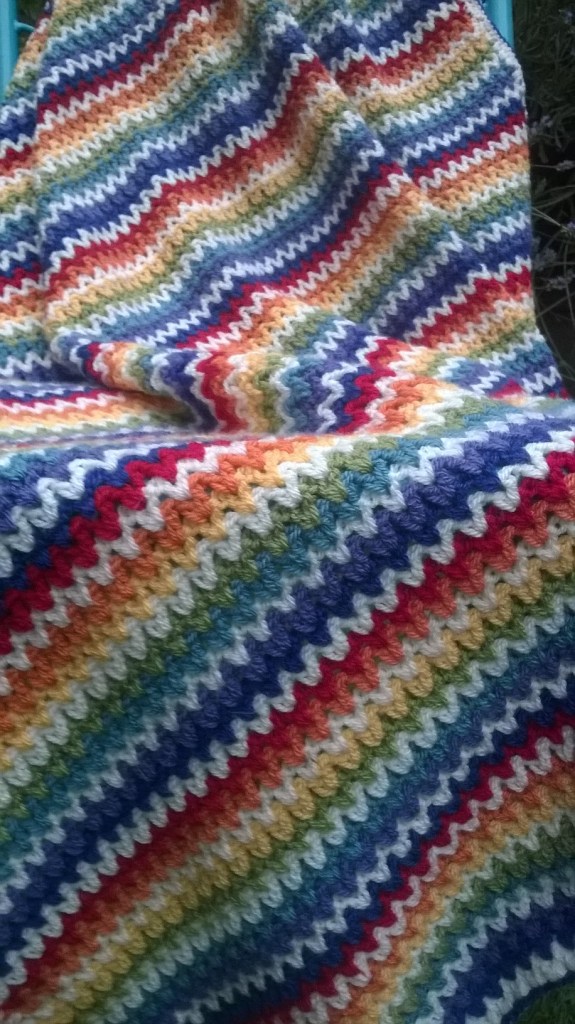
Thank you for your lovely comments about my latest blanket off the hook…the ‘Very V’ blanket.
It really is very simple to hook, so I thought I would put together a little tutorial, as I have not done one for a while and because I have some rare time off on my own. The tutorial can be found below. You can also check out my latest free pattern The Angelece baby blanket by clicking on this link.
So, clearly this is not an original pattern. I say that from the offset because of copyright and all of that. Let’s be honest…the humble ‘v stitch’ has been around for years. But this is my tutorial in case you want to have a crack for yourself and you have never done a ‘v stitch’ and you are a visual kinda gal or guy.
Processing…
Success! You're on the list.
Whoops! There was an error and we couldn't process your subscription. Please reload the page and try again.
Here we go!
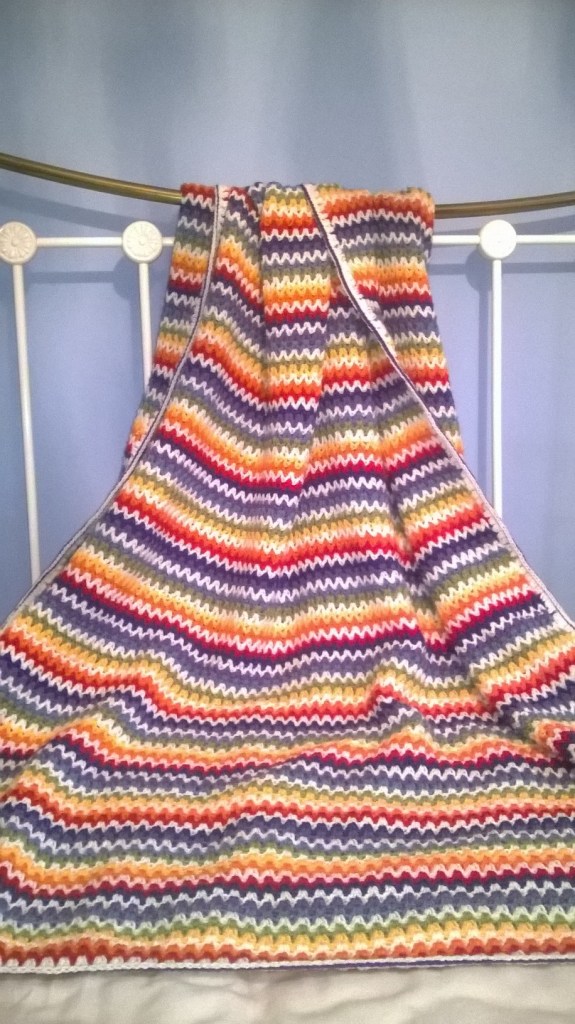
Final measurements: 132cms x 120cms / 52″ x47″
I used Stylecraft special dk , for it’s durability, softness and price! The colorway I used:
Lipstick x 1 ball
Meadow x1 ball
Saffron x 1 ball
Violet x 1 ball
Spice x 1 ball
Lobelia x 1 ball
Storm blue x 1 ball
Cream x 3 balls
You will also need a 4mm hook and a darning needle to weave in those ends!
Of course if you are using different yarn then you may need to use the recommended hook size for your chosen yarn; and of course you can alter the finished size by hooking more or less chains to start.
Your hooking tension (we are all different) may also mean you need more or less chains to start with.
Lets start, are you ready?
Abbreviations used are below and are English terminology.
Ch = chain stitch
Chs = chains
Tr = treble stitch (double crochet in US terminology!)
St = stitch
Slst = slip stitch
Sp = space
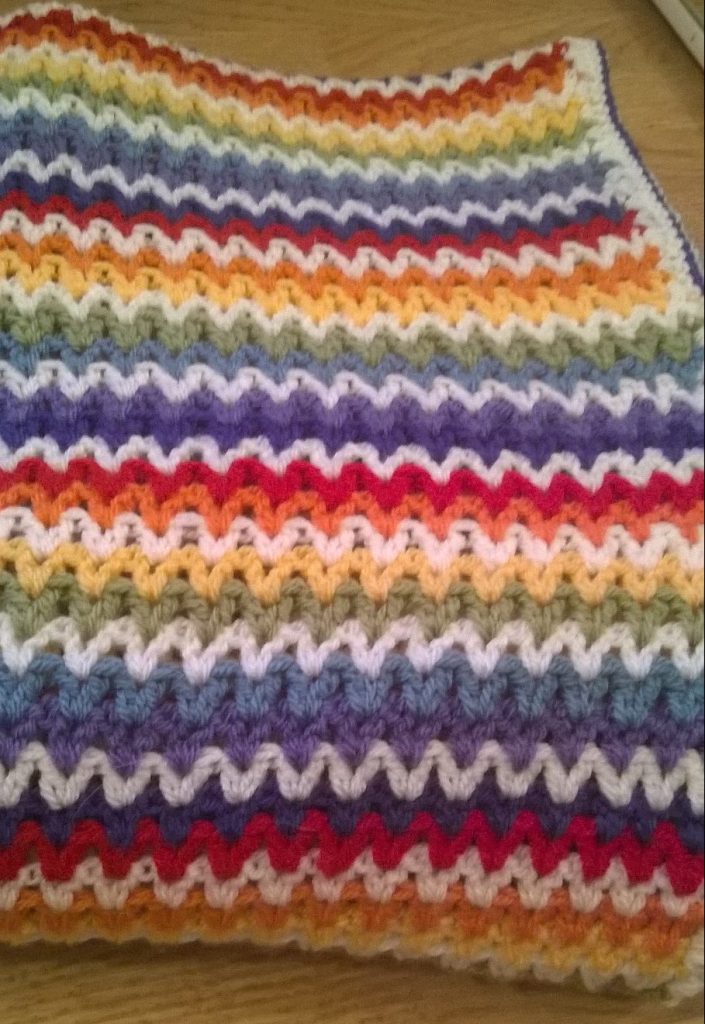
Pattern order I used:
Row 1: Cream
Row 2: Lobelia
Row 3: Violet
Row 4: Cream
Row 5: Storm blue
Row 6: Meadow
Row 7: Cream
Row 8: Saffron
Row 9: Spice
Row 10: Cream
Row 11: Lipstick
Row 12: Indigo
Row 13: Cream
Row 14: Violet
Row 15: Storm blue
Row 16: Cream
Row 17: Meadow
Row 18: Saffron
Row 19: Cream
Row 20: Spice
Row 21: Lipstick
Row 22: Cream
NB/ the first and last row form the edging for the top and bottom of the blanket so use the colour you wish to edge the blanket in, for row 1.
Chain 175 in cream
(This gave me about a 1m 15cm /42″ length of Ch. But any odd number of Chs will work to suit the size blanket you are wishing to hook!).
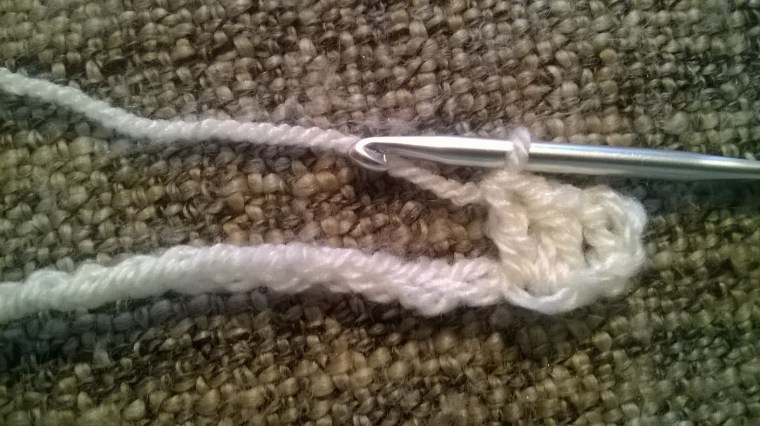
2tr in 5th ch from hook,
miss a ch, 2tr in next ch
miss a ch, 2tr in next ch
*miss a ch, 2tr in next ch*
Repeat * – * across the row.
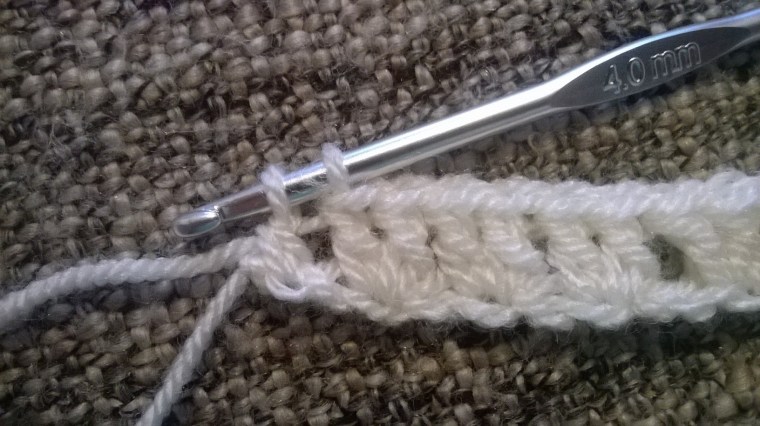
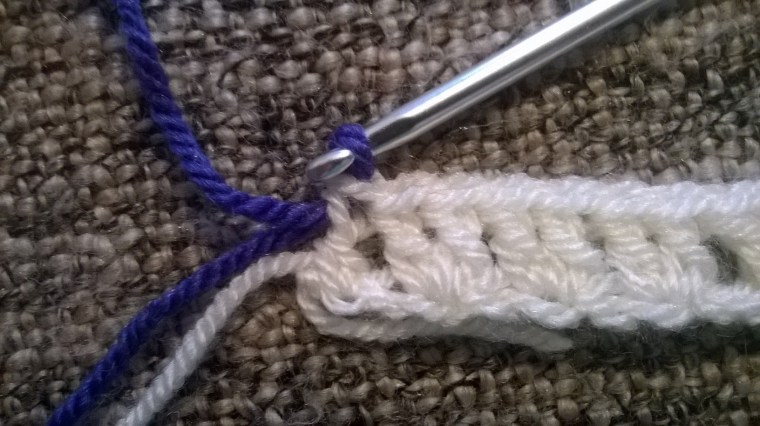
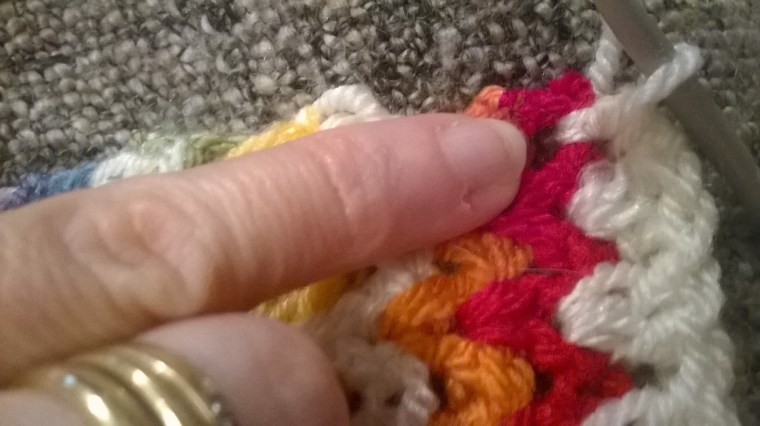
Finishing with 1tr in last ch. Change colour. As shown below, I change colour by completing half of the process for the last tr (ie/ leave two loops on the hook). Complete last part of tr in new colour as shown.
I find this makes colour changes more secure. These ends should be tied to secure further. Top tip! leave the ends long (approx. 10cms) so that weaving in is easier.
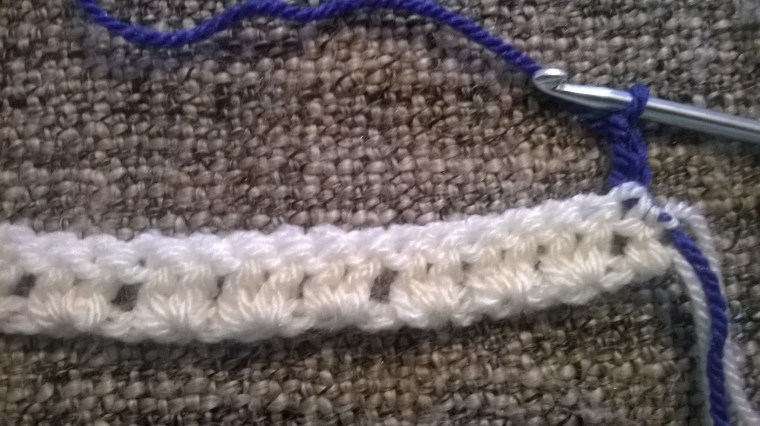
Turn. Ch3 (counts as 1tr)
2tr in the middle of set of tr’s of previous row
Continue along the row.
finishing with 1tr in top of 3rd ch on previous row.
Change colour. Turn.
And that’s it!
Top Tip!! Weave in the ends every few rows.
Repeat rows 1-22 x5 times.
Then repeat rows 1 – 13 to finish body of blanket. And if you did not adhere to the top tip above…now is the time to weave in those ends!
I’ve gone all minimalistic for the edging because the blanket itself is simply stunning in this colourway and I did not feel like it needed something fussy to detract from its beauty.
This is what I did.
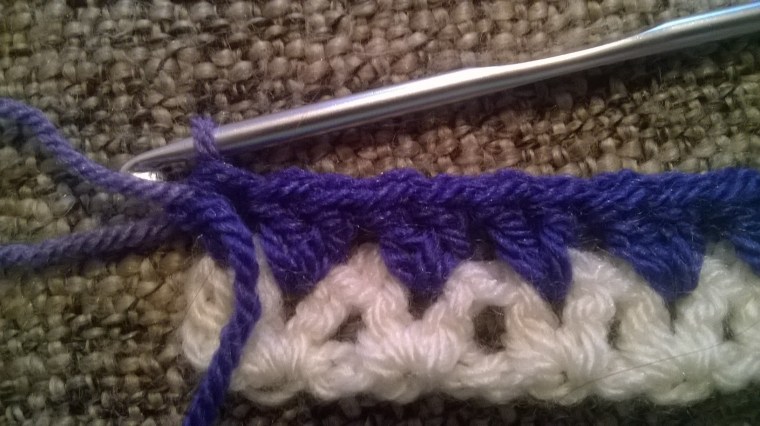
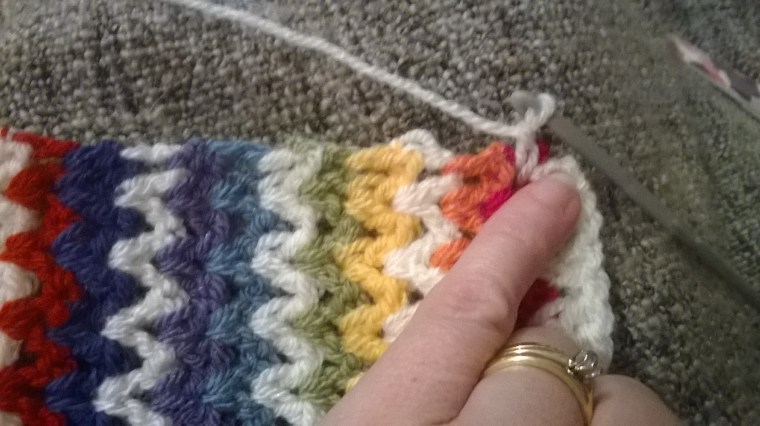
The first and last row (in cream if you have been following this colourway) form the edging for the top and bottom of this blanket. In cream / your chosen edging colour join in the space at the bottom right of your blanket as shown.
Ch 3 and slst into the top st of the first tr/ch3 of 1st row.
Ch1, 2tr in same sp
2tr in next sp (the sp is the gap between the side of the first sts of each row), 2tr in next sp.
Continue along the edge until you come to the top corner. 2tr in last sp, ch 1, 1tr in same sp.
Then slst into the top st of the first tr/ch3 of last row as shown. Fasten off. Repeat for the other side of the blanket.
Finally, in Lobelia (or your chosen colour) join in any st of edge with a slst.
Slst in each st around edge of blanket. Fasten off and weave in loose ends. And that is it, you should now have one of these to snuggle under…or reluctantly gift.
Well done if you got this far.
I really hope you have found this tutorial easy to follow. I welcome feedback, so let me know how you got on and if you want to share your picture of your finished make you can in the comment section below.
This blanket was a thank you gift for someone that has helped me enormously this year and each stitch, like the Happy Ripple before was hooked with love and prayer.
It makes my heart sing when I am able to gift something like this and know that it is appreciated.
I received a card in the post just this week from the owner of the Happy Ripple telling me of the enormous comfort the blanket has brought to both her and her family in the midst of heartbreak recently…
*There is still time to enter the yarny give-a-way here*
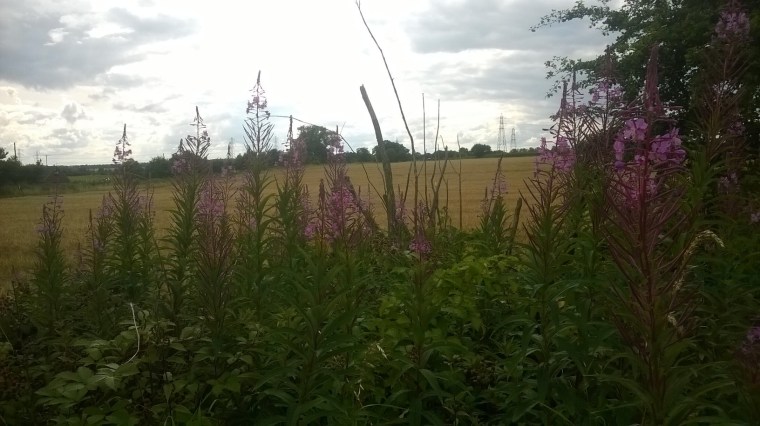
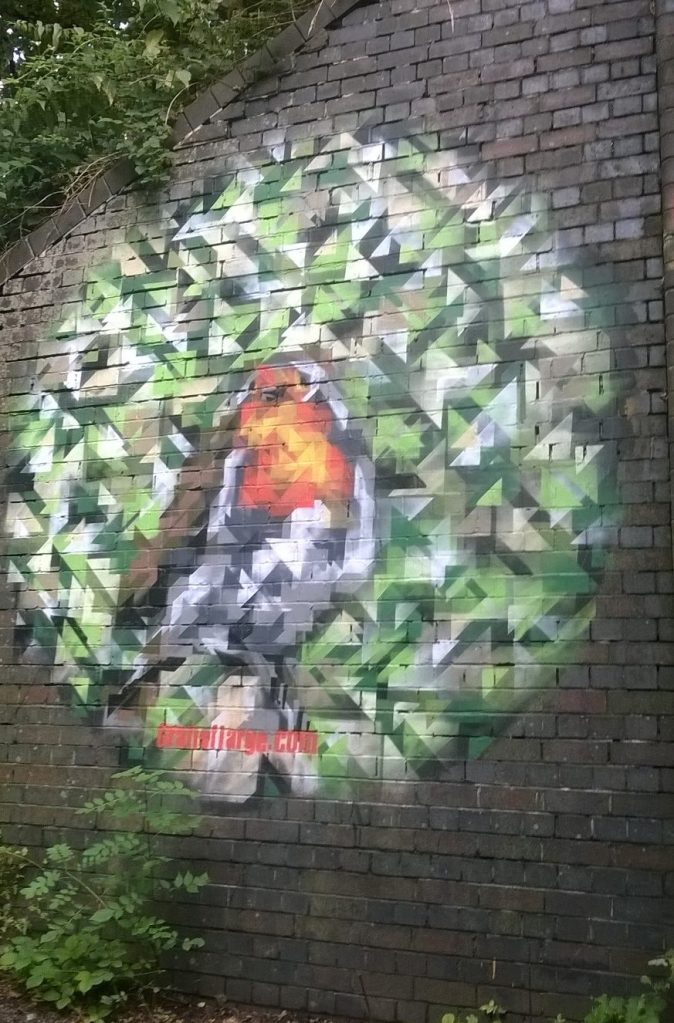
I stumbled upon an arty robin last weekend, well I say stumbled… it was more like rode. I dusted off Bella and wheeled her out into the day light, hoiked her onto the bike rack and off we all went.
It had been way too long since the last time we had an afternoon out in the countryside together, and as we cycled our cares flew from us and we felt light. We stopped at points to play in the stream
race each other,
or just to admire the scenery and breathe out.
And then we stumbled upon this…
(You may have to lean back and squint a little)….Not everyone’s cup of tea, but talented and arty non the less, and it made us smile!
We rode on some more, and returned home fulfilled and tired. The perfect excuse to put up my feet and get out my hook.
I didn’t move until I had finished the main body of this Very V blanket, but I had been undisciplined throughout and had not woven in the ends as I had been hooking!!! Oh my, that is what I have been doing this week…Its a good job I don’t mind weaving in those ends isn’t it!
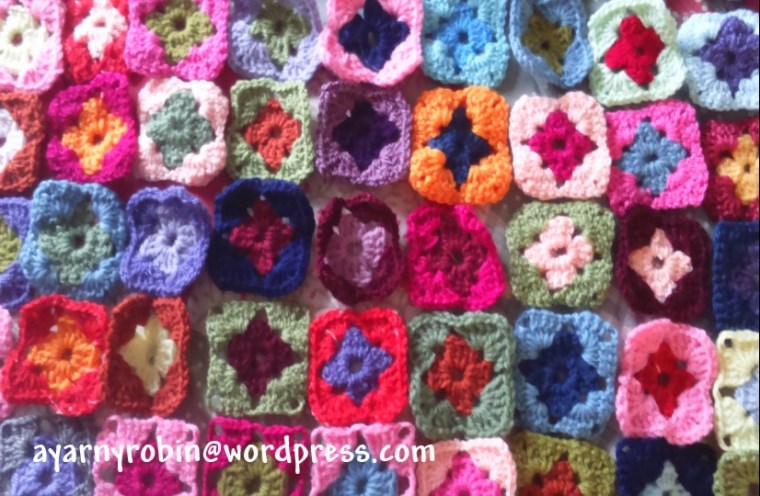
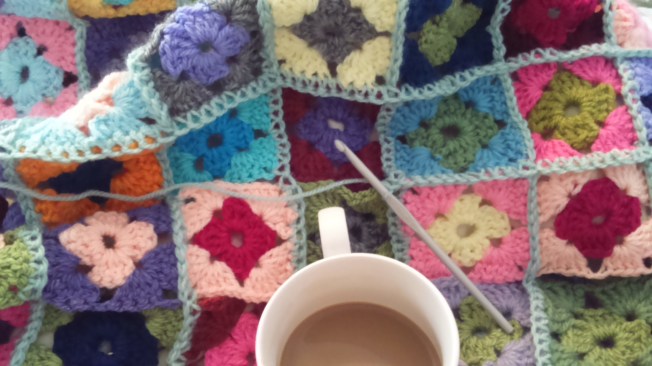
I’ve been asked several times to put together a tutorial about how I joined my 100 patch granny square blanket… so here it is…
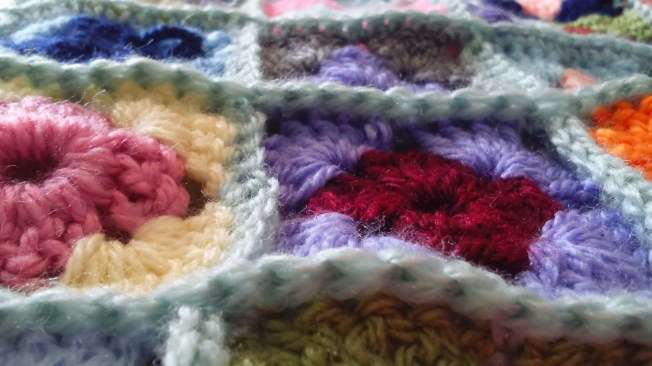
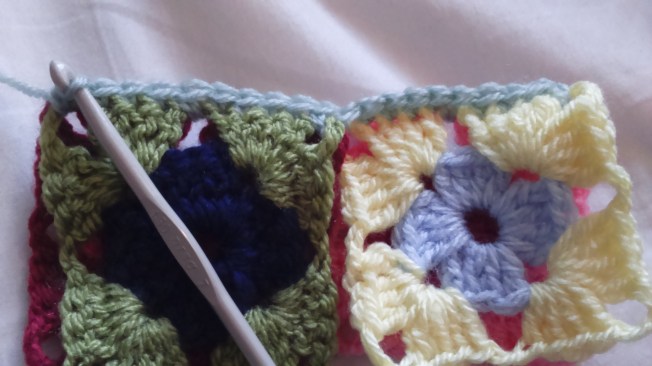
I love joining squares with a double crochet (dc) English terminology that is…single crochet if you use American speak! The reason is that lovely little ridge which just frames each square.
The hard, but fun part is deciding upon the placement of each tiny square, but once you have made your mind up the joining together is quick and easy.
To download the pdf version click here, otherwise full instructions are below:
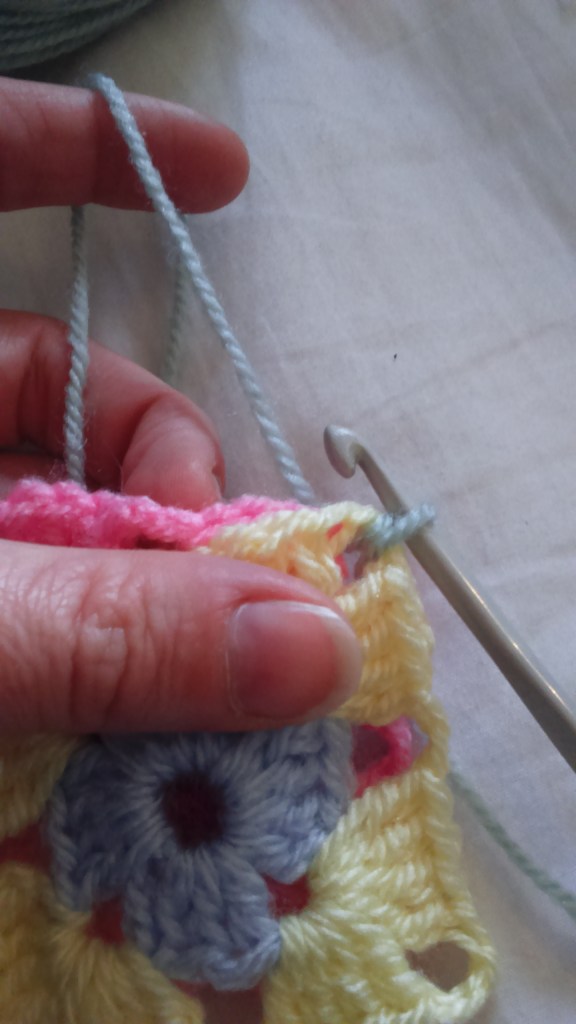
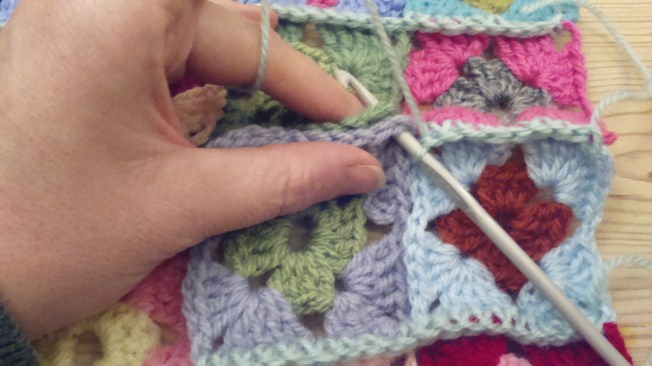
To join two rows take 2 squares, and place them together so that the corners align. The front of squares should be facing outwards….(the back of one square should be facing the back of the other square)
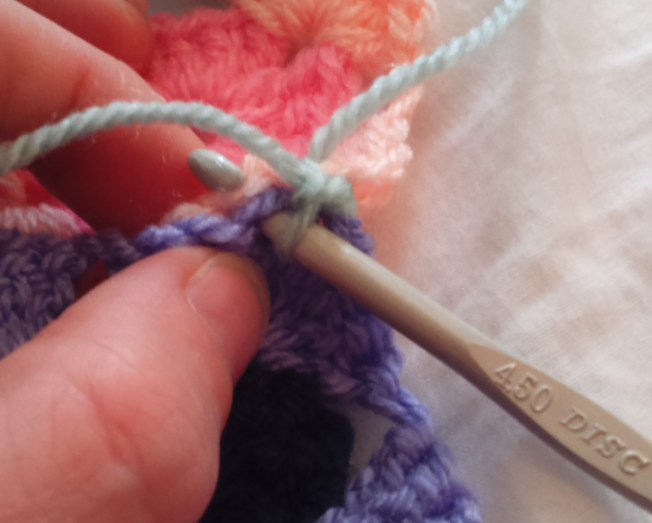
With the joining yarn, pull through a loop. Leave a long tail (for weaving in later!) and for now just hold securely behind your work, until you have made a few stitches.
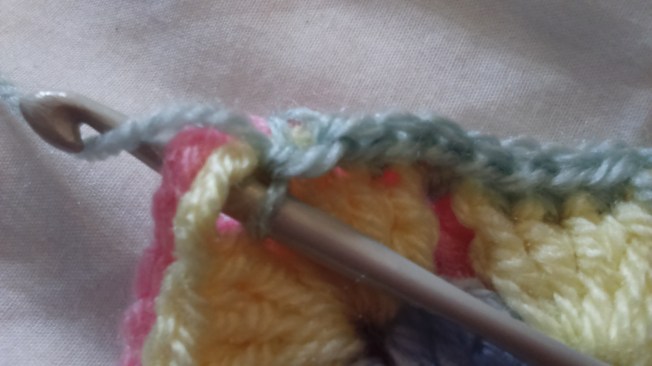
Ch1, then dc in the same space. Taking the hook through both squares, as shown.
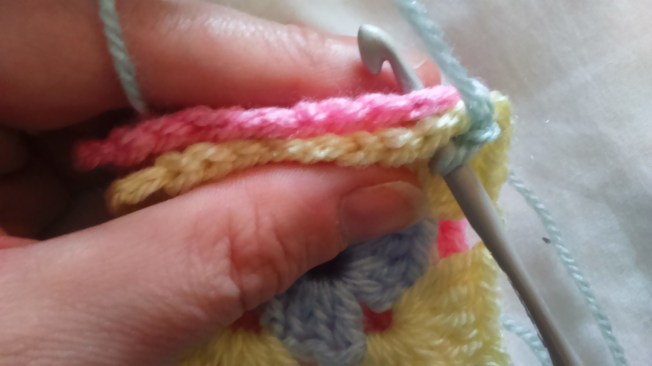
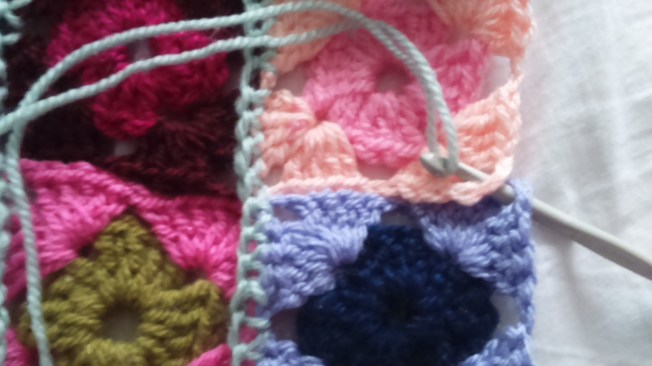
taking the hook through both squares stitches; dc in each of the next 4sts, then dc in space,
dc in next 4sts, then dc in space.
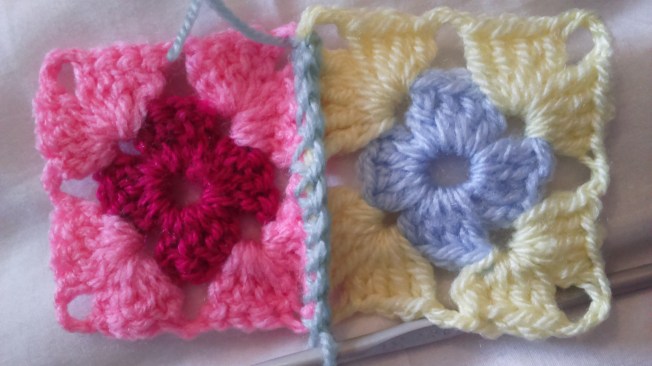
your squares are now joined, but do not fasten off. If you open your squares out you will notice that there is a little ridge along the one side….this is the front side of your work.
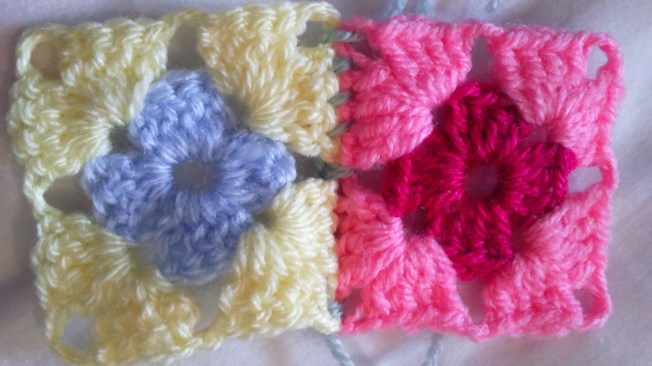
The back of your work will look like this.
Top tip, always note the front and back of your work…it is soul destroying to find out that you have some ridges on the front and some on the back of your work; then spending ages having to unpick all that hard work!!
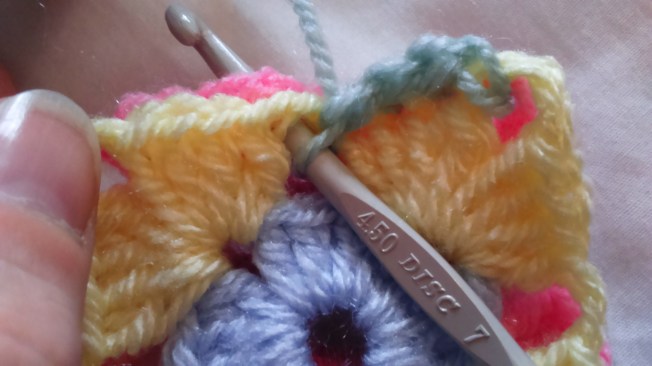
Taking two more squares, align corners as before… front sides facing out, and ridge of previous squares facing up! Dc in corner space, then dc in next 4sts, dc in space, dc in next 4 sts.
Repeat this process until you have joined two rows of squares. Fasten off at the end and leave a long tail again!
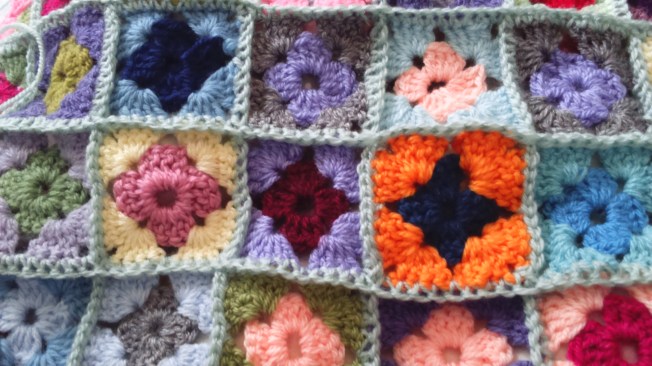
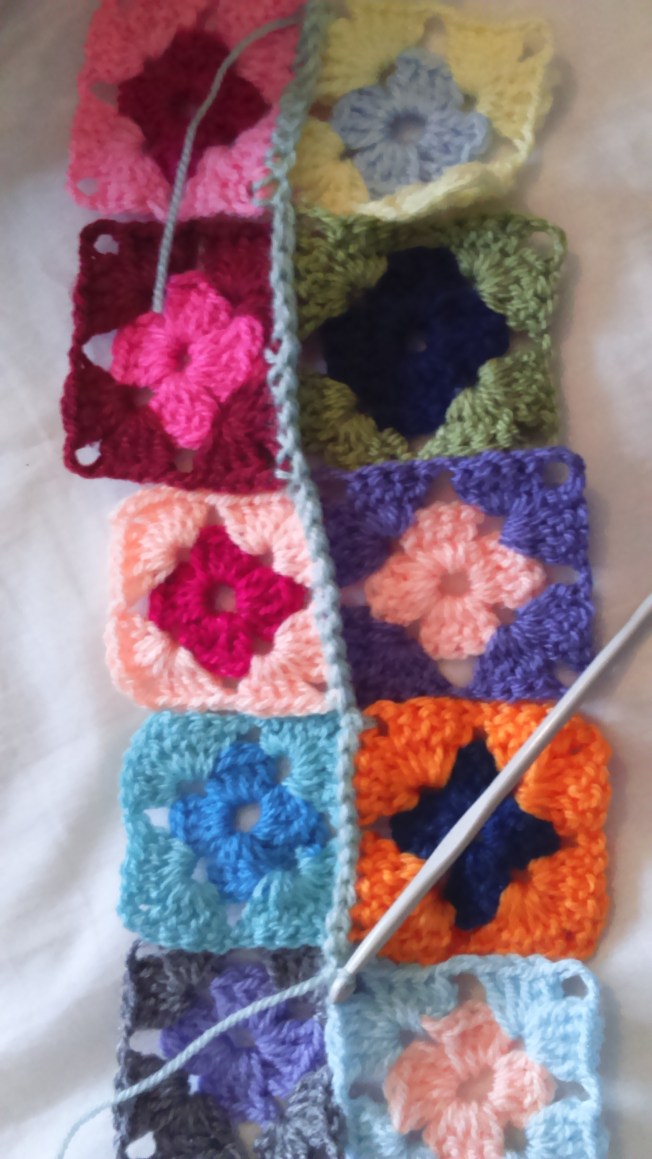
For the 100 patch granny blanket there were 10 squares per row.
As you can see, the squares are just joined along one side.
Put to one side and repeat the process x 4 more times, so that you end up with x5 lots of joined double rows.
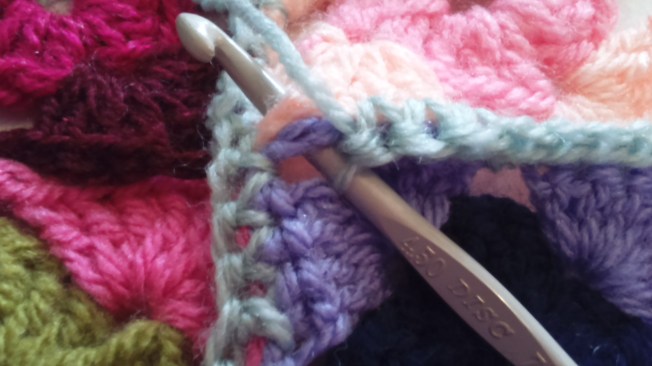
Next lay out the double rows adjacent to each other. The next stage is to join the double rows together horizontally. With right sides facing up (ridge side up), align the squares adjacent to one another.
On the right edge, pull through a loop in the corner space with your joining yarn, ch1, dc in same space. Dc in next 4sts, dc in space, dc in next 4 sts.
Continue along the row, making sure 1dc is placed in each st and in each space. Fasten off as before at the end of the row, remembering to leave a long tail for weaving in purposes. Repeat until all 10 rows are joined horizontally.
You should now have a 100 squares all joined horizontally.
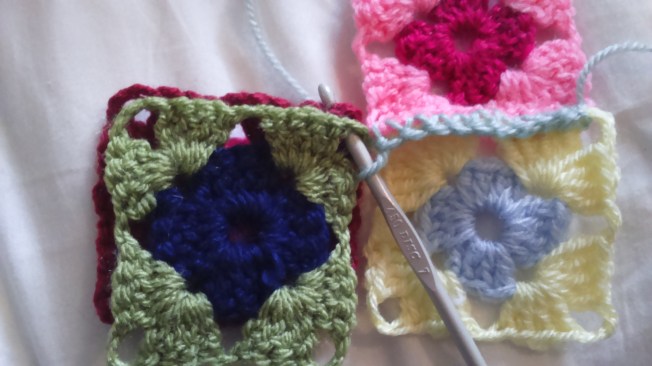
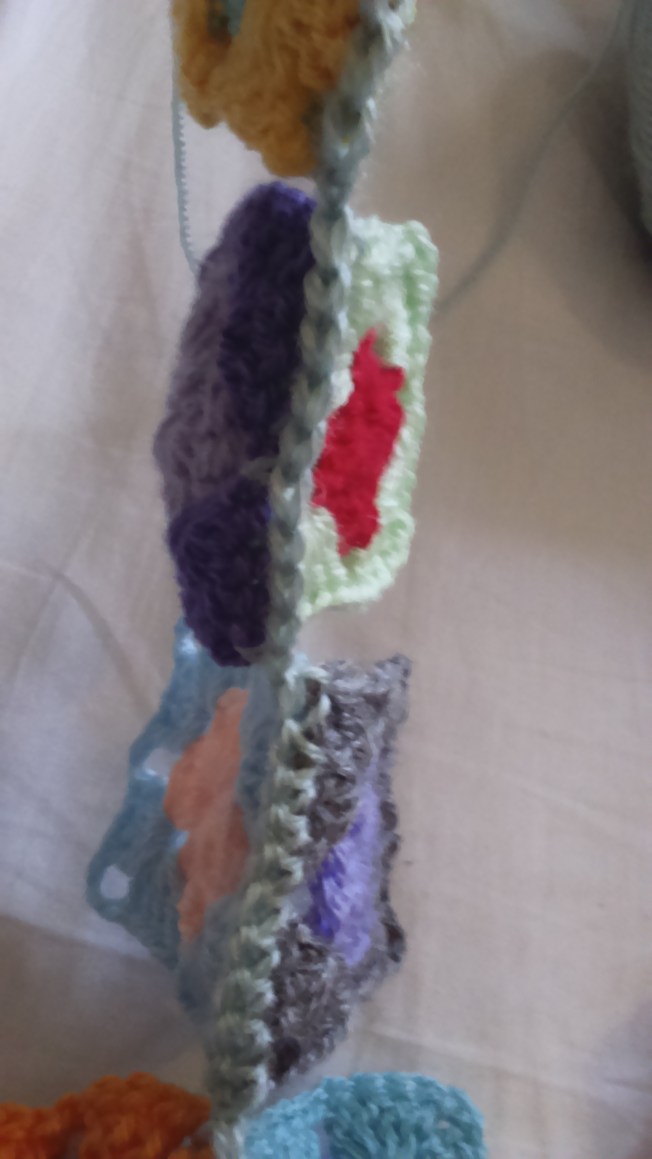
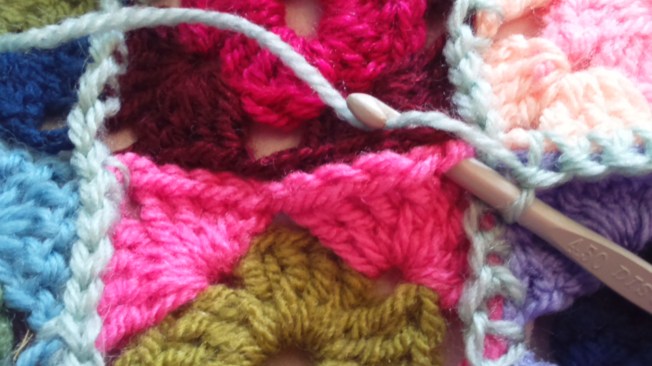
Your next task is to join the squares vertically. I found this easier to do by flipping the work around and hooking the verticals, horizontally…if that makes sense!! As in the picture above… the completed joining ridge you can see is the horizontal join previously completed.
The process is the same… with chosen joining yarn (leaving a long tail, ch1 in edge corner space, dc in same space, 1dc in next 4 sts, dc in space, 1 dc in next 4sts, dc in corner space…as above.
Taking hook over the top of horizontal ridge, dc in next corner space as shown and repeat. Making a dc in each space and in each st along. Making sure to take the hook over any horizontal ridges before placing a dc in the following corner space.
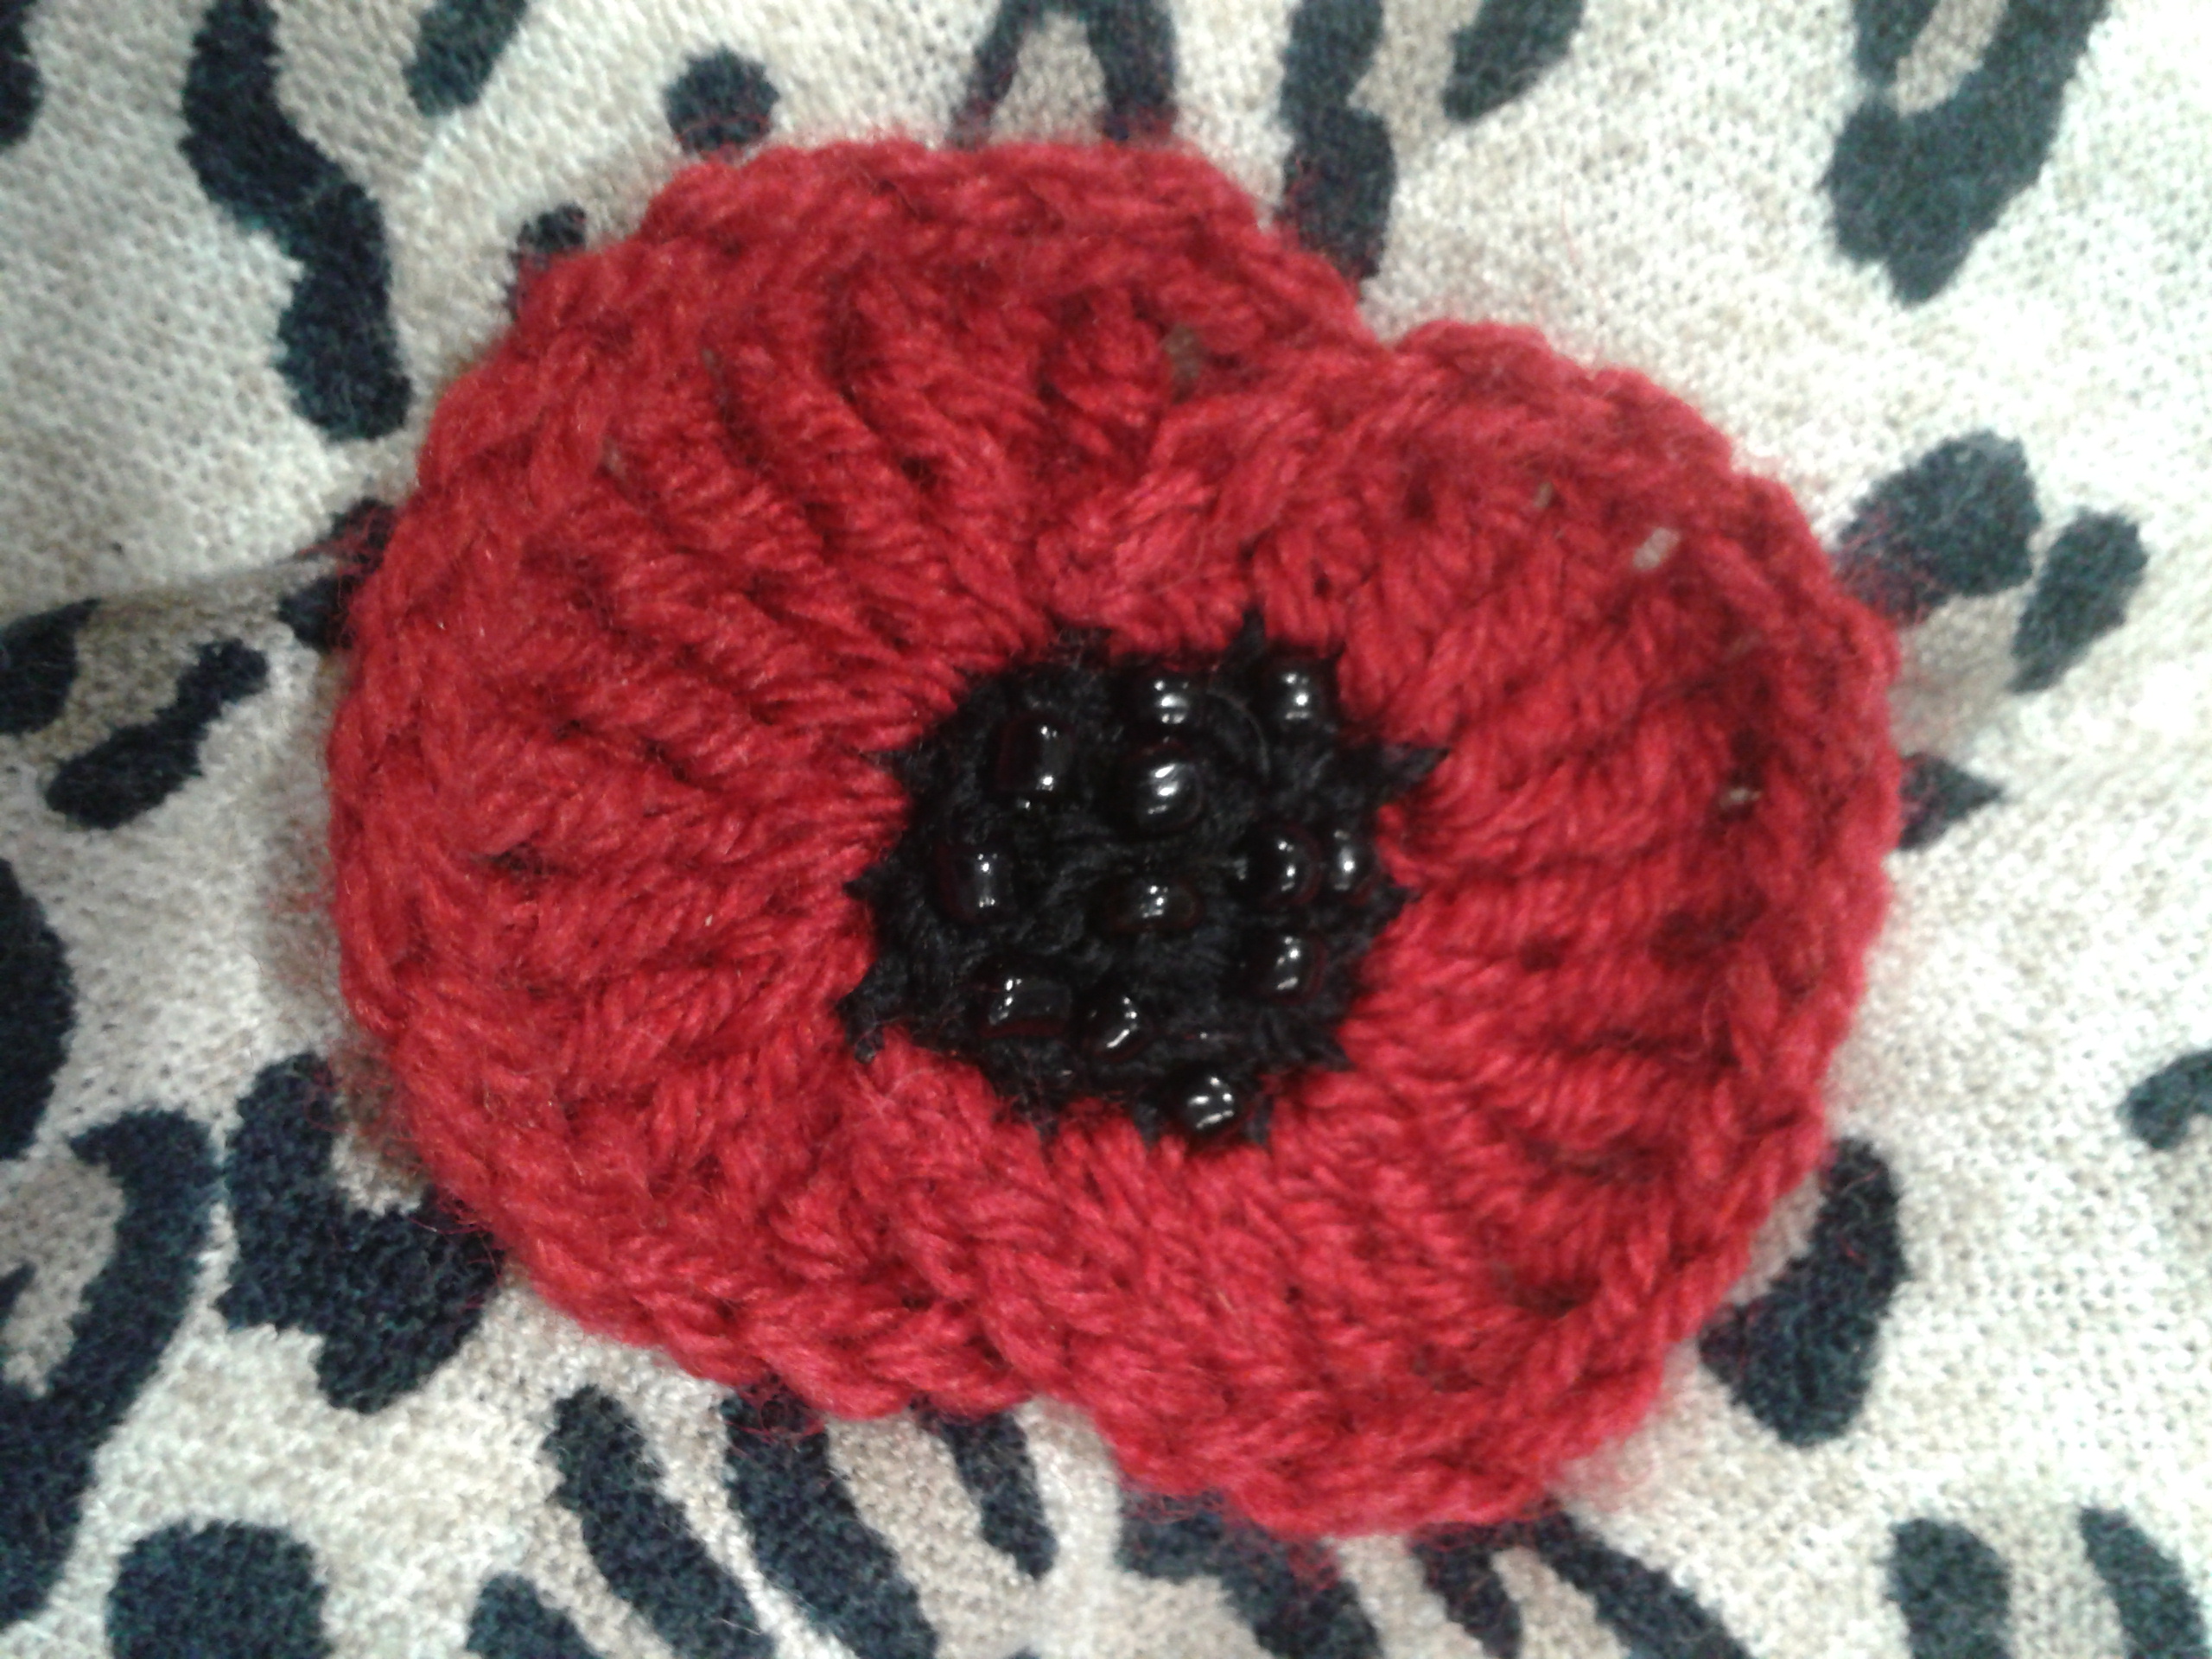
You may remember this poppy from last year…unfortunately, I don’t have any time to hook any this year, but maybe you do… here is the link to last years post which contains the pattern details.
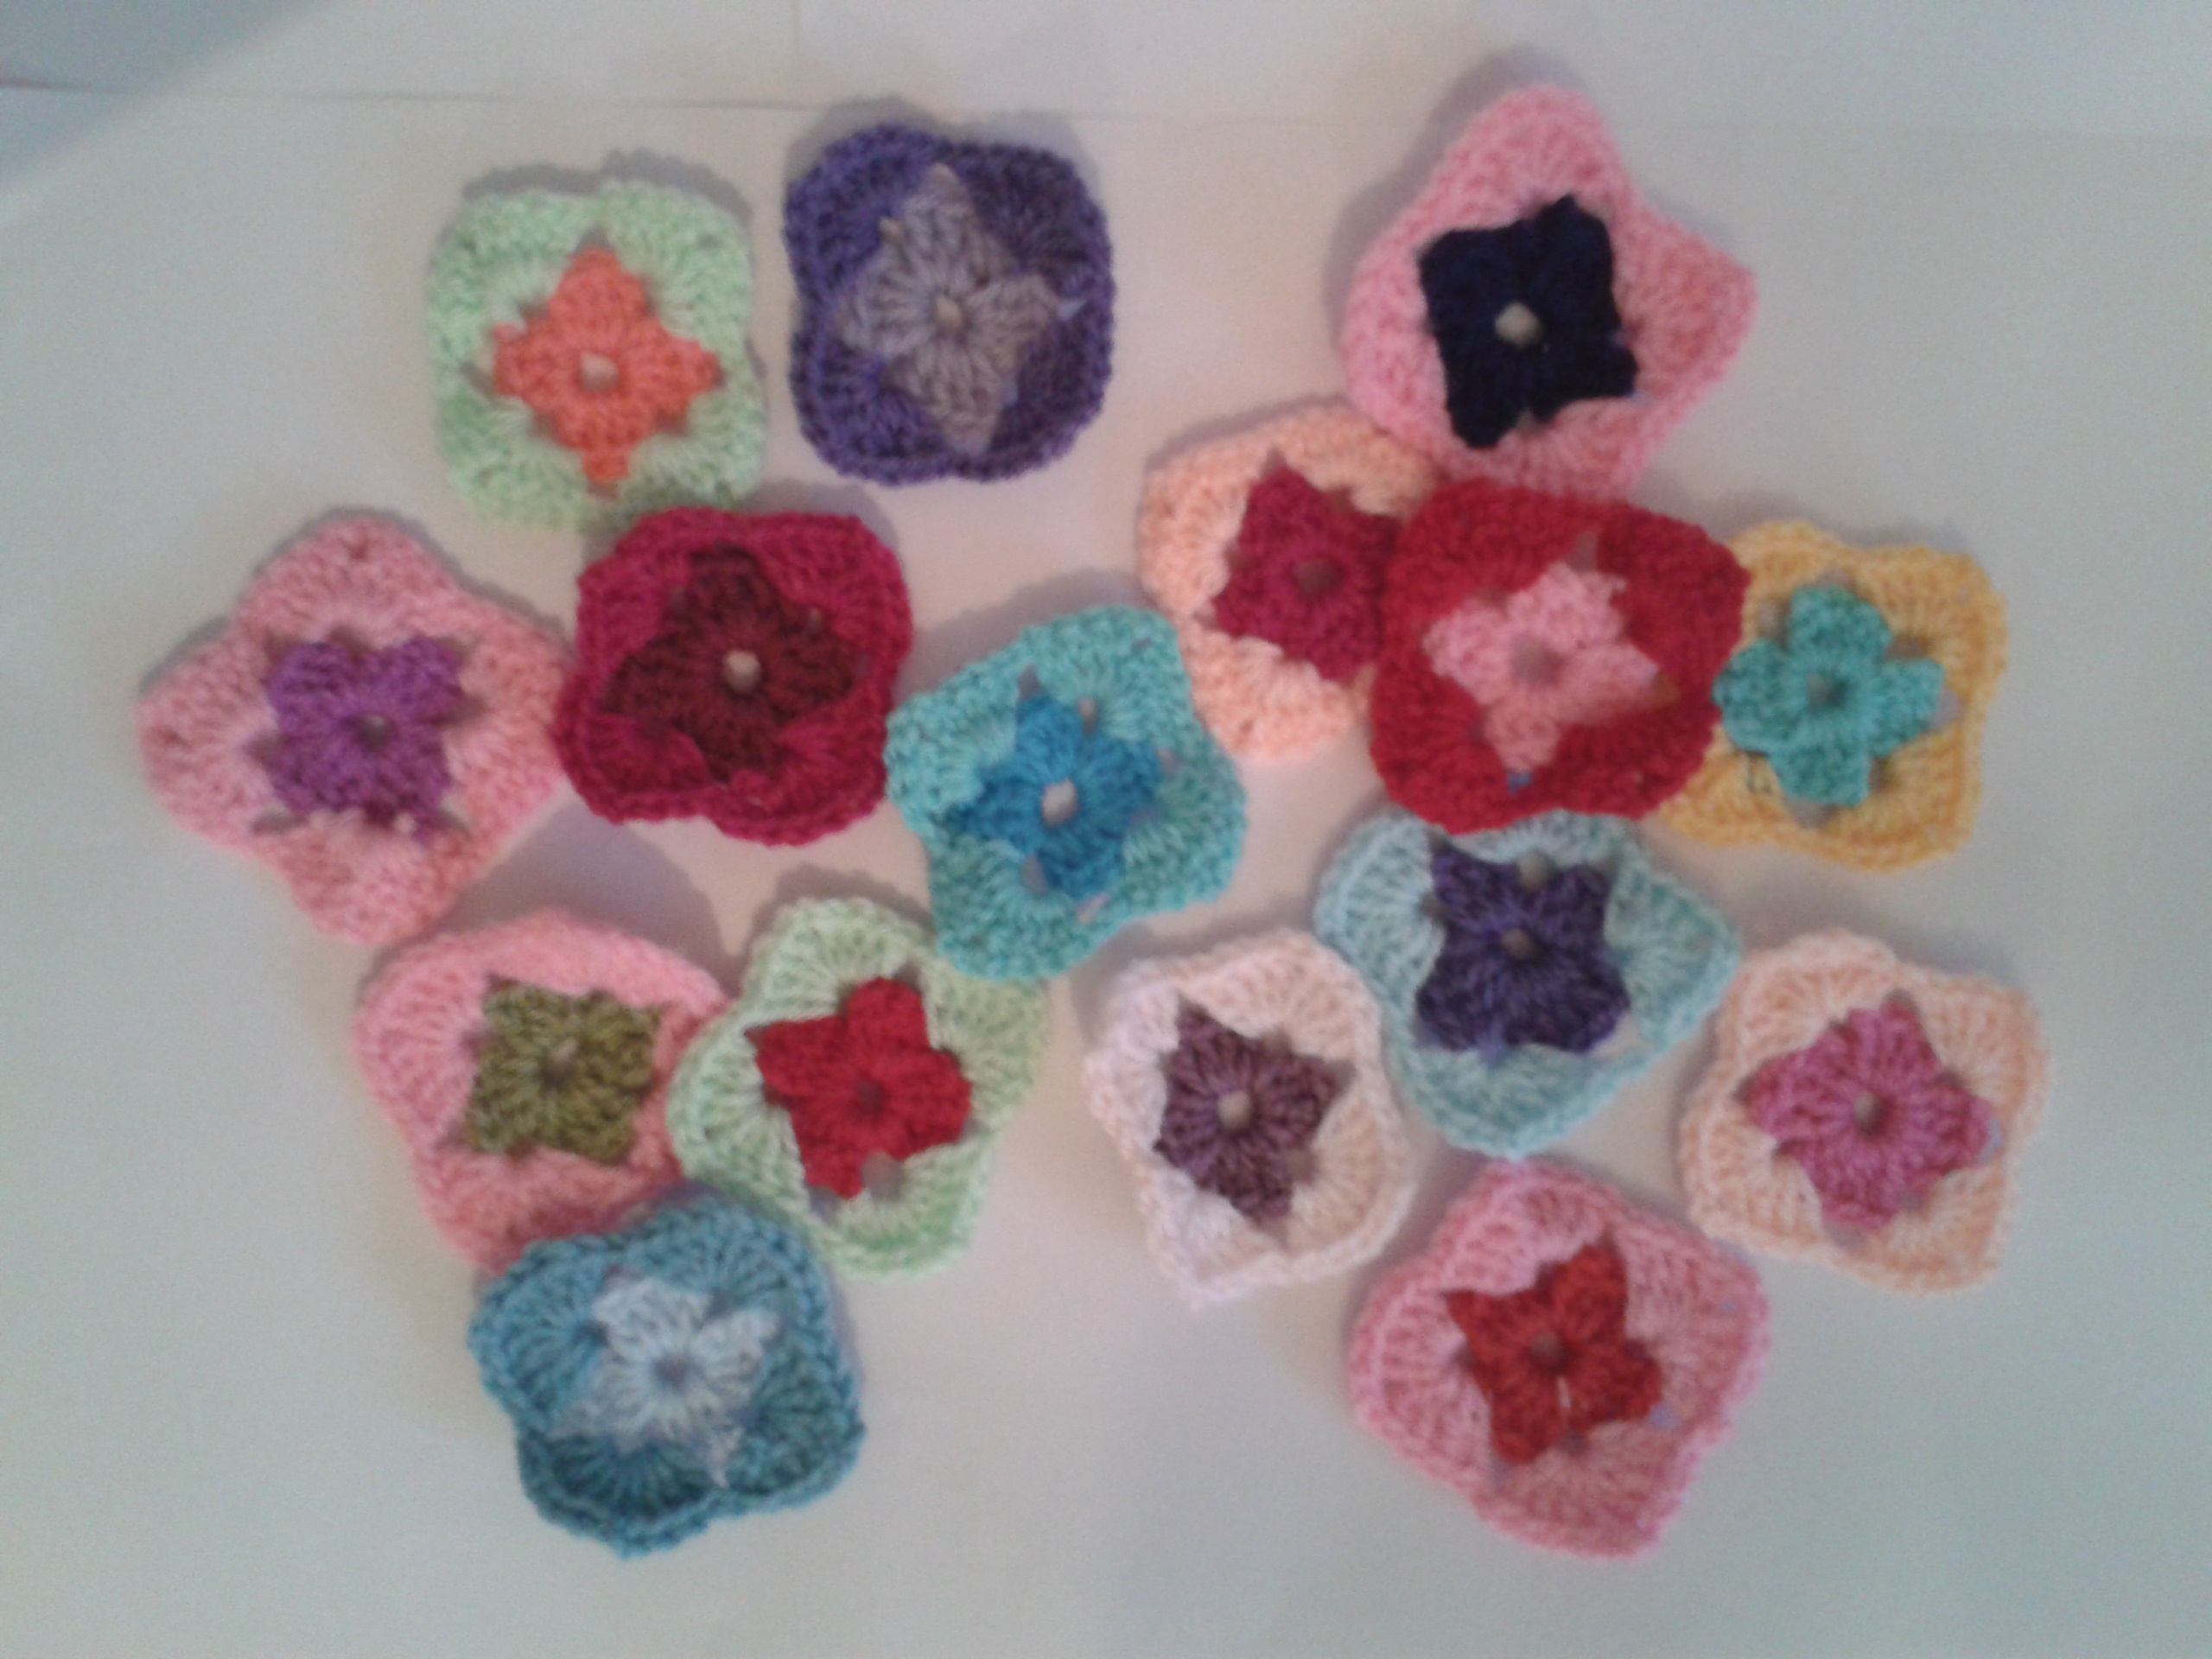
Made from scraps, excluding the edging, this little blanket has provided me with the hooky colour therapy that I so needed. I had made many of these charming squares at the end of other projects, not really being sure of their final purpose.
mini squares made from scraps
Perhaps a cushion or a giant blanket I thought, big enough for all the robins to snuggle under…yes! that is what I decided upon, a large endeavour of love made from these little, beautiful components and so I started. And so it has remained, unloved at times or loved from afar, but most certainly unfinished and alas my latest commitments made the hooky pleasure of this project impossible.
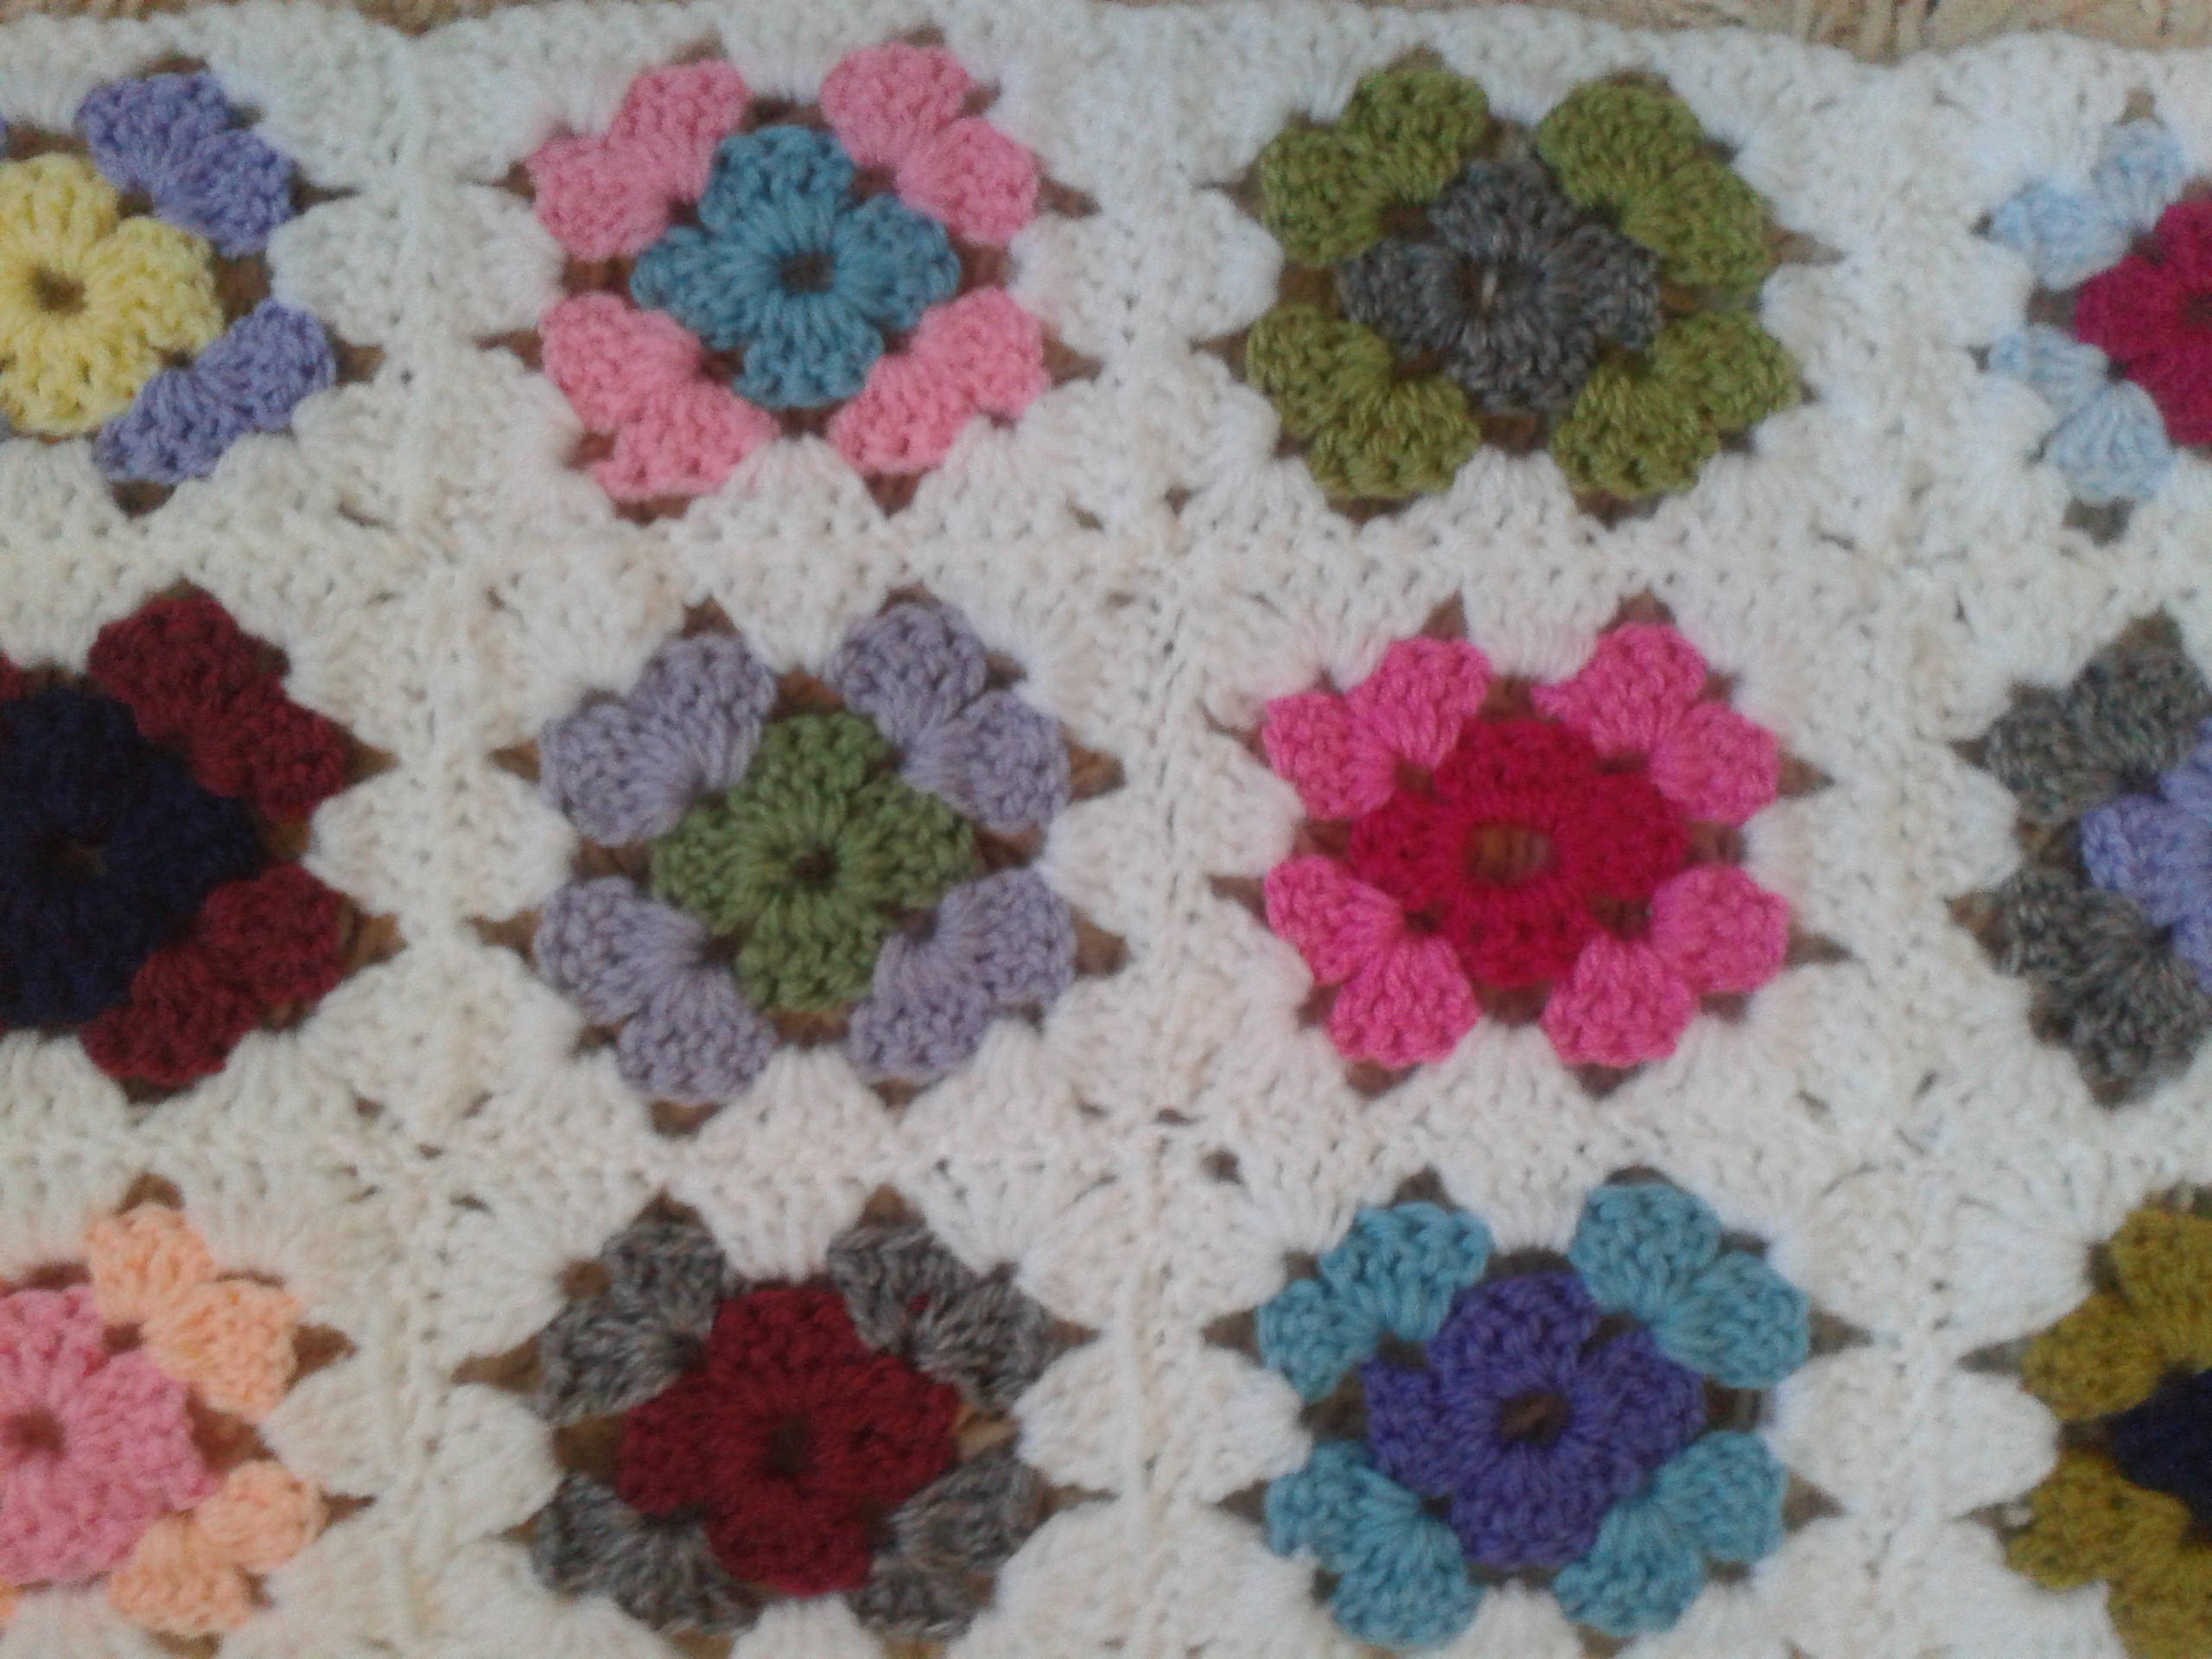
I love a simple granny!
No, a king sized blanket out of tiny granny squares became a lingering burden…and so with some considerable heaviness, the white yarn was carefully frogged. I felt a sense of failure as I unravelled those stitches and was once again left with a glut of granny’s
a glut of granny’s
So, I counted my granny’s out….97….and thought on a smaller scale…hooked 3 more little ones and decided on this 100 granny patch baby blanket.
little beauties…
and as I hooked them back together, in a different way and with a different yarn and with a different purpose, the feeling of failure ebbed away and a new joy arose.
and I discovered that the smallest achievement is always better than the greatest intention… and this little blanket still conveys a large endeavour of love.
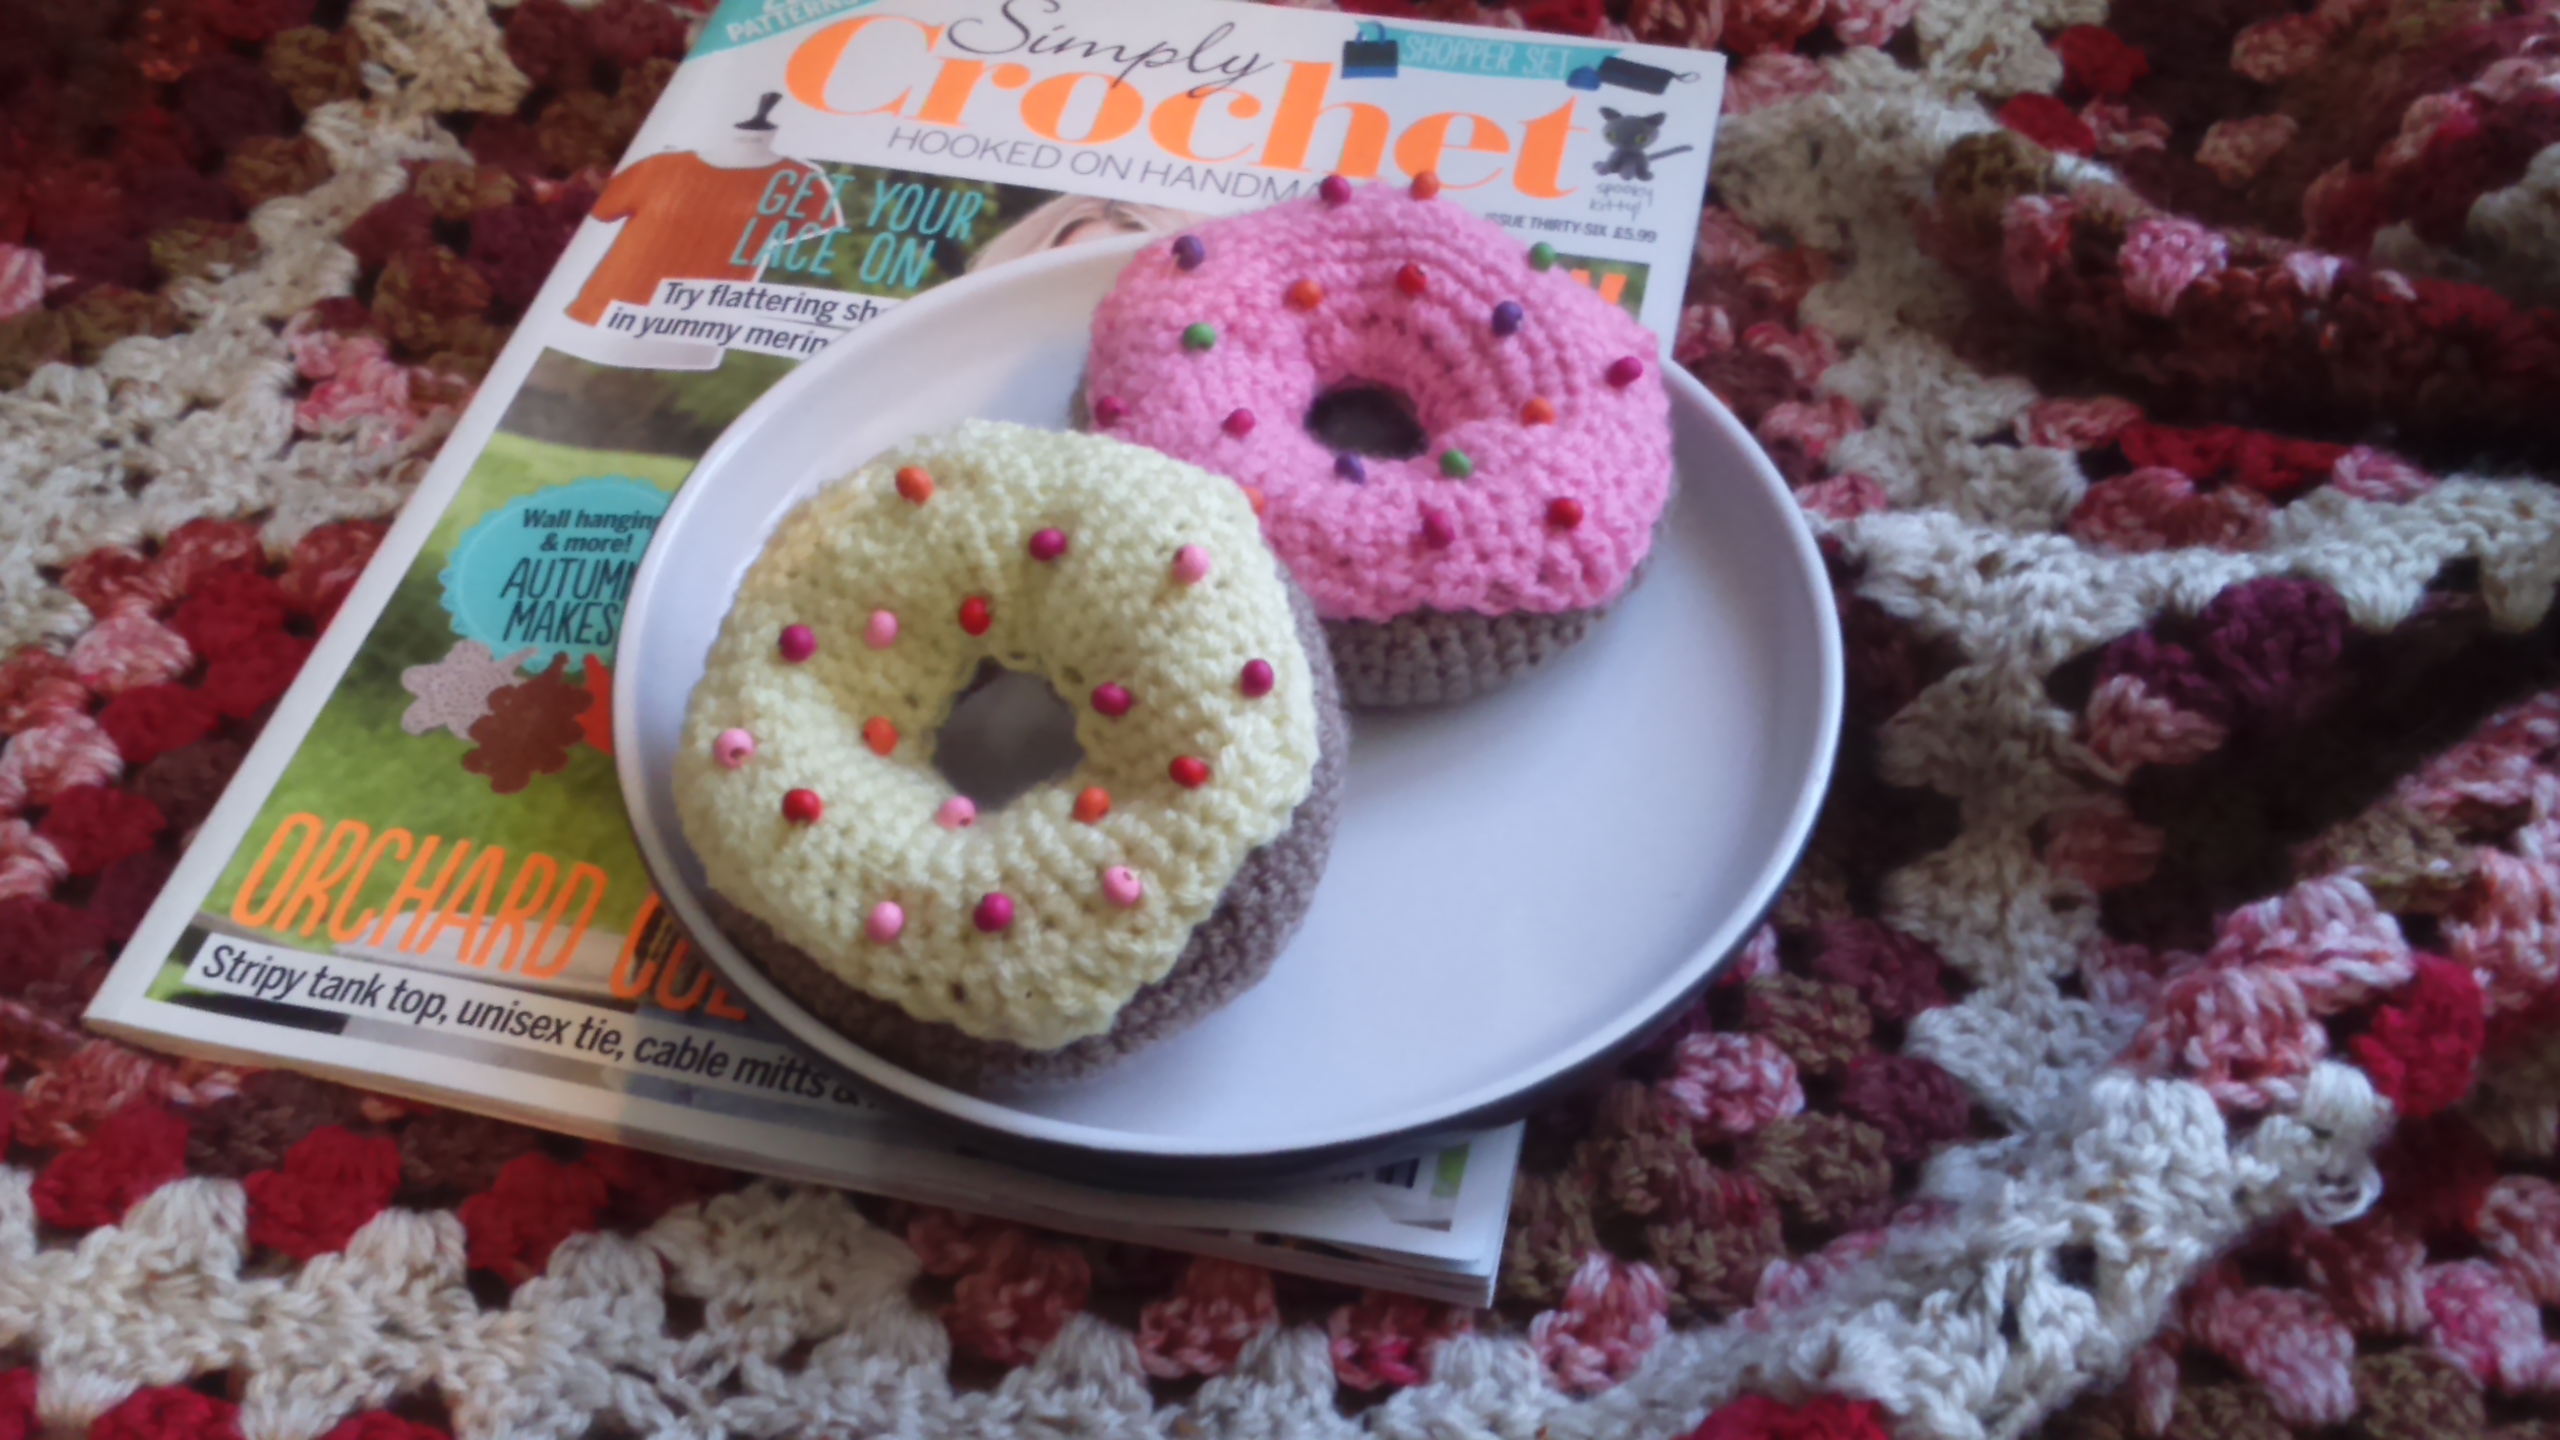
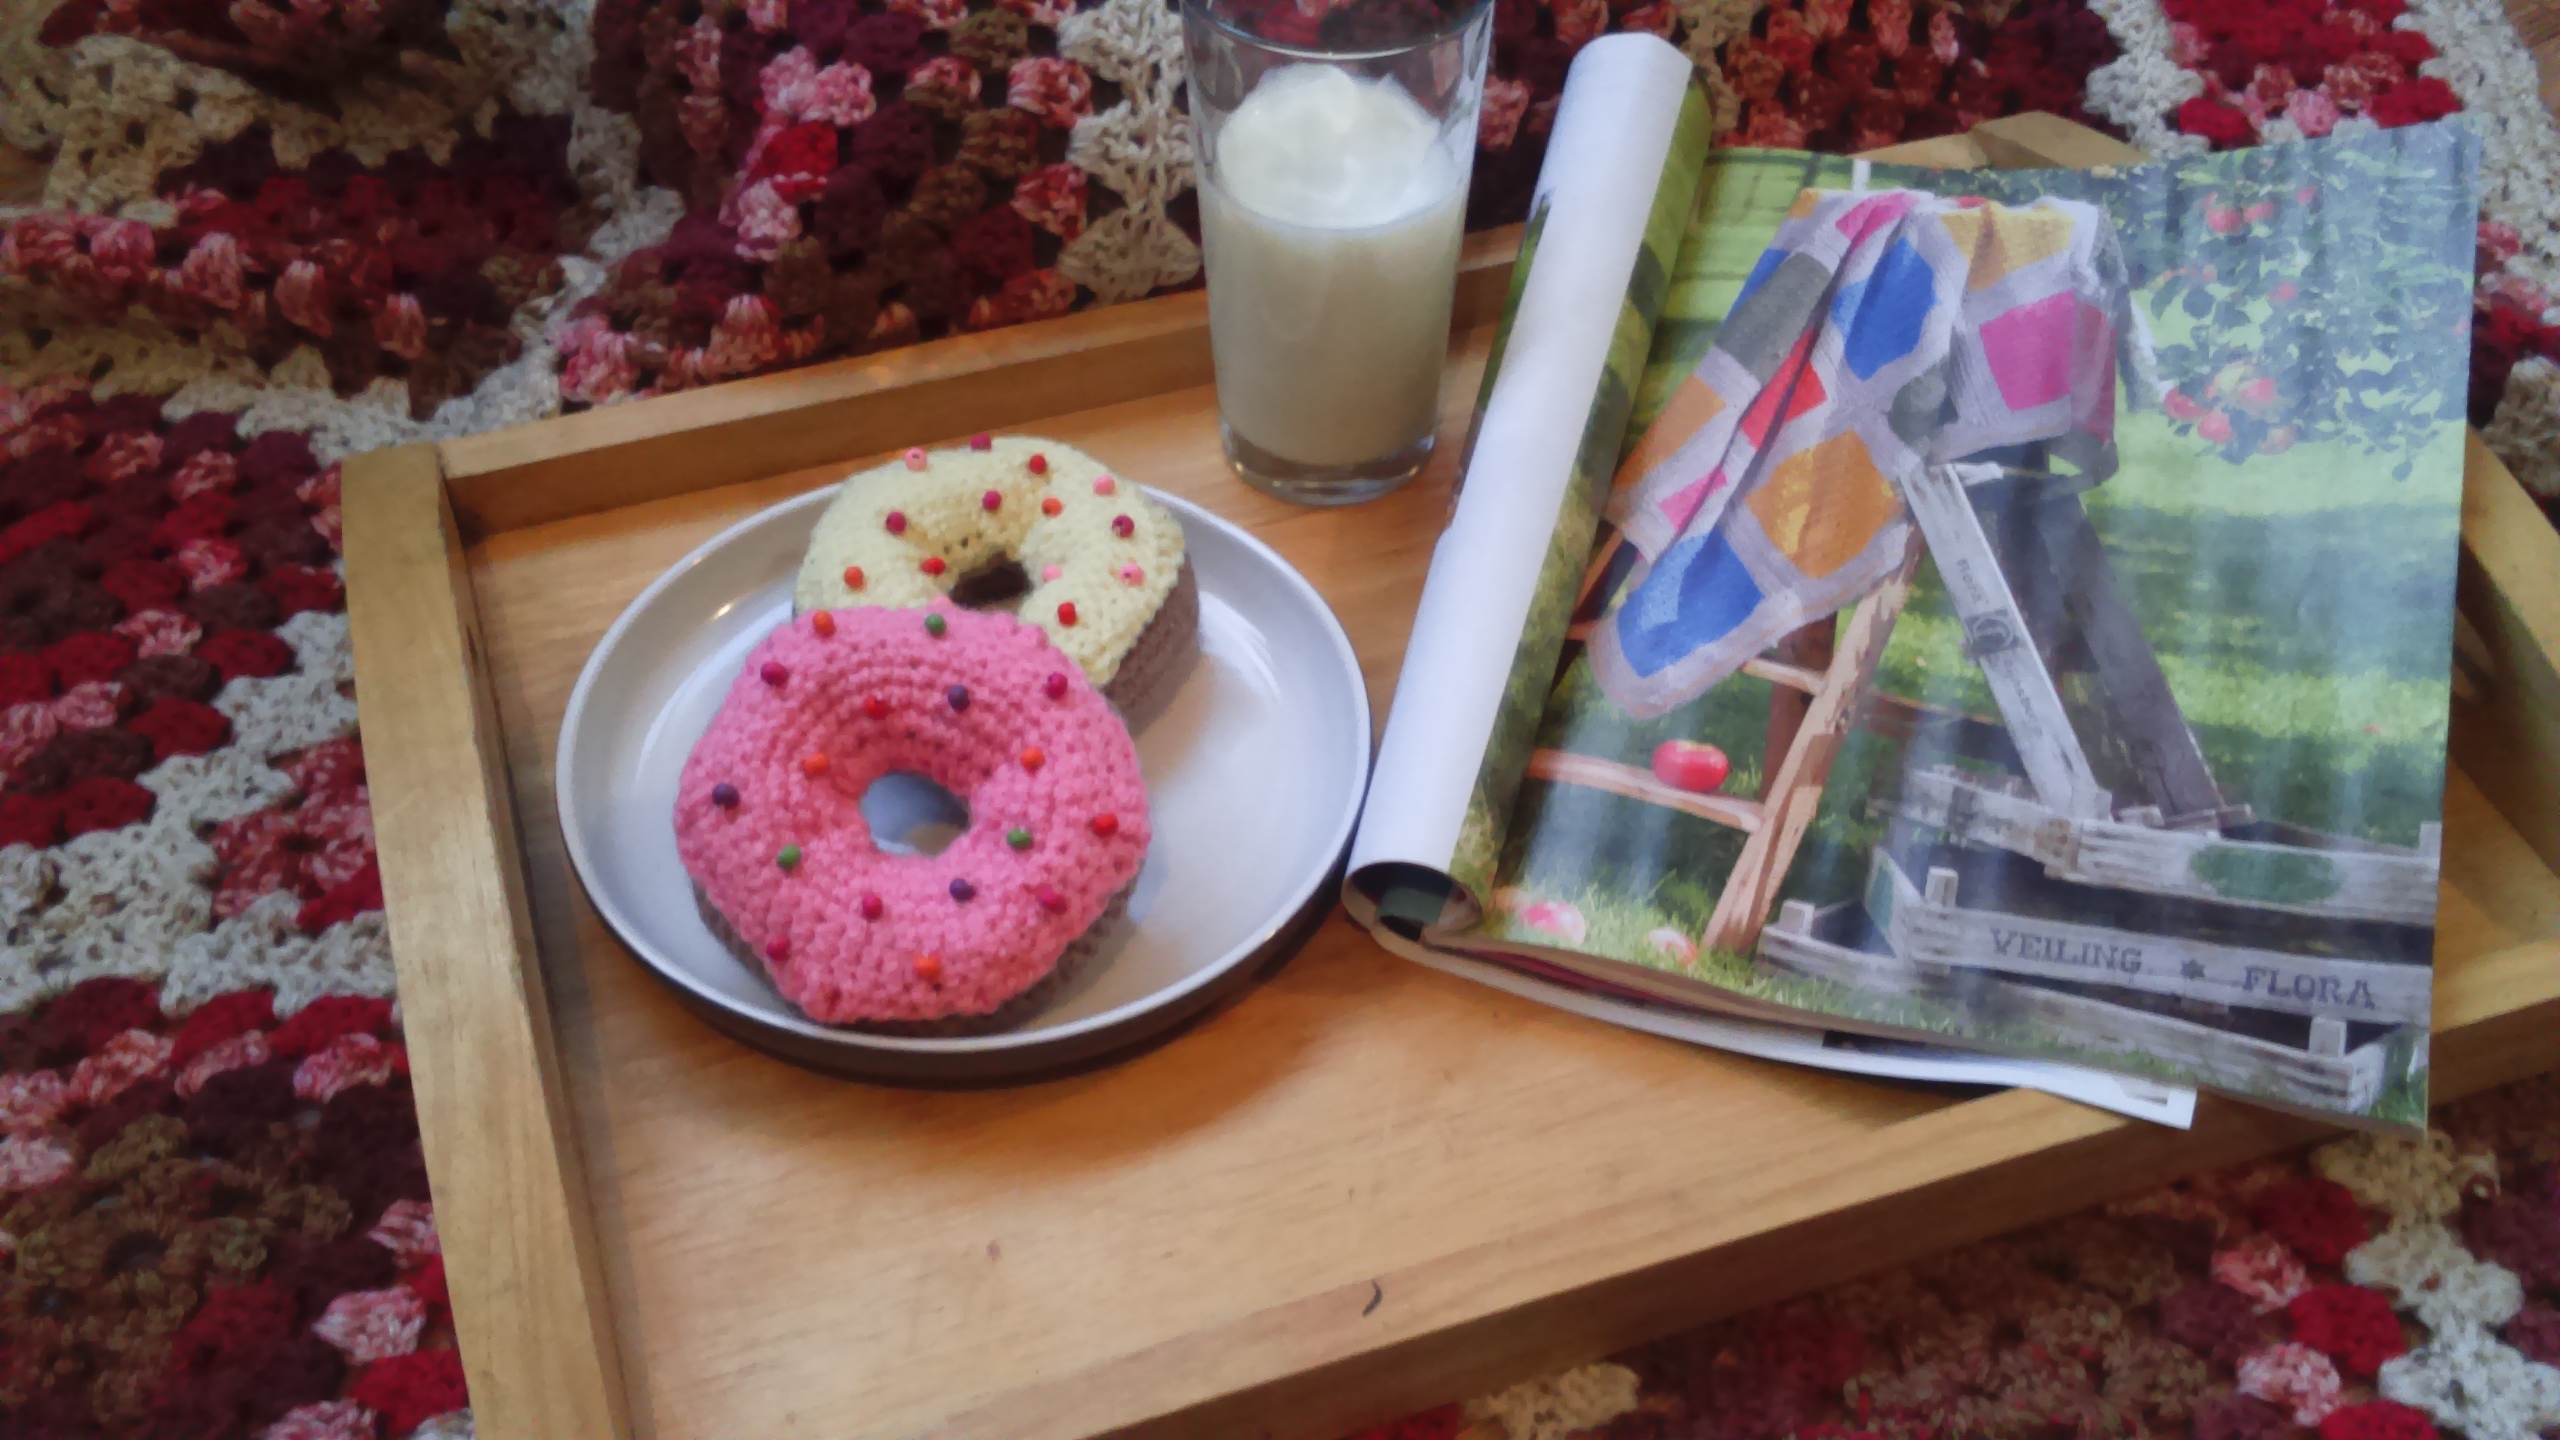
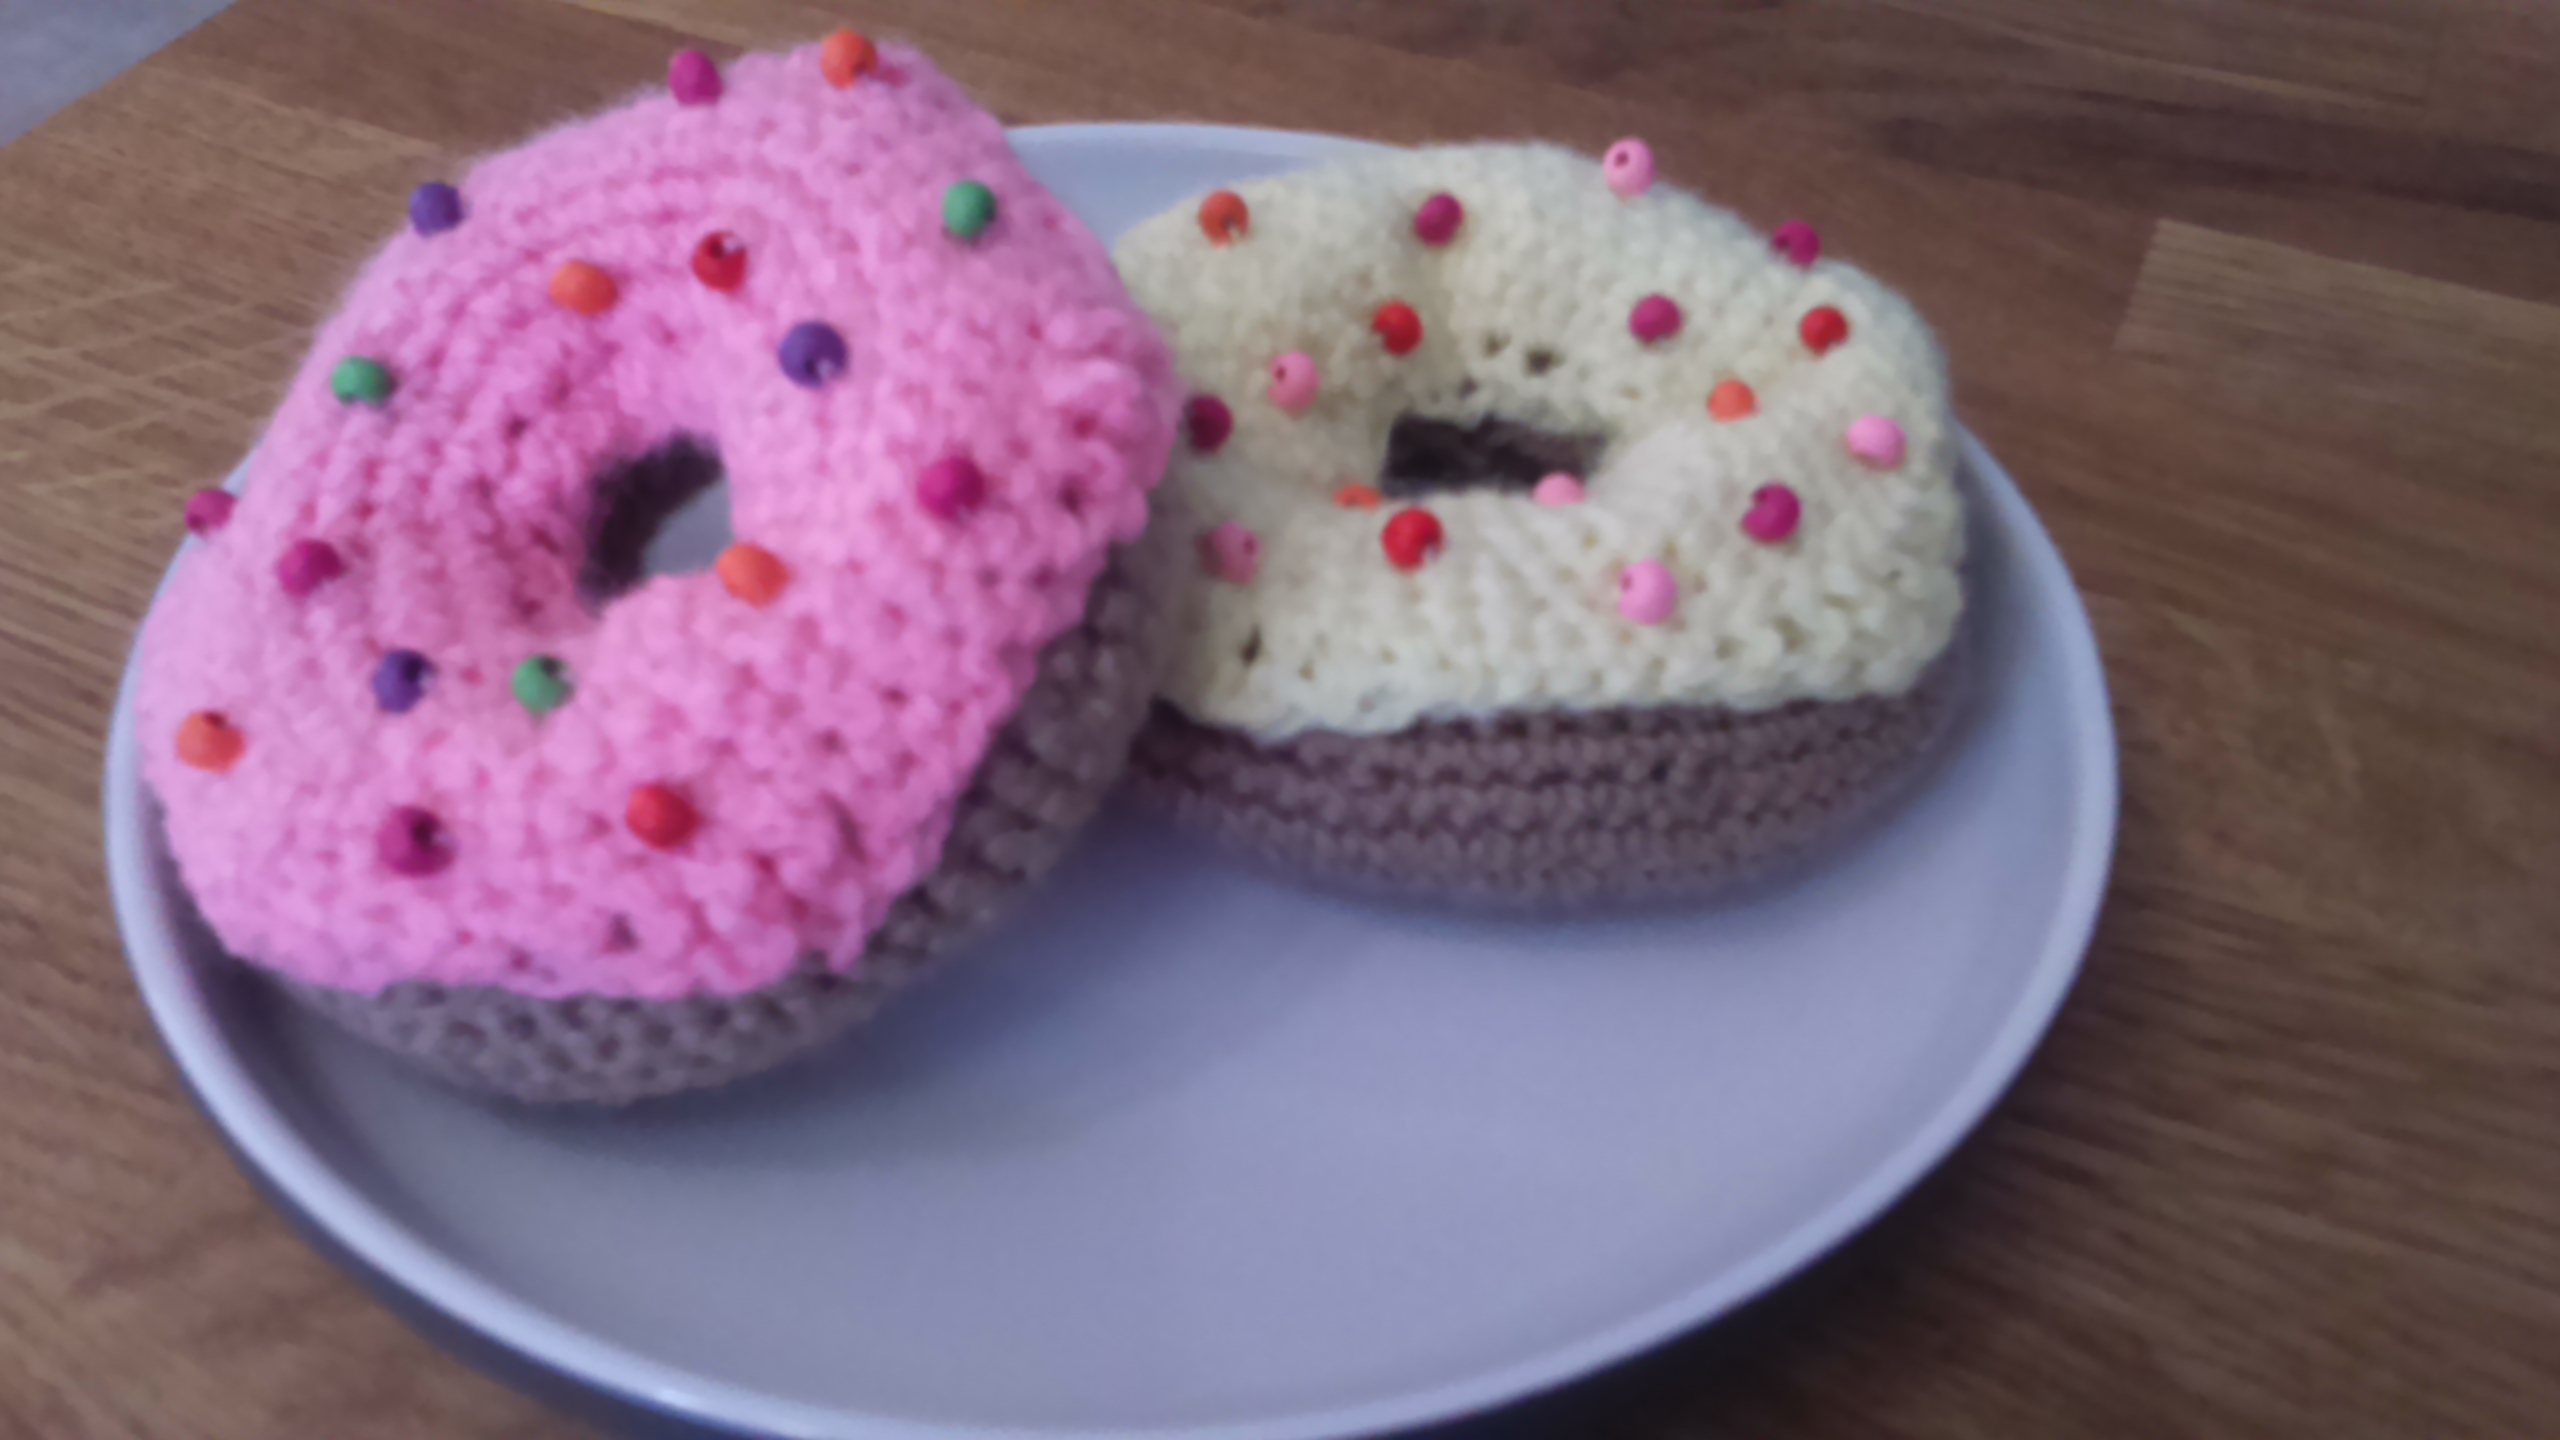
With my new kitchen install almost there and the ‘Robins nest’ returning to some resemblance of comforting family rhythm… I couldn’t resist hooking these sprinkle donuts…
Here is the pattern link ‘sprinkly donuts’ from The Adventures of a Gingerbread Lady
It’s that time of year…thinking of suitable teachers gifts. This year I have both my summer and autumn robin moving to secondary school, so I wanted to gift their teachers something special…
and fat and squishy
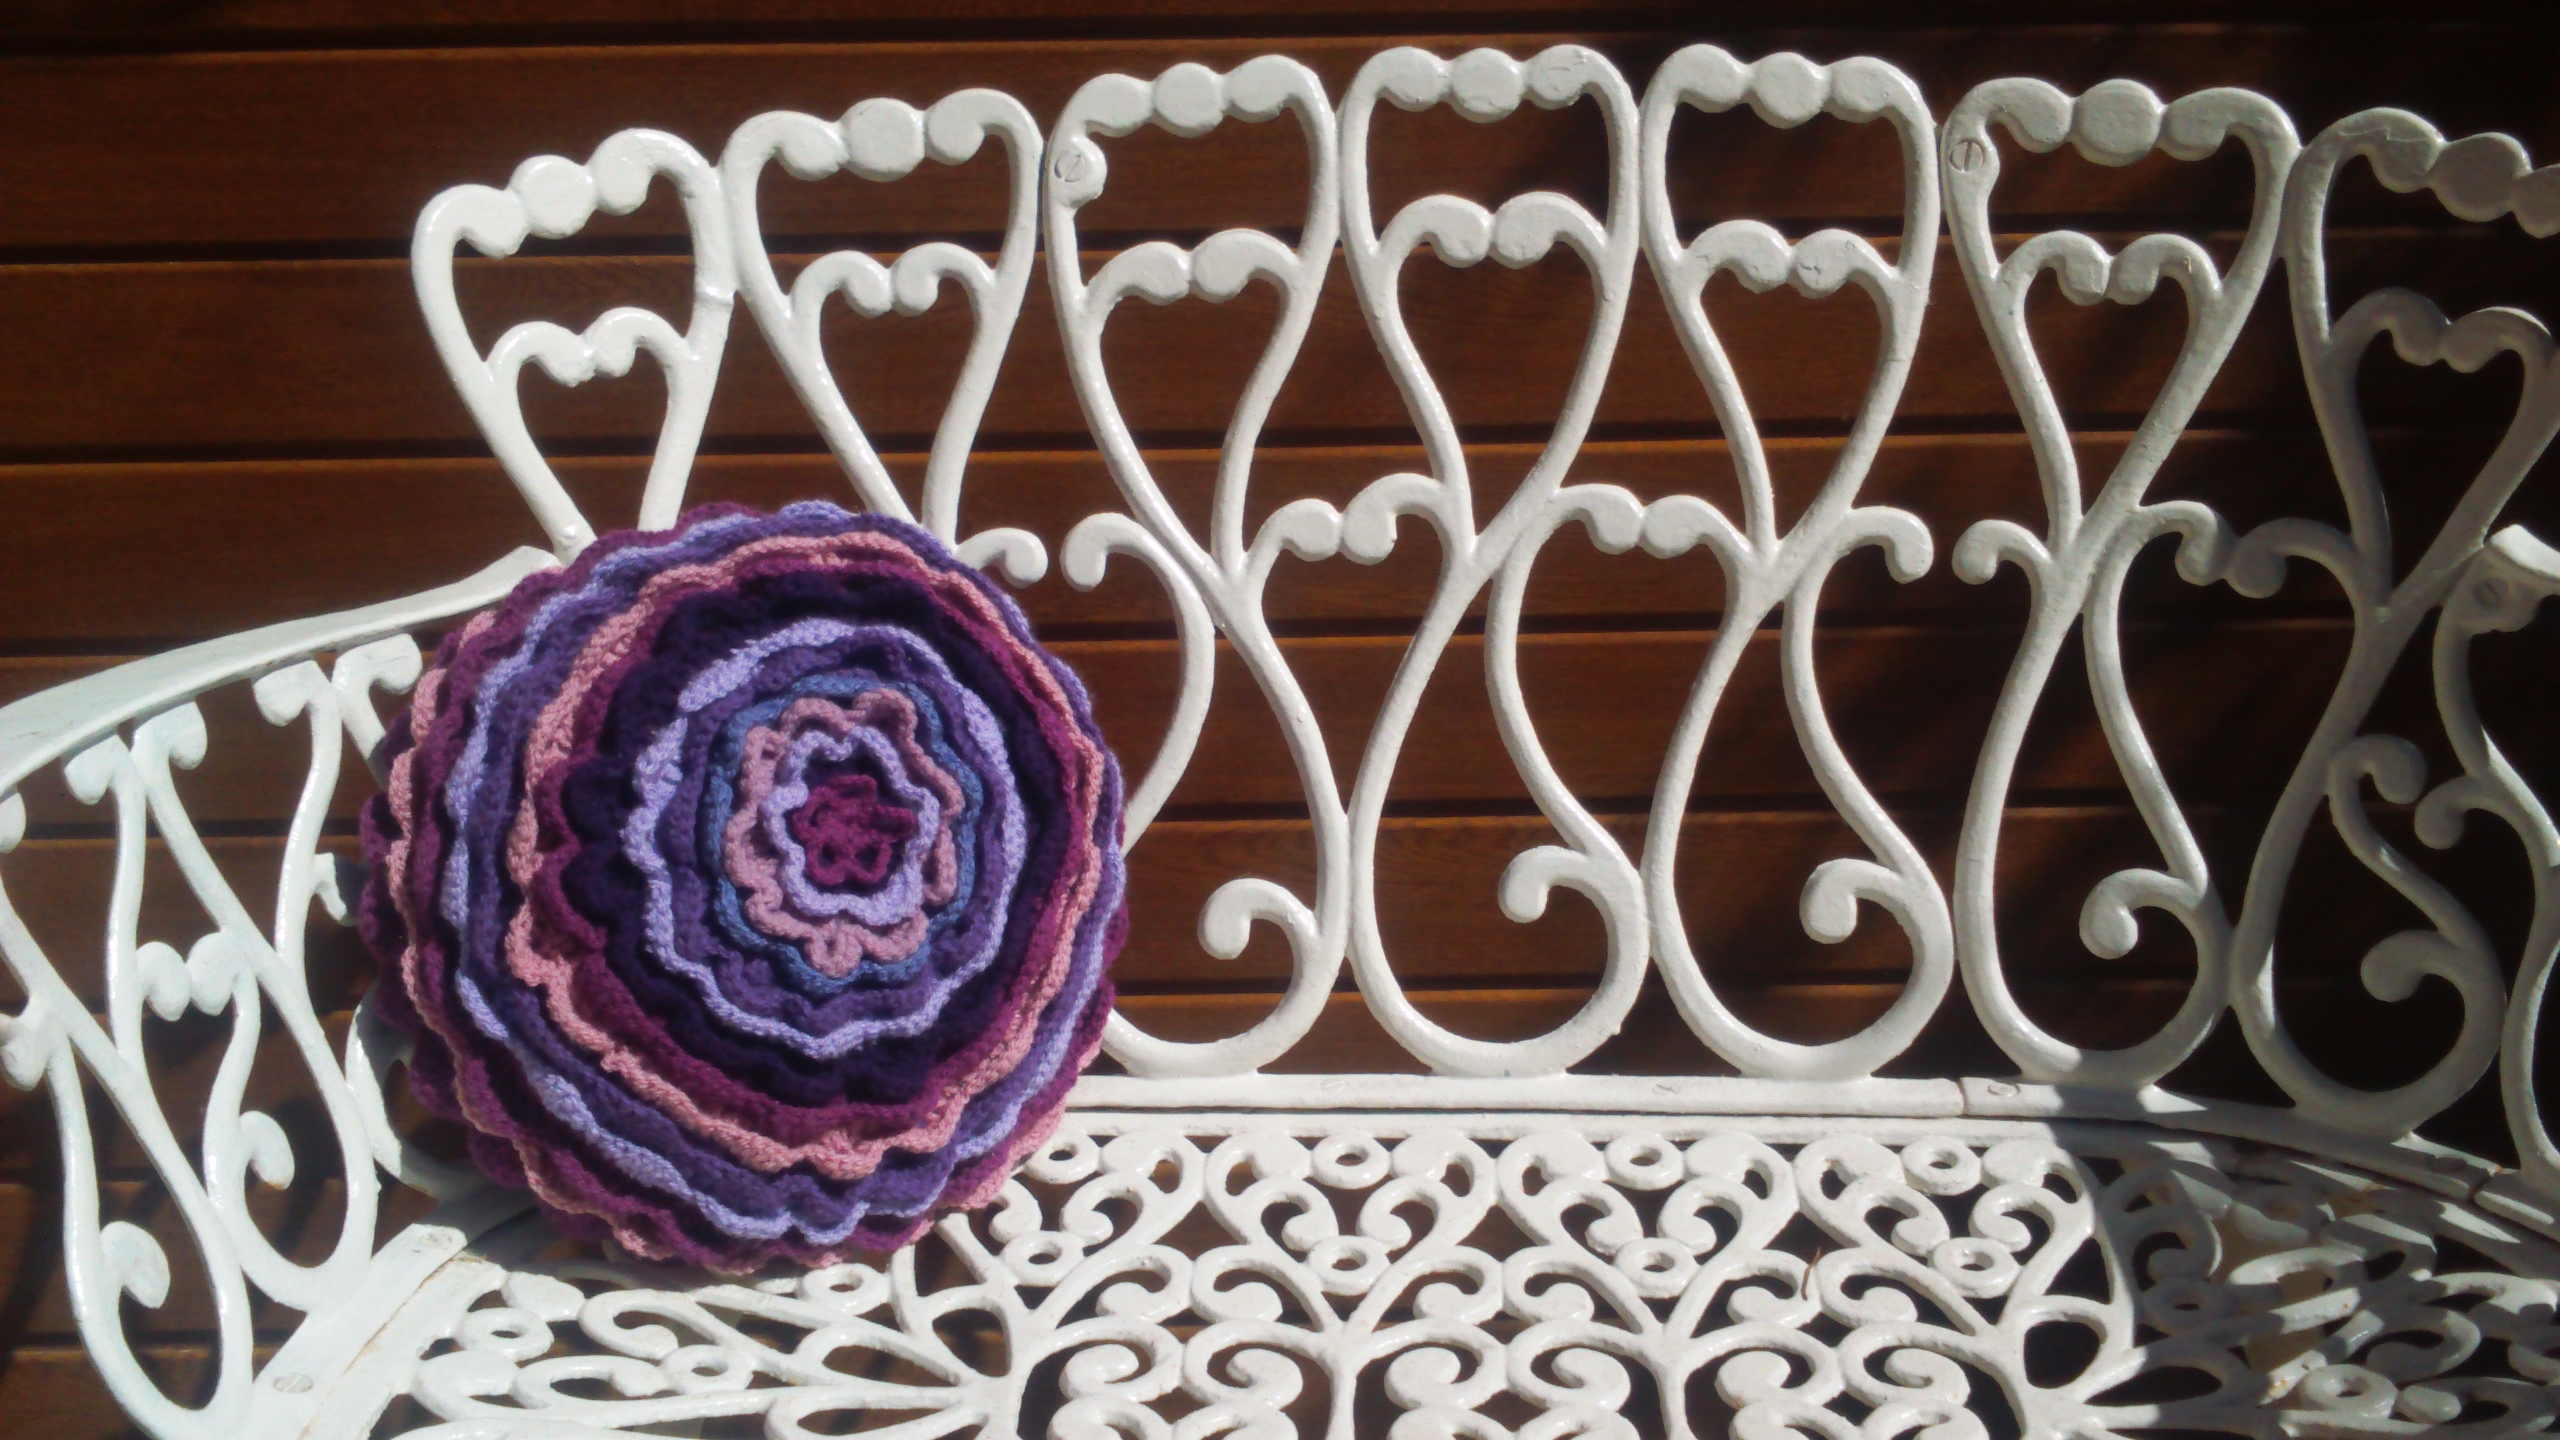
Well you might have known it would be something yarny!… isn’t it just lovely, a glorious blooming flower cushion for the classroom, made in their favourite colour-ways of course.
ripples of pretty petals
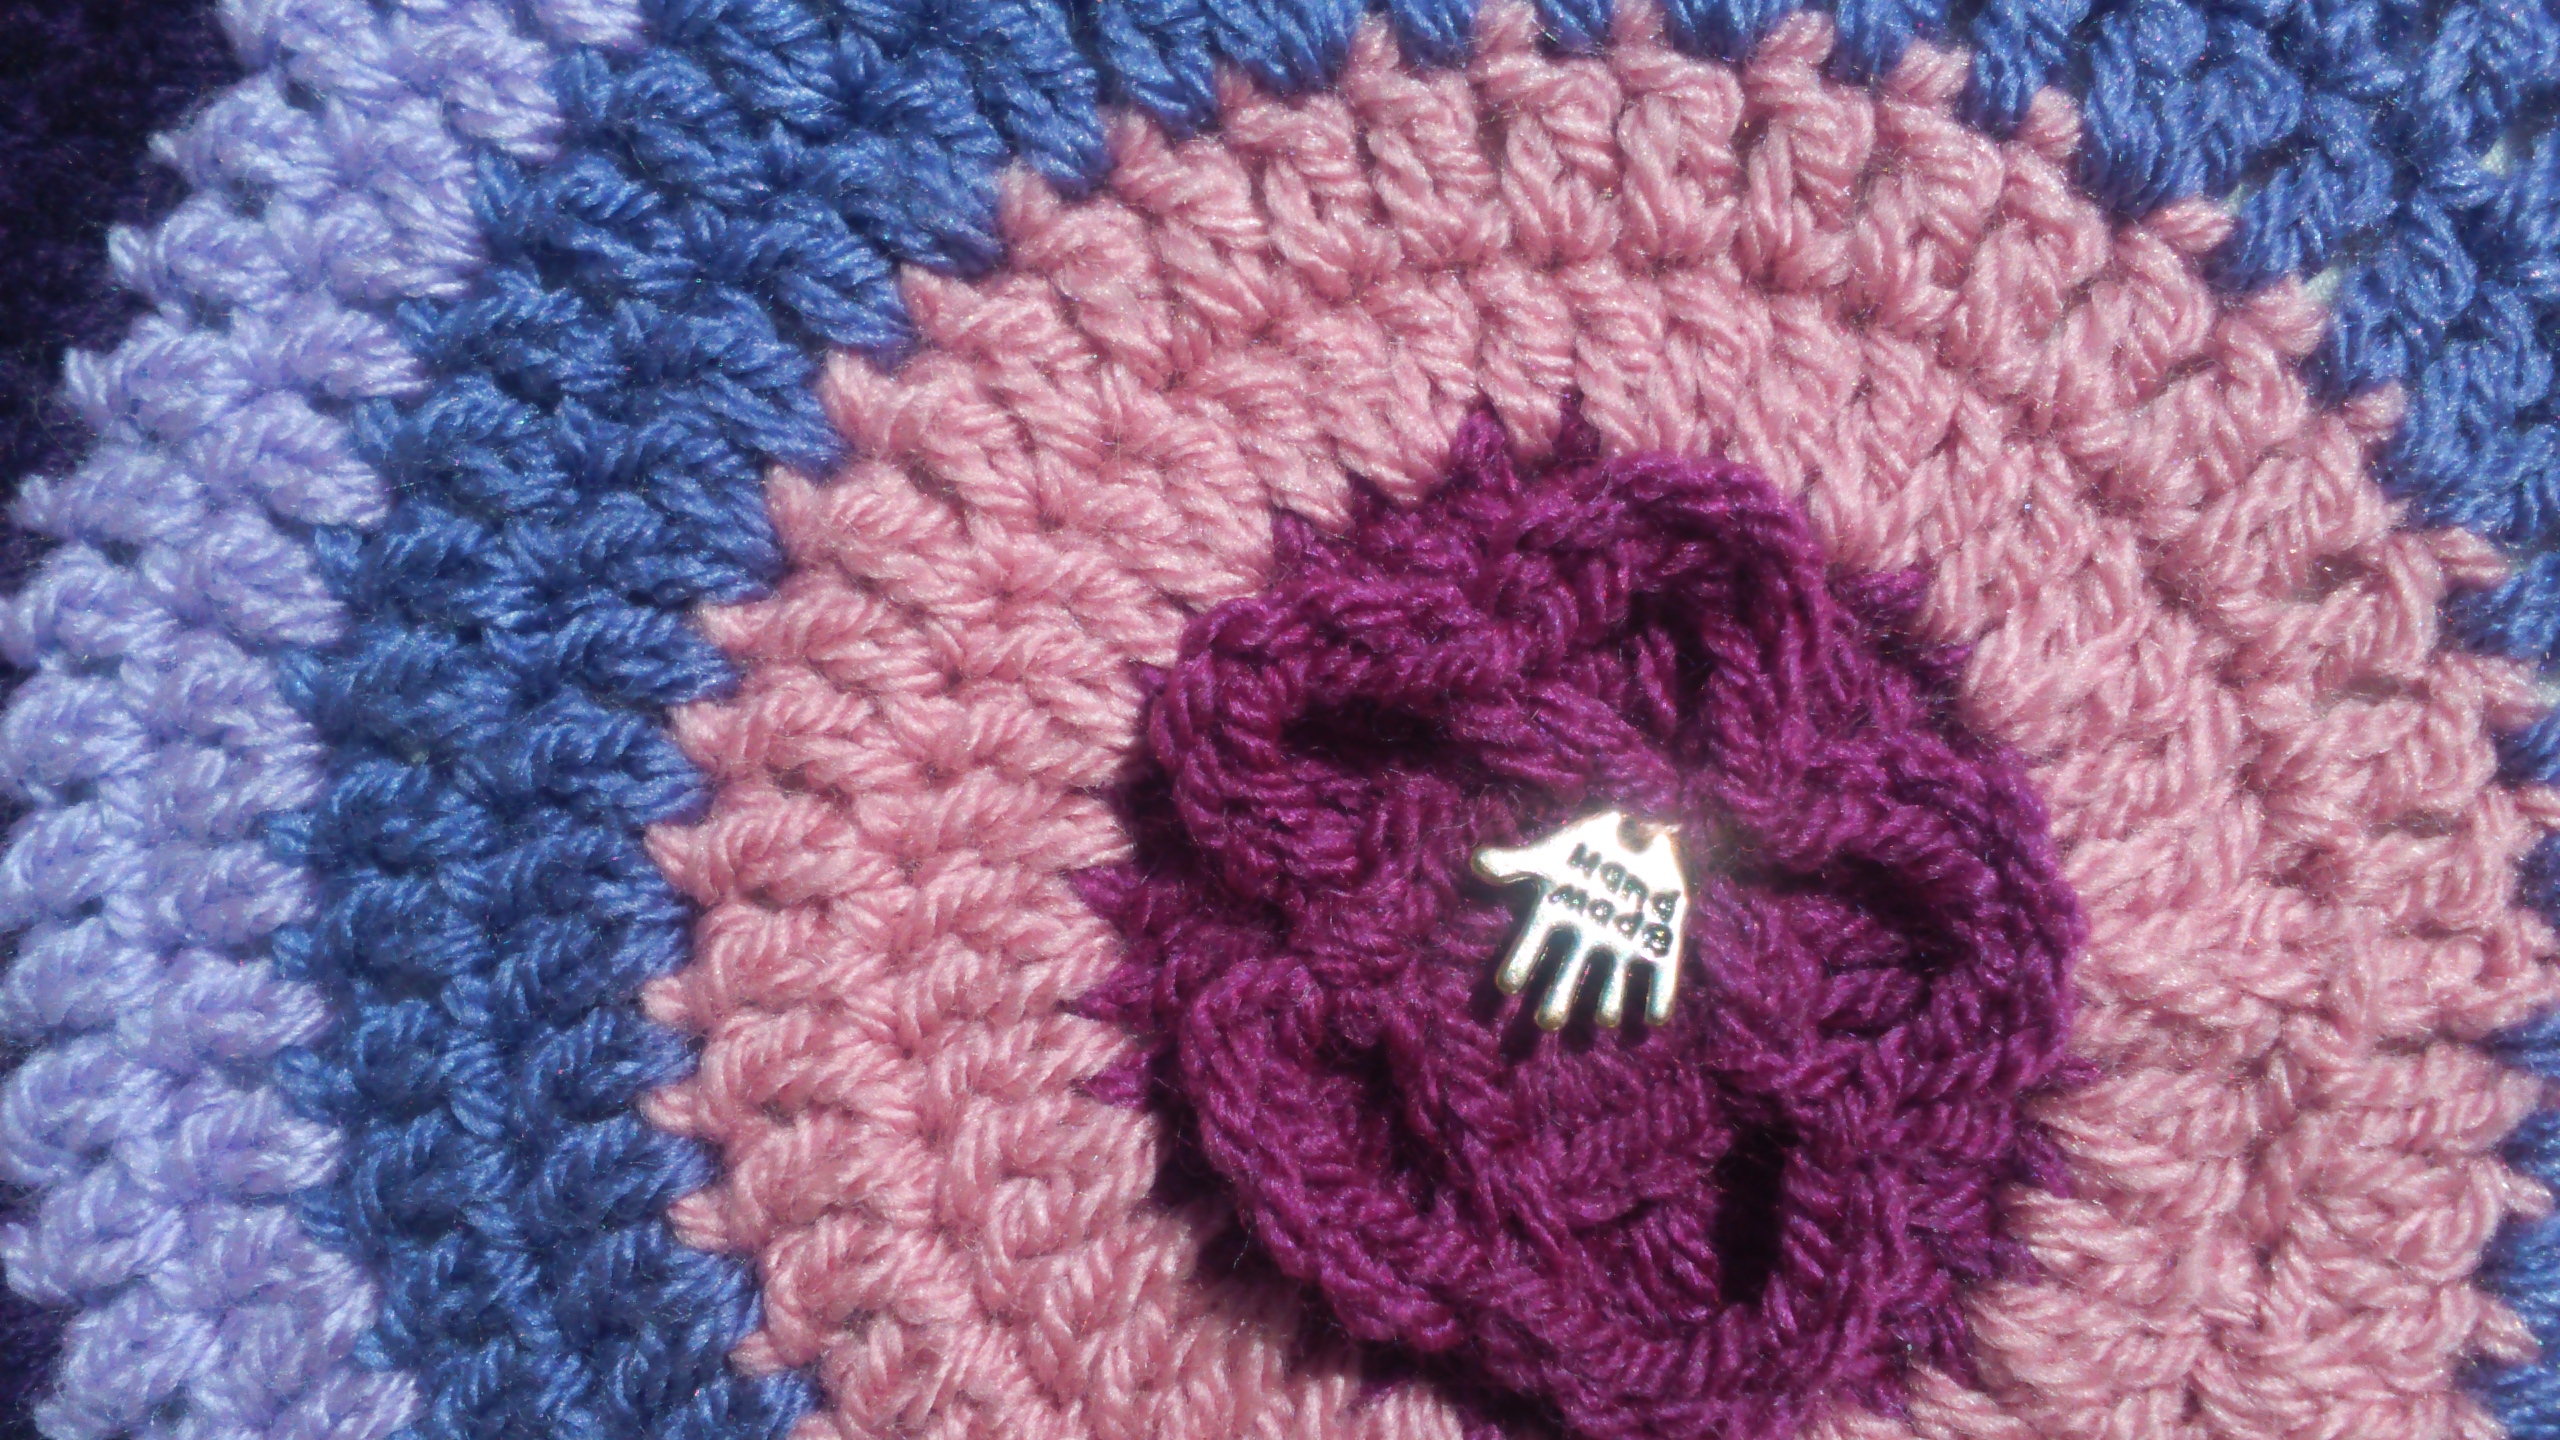
and a cute hand made notion on the back.
This one reminds me of the ripples in a pool…and then there is the pretty purple petals cushion
girly hooking at its finest
I chose to fill these cushions with 12″ feather cushion fillers which gives these classroom cushions a real plumpness which will last. With my new lounge almost at decorating stage I think that there will be more cushions coming off my hook very soon.


 Introducing the ‘Grandma Mary’ tea cosy…the first in the Grandma Collection


 2tr in next sp (the sp is the gap between the side of the first sts of each row), 2tr in next sp.
 Continue along the edge until you come to the top corner. 2tr in last sp, ch 1, 1tr in same sp.