Take a little look at this…

I couldn’t help it, I know I shouldn’t have: but I have been feeling very overwhelmed with this…

wp_20160404_18_22_37_pro

For the most part I can convince myself with the romantic notion of  setting my boys a good example of being a hard working Momma at University, with striving ambition and an avid determination to follow your dreams.  But, (huge sigh and just a little teardrop!)…right now it sucks!  So you see I couldn’t help but open my birthday present a whole week early.

wp_20160403_19_25_09_proIt is helping me with my mental health as I am so busy concentrating on learning a new skill, that there is no room for anxious thoughts about essays.

WP_20160403_19_24_13_ProSeed stitch…oh yeah!

xxxxx 

waiting…walking and a wooly dilemma…

As I have been waiting extremely patiently for the postman to bring me a yarn shaped parcel; walking has featured as a daily pass time since the weather has been so cheery.

WP_20160328_16_05_54_Pro

We have stomped over fields in the sunshine,

WP_20160328_16_07_03_Pro

rambled down pathways

WP_20160328_16_12_01_Pro

and climbed over gates.

WP_20160328_16_17_16_Pro

We have wandered through woodlands and I have admired the dappled sunshine dancing on the ground.  In the evenings I have been hooking this…

WriteOnImage635951127893990240

a light weight artfully simple angled scarf (designed by the very talented Tamara over at Moogly) in a 4 ply Sirdar country style yarn.  The colour is 0392….meh!  I do so dislike it when a colour just has a number and not a name.  It is a beautiful old pastel pink, which now I have started, I cant put down.

WP_20160330_12_48_29_Pro

Still waiting…we have visited orchards

WP_20160330_13_44_22_Pro

and  walled gardens

WP_20160330_12_39_49_Proand stumbled across these little guys (very cute indeed).

WP_20160330_14_48_40_Pro

Finally, a yarn shaped parcel arrived and a dilemma.

WP_20160330_14_49_32_Pro

Well, I just couldn’t resist this gorgeous wool alpaca blend in (0519) or charcoal grey.

WP_20160401_18_06_50_Pro

Nor this beautiful compilation of cotton.  So, now I have the Robins nest squares to finish, my artfully simple angled scarf and new yarn screaming “hook me, hook me!”  What a fabulously fantastic woolly dilemma to be in. xxxxx

Easter yarn shortage…

Following some much needed soul restoration on Friday, the theme has lingered here at the nest over the Easter weekend; and I can deleriously report is continuing today too.  However, hooking  came to a very abrupt halt yesterday!

WP_20160325_16_43_13_Pro

After a chaotic but funny Easter egg hunt, in which I muddled the clues up somehow;  and hearty singing of praises in church. Followed a mixed weather walk just down by the brook,

WP_20160325_16_45_13_Proup over the big field and back home through the daffodils…my favourite flowers in the whole world.     

WP_20160325_17_36_13_Pro

I love carefully picking my way back home through this flowery path…

WP_20160325_17_36_21_Pro

Back home for some quiet hooking

WP_20160328_10_59_25_Pro

which was fine until…

WP_20160328_10_59_38_Pro

I realised I had  only this much red cotton left and four robins nest motifs left to square…I told you the hooking came to an abrupt halt!  Which was only soothed by this wonderful Easter tray that I received from my lovely brother and Sister in Law (Thank you Kate xx)

WP_20160328_11_05_59_Pro

Which proved just perfect to hold my coffee whilst I ordered more yarn

xxxxx

Soul restoration…

After a long hard slog I now have 2 out of 3 of my essays done…but it has been hard, not just for me, but for the whole of the Robins’ nest clan.  So with the sun shining it was time to restore the soul with some non academic (no not a single reference required here!) time together.  However, it didn’t quite work out as planned.  Mr R had to work… ON A BANK HOLIDAY! and summer and autumn robins, well they are growing up and wanted to go out with their mates…so that just left me and my little Robin to go and play.

WP_20160325_14_46_35_Pro

Pitch and putt, all 18 holes in the sunshine.

WP_20160325_14_45_36_Pro

I spent a lot of time trying to get out of bunkers…

WP_20160325_15_27_50_Pro

and trying very hard not to misplace my golf ball in the river that ran alongside some of the course.

WP_20160325_15_03_19_Pro

After the successful execution of hole 9, we had a half time interval of ice cream and popcorn…much needed foods when soul restoration is in progress!WP_20160325_14_50_11_Pro

before, more rounds of golf…

WP_20160325_14_57_49_Pro

and more time spent trying to get out of bunkers!

WP_20160325_14_49_14_Pro

Soul Restored…

xxxxx


weekend update and a BIG thank you…

So how was your weekend?

I spent mine amongst the study books, so didn’t get much hooking time.  I did have way too many children in the house, making a lot of noise (not great for studying!)

WriteOnImage635941692493326581


I also had family over for Sunday lunch, which was so great to just kick back and relax.  Although I didn’t get to hang out with my yarn stash much, I did manage some sneaky hooking during a long game of monopoly.

WriteOnImage635941691387063233


and I just want to say a BIG thank you to everyone who has sent me comments about the new look around here…you are always so positive and it means the world to me

WriteOnImage635941691890769197


xxxxx

joining with a double crochet


wpid-wp-1442067943122.jpeg

I’ve been asked several times to put together a tutorial about how I joined my 100 patch granny square blanket… so here it is…

wpid-wp-1442067950877.jpeg

I love joining squares with a double crochet (dc) English terminology that is…single crochet if you use American speak!  The reason is that lovely little ridge which just frames each square.

WriteOnImage635941899374294357


The hard, but fun part is deciding upon the placement of each tiny square, but once you have made your mind up the joining together is quick and easy.

To download the pdf version click here, otherwise full instructions are below:


wpid-dsc_0549.jpg

To join two rows take 2 squares, and place them together so that the corners align.  The front of squares should be facing outwards….(the back of one square should be facing the back of the other square)

wpid-dsc_0550.jpg

With the joining yarn, pull through a loop.  Leave a long tail (for weaving in later!) and for now just hold securely behind your work, until you have made a few stitches.

wpid-dsc_0553.jpg

Ch1, then dc in the same space.  Taking the hook through both squares, as shown.

wpid-dsc_0555.jpg

taking the hook through both squares stitches; dc in each of the next 4sts, then dc in space,

wpid-dsc_0558.jpg

dc in next 4sts, then dc in space.

wpid-wp-1442067585656.jpeg

your squares are now joined, but do not fasten off.  If you open your squares out you will notice that there is a little ridge along the one side….this is the front side of your work.  

wpid-wp-1442067603481.jpeg

The back of your work will look like this.

Top  tip, always note the front and back of your work…it is soul destroying to find out that you have some ridges on the front and some on the back of your work; then spending ages having to unpick all that hard work!!

wpid-wp-1442067631310.jpeg

Taking two more squares, align corners as before… front sides facing out, and ridge of previous squares facing up!  Dc in corner space, then dc in next 4sts, dc in space, dc in next 4 sts.

wpid-wp-1442067658749.jpeg

Repeat this process until you have joined two rows of squares. Fasten off at the end and leave a long tail again! 

wpid-wp-1442067694210.jpeg

For the 100 patch granny blanket there were 10 squares per row.  

As you can see, the squares are just joined along one side.

wpid-wp-1442067708496.jpeg

Put to one side and repeat the process x 4 more times, so that you end up with x5 lots of joined double rows.

wpid-wp-1442067885594.jpeg


Next lay out the double rows adjacent to each other.  The next stage is to join the double rows together horizontally.  With right sides facing up (ridge side up), align the squares adjacent to one another. 

On the right edge, pull through a loop in the corner space with your joining yarn, ch1, dc in same space.  Dc in next 4sts, dc in space, dc in next 4 sts.

wpid-wp-1442067805758.jpeg

Continue along the row, making sure 1dc is placed in each st and in each space.  Fasten off as before at the end of the row, remembering to leave a long tail for weaving in purposes.  Repeat until all 10 rows are joined horizontally.

wpid-wp-1442067825534.jpeg

You should now have a 100 squares all joined horizontally.  


wpid-wp-1442067872312.jpeg

Your next task is to join the squares vertically.  I found this easier to do by flipping the work around and hooking the verticals, horizontally…if that makes sense!!  As in the picture above… the completed joining ridge you can see is the horizontal join previously completed.

wpid-wp-1442067893886.jpeg

The process is the same… with chosen joining yarn (leaving a long tail, ch1 in edge corner space, dc in same space, 1dc in next 4 sts, dc in space, 1 dc in next 4sts, dc in corner space…as above.

wpid-wp-1442067902444.jpeg

Taking hook over the top of horizontal ridge, dc in next corner space as shown and repeat.  Making a dc in each space and in each st along.  Making sure to take the hook over any horizontal ridges before placing a dc in the following corner space.

100 patch granny

Repeat process for each vertical run.

wpid-wp-1442067950877.jpeg

Then weave in those ends, ready to border.

xxxxx


Robin’s nest square

WriteOnImage635941689278682349

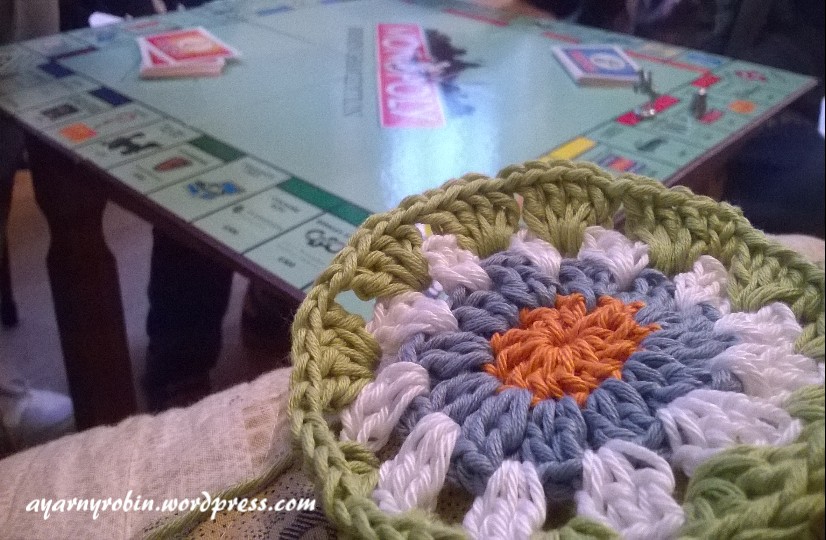
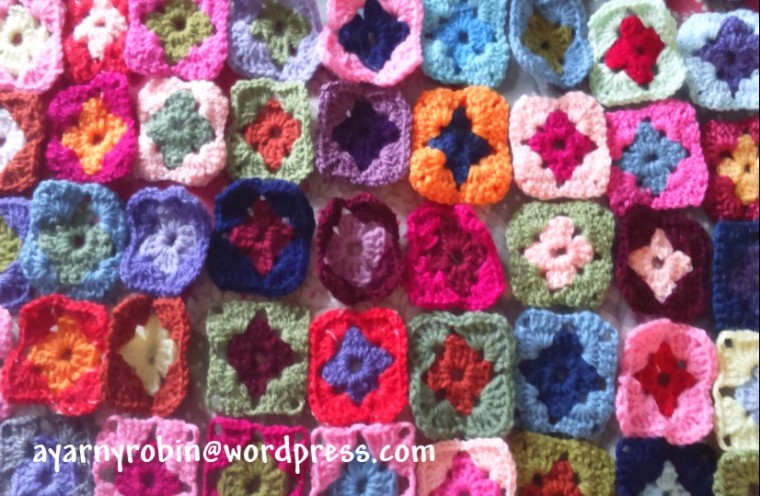
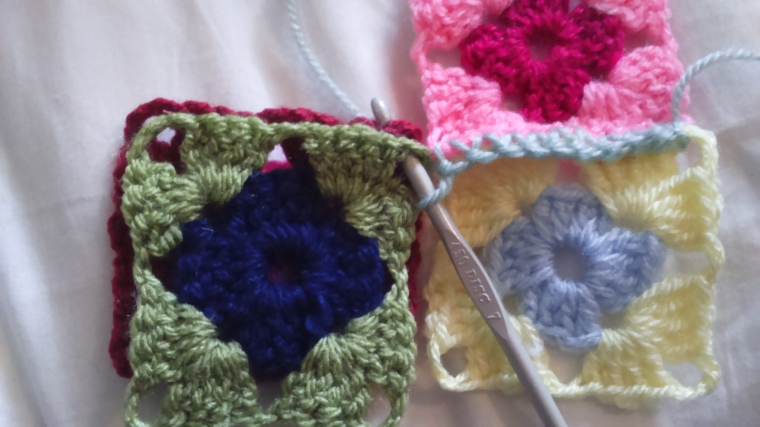
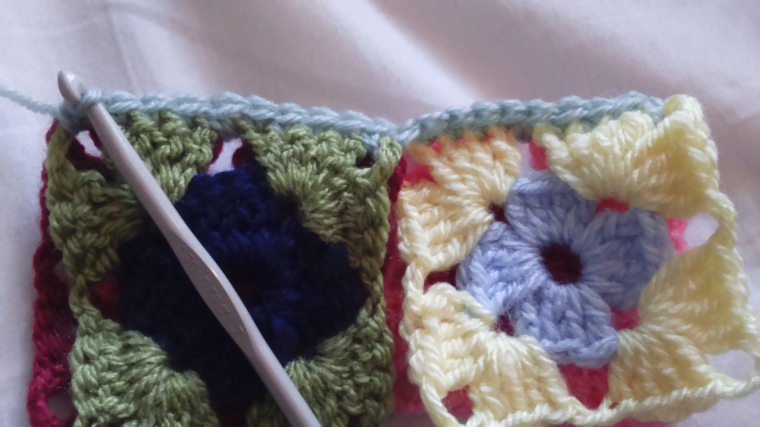
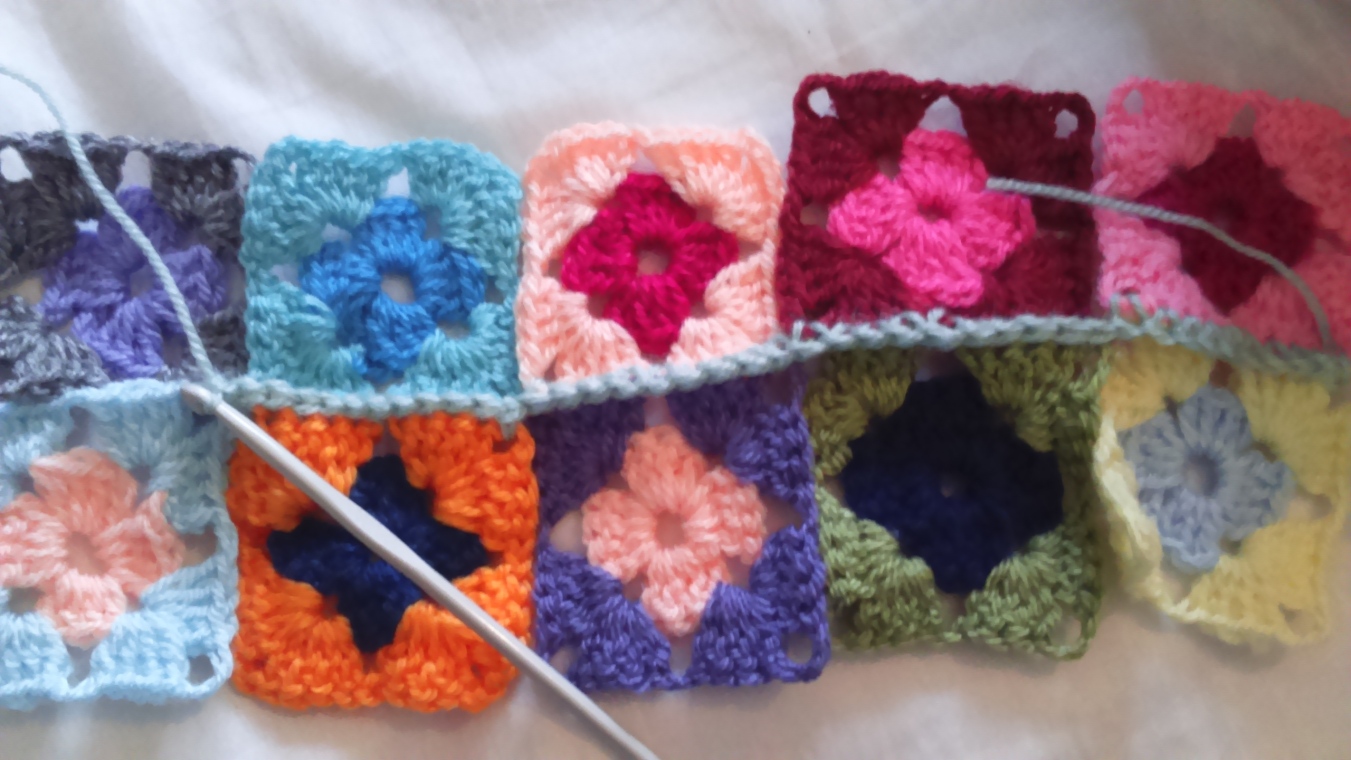
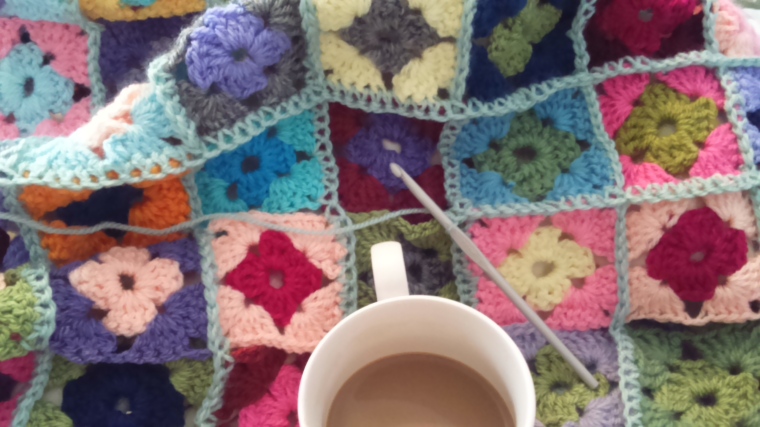
   How can x2 part completed quilts just get mislaid????  That is the question I am pondering this week.  Several years ago I started on two lovely quilts and I cant find them anywhere.  However I did find this…

DSCF4491_1__medium2

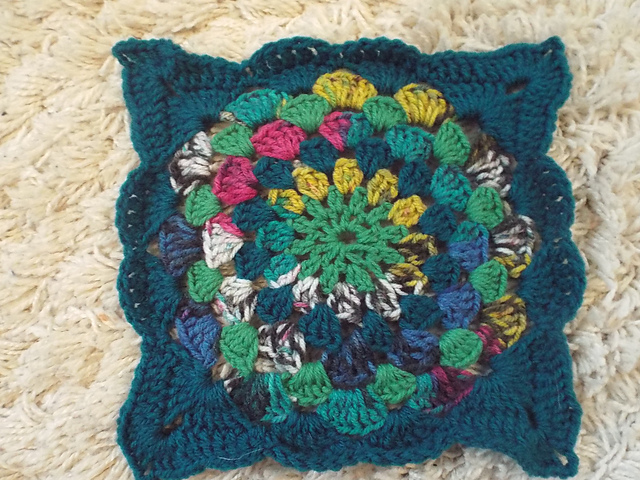
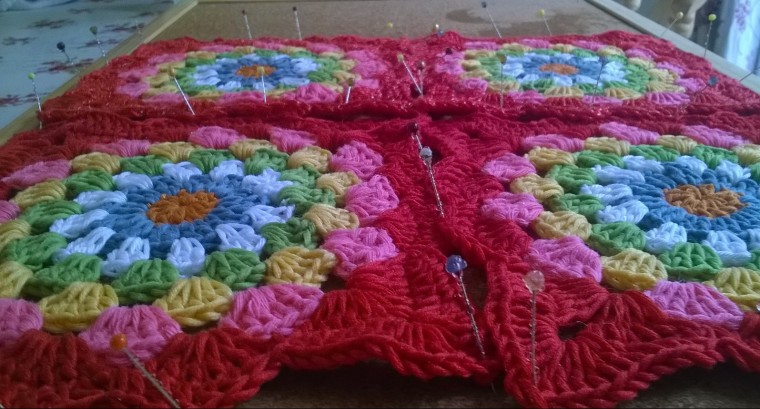
A square I hooked several years ago… along with my scribbled notes on the pattern.  So I hooked up a new one and thought I’d share.  

As always I’m using English crochet terminology.

Ch – chain

Slst – slip stitch

dc – double crochet  

tr – treble crochet  

ch3 – counts as a treble unless otherwise stated.  

I’m using drops muskat cotton 

dsc_1012.jpg

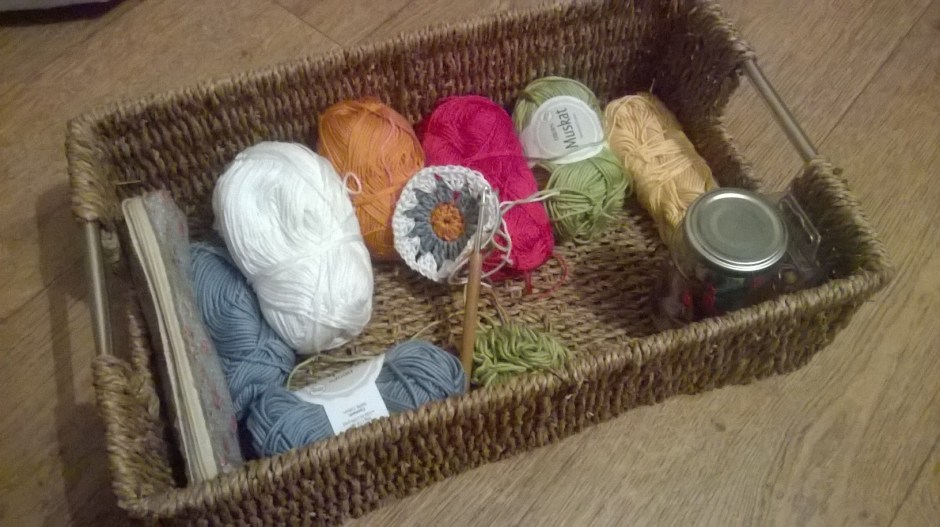
and I’m using the colours listed below

red

old pink

white

vanilla yellow

dark orange

sky blue

apple green

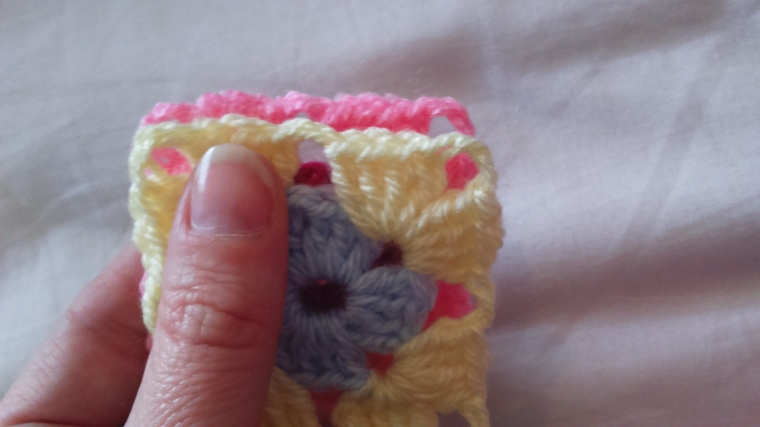
and a 4mm crochet hook. This lovely yarny square measures 7″ x 7″ or 18cm x 18cm once blocked.  To download a pdf version click here, otherwise full instructions are below. 

So here goes…

ch2, join with ss to form a tiny ring

wp_20160225_20_54_35_pro

Row 1: ch3,

WP_20160225_20_55_19_Pro

11tr into ring,

WP_20160225_20_58_30_Pro

join blue yarn and  slst into 3rd ch

(12tr in total).

WP_20160225_21_00_24_Pro

Row 2: ch3,

wp_20160225_21_04_47_pro

1tr in same space, ch1

WP_20160225_21_05_28_Pro

2tr in next st, ch1

WP_20160225_21_09_20_Pro

*2tr in next st, ch1*, repeat * * x10 times,

WP_20160225_21_14_31_Pro

slst into 3rd ch

(12 clusters of 2tr).

Row 3: join white yarn in any ch space, ch3,

WP_20160225_21_21_55_Pro

2tr in same sp, ch1

WP_20160225_21_23_18_Pro

*3tr in next ch space, ch1*

repeat * * x10 times

wp_20160225_21_52_33_pro

join with slst in ch3

(12 clusters of 3tr).

Row 4: join green yarn in any space and ch3,

wp_20160225_21_55_45_pro

3tr in same sp, ch1

WP_20160225_21_56_40_Pro

*4tr in next space, ch1*,

WP_20160225_21_57_41_Pro

repeat * * x10 times,  join with slst in ch3

(12 clusters of 4tr)

WP_20160225_22_04_07_Pro

Row 5: join yellow yarn in any space and ch3,

wp_20160225_22_06_27_pro

4tr in same sp, ch1

WP_20160225_22_07_40_Pro

*5tr in next space, ch1*,

WP_20160225_22_08_45_Pro

repeat * * x10 times, join with slst in ch3

(12 clusters of 5tr)

WP_20160225_22_16_07_Pro

Row 6: join pink yarn to any space and ch3,

5tr in same sp, ch1,

*6tr in next sp, ch1*,

repeat * * x10 times, join with ss in ch3

(12 clusters of 6tr)

wp_20160225_22_33_42_pro

Row 7: join red yarn in any space, ch3,

wp_20160225_22_37_53_pro


5tr in same space,

WP_20160225_22_38_47_Pro

ch3,

WP_20160225_22_39_08_Pro

6tr in same space (corner made),

WP_20160225_22_40_20_Pro

*6tr in next space, 6tr in next space,

WP_20160225_22_43_51_Pro

6tr in next space, ch3,

WP_20160225_22_45_14_Pro

6tr in same space*        (2nd corner made),

WP_20160225_22_46_02_Pro


repeat * * x2 times

WP_20160225_22_48_44_Pro

WP_20160225_22_51_41_Pro

6tr in next space, 6tr in next space, join with slst in beginning ch3.  Do not fasten off.

Row 8: ch3,

wp_20160225_22_56_06_pro

1tr in next 5sts,

WP_20160225_22_59_07_Pro

*6tr in ch3 sp,

WP_20160225_23_00_01_Pro

ch2

WP_20160225_23_00_21_Pro

6tr in same space (corner made),

WP_20160225_23_01_34_Pro


1tr in next 5sts,

WP_20160225_23_02_43_Pro

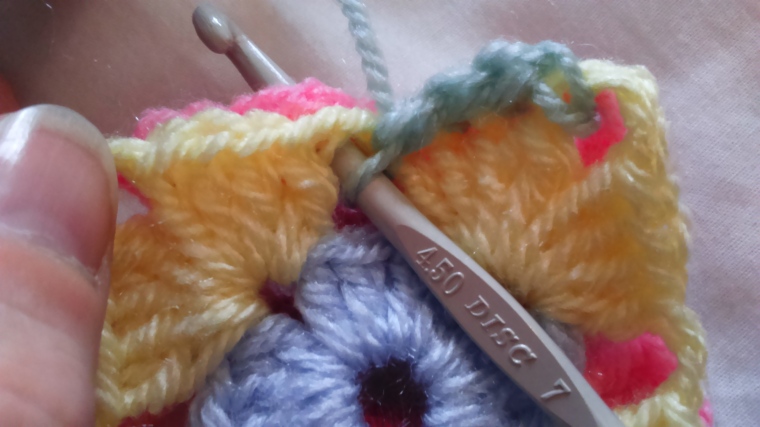
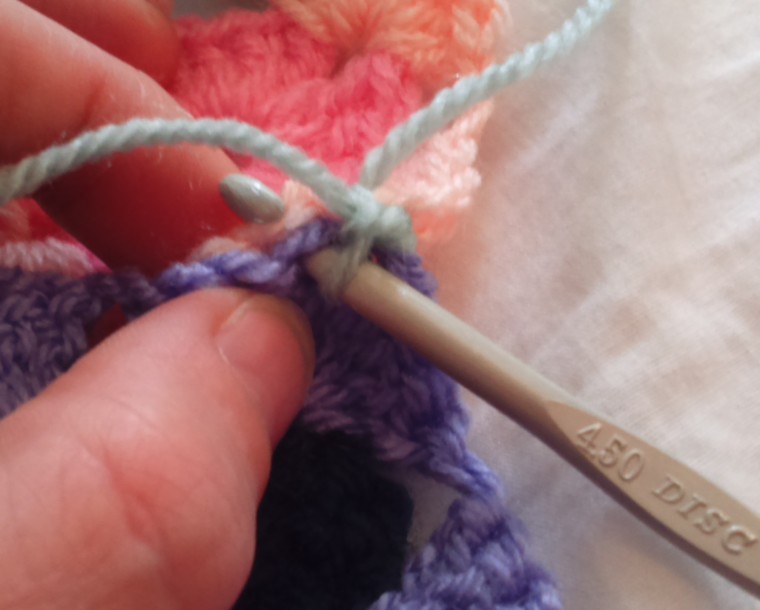
dc in next space (indicated by needle)

WP_20160225_23_04_46_Pro


WP_20160225_23_05_18_Pro

 1tr in next 5sts,

WP_20160225_23_06_12_Pro


dc in next space, 1tr in next 5sts,

WP_20160225_23_07_18_Pro

dc in next space, 1tr in next 5sts*,

WP_20160225_23_08_14_Pro

repeat * * x2times

WP_20160225_23_16_00_Pro

6tr in ch3 space, ch2, 6tr in same space (corner made)

1tr in next 5sts,  dc in next space,

1tr in next 5 sts, dc in next space,

1tr in next 5 sts,

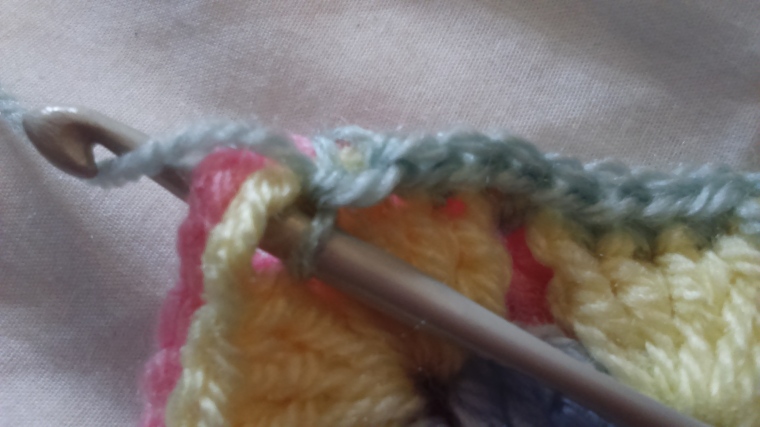
 slst to beginning 3rd ch to finish.
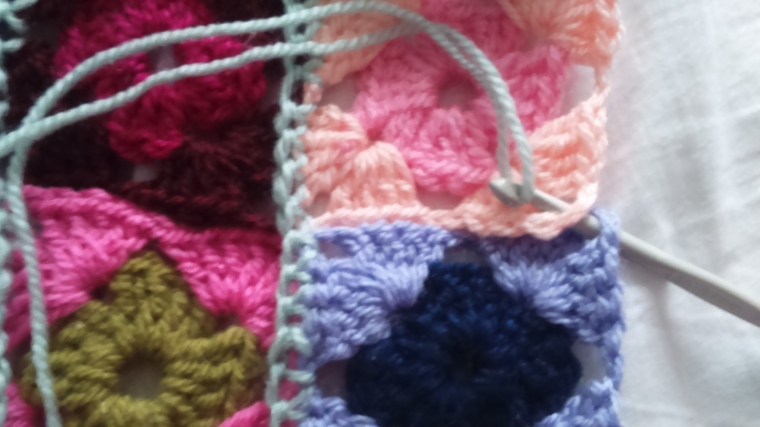
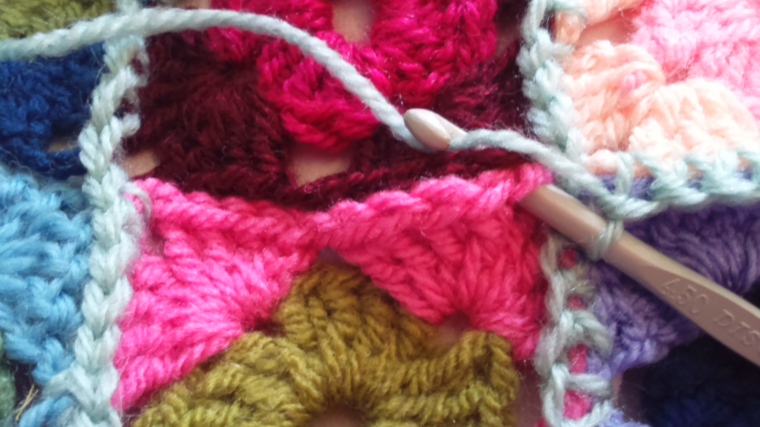
Weave in ends.


WP_20160225_23_21_24_Pro


Pin out to block… this is really worth the extra effort.  I just pinned this square to a clean towel,

then spritz with water and leave to dry.

wp_20160229_17_33_53_pro

blocking really makes the the world of difference…

wp_20160302_09_34_22_pro

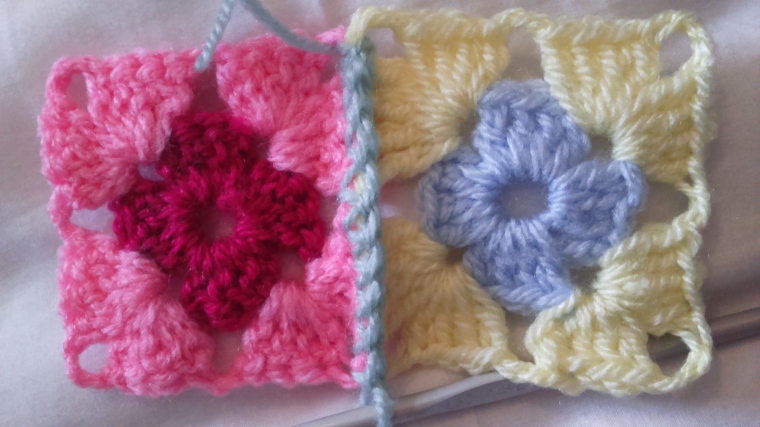
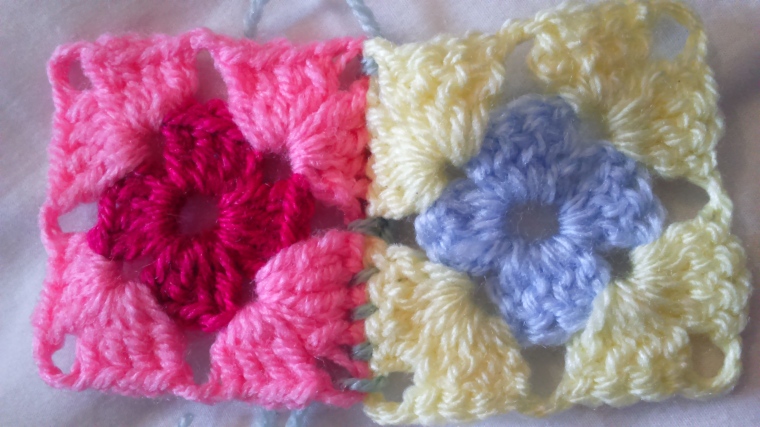
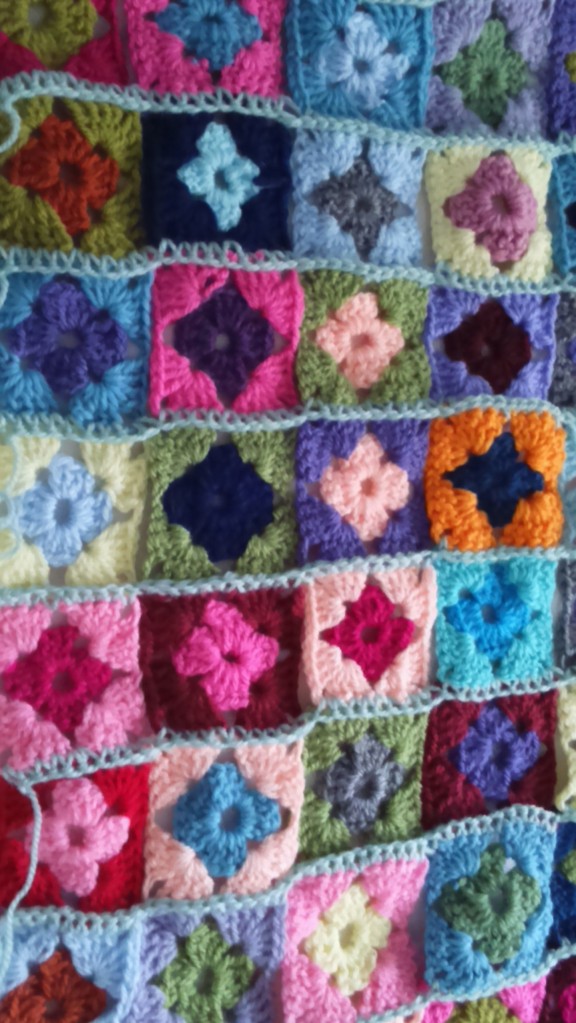
A very versatile yarny square.  

Happy hooking

xxxxx


‘Robins nest square’ designed by Nicola Florence @ ayarnyrobin.wordpress.com…….March 2016