Top Selling Crochet Items for Spring Markets

Best-Selling Crochet Items That Shoppers Actually Buy

this post contains affiliate links, which means i may earn a small commission if you purchase via them, at no extra cost to yourself. This helps to support this blog.

Spring craft markets are some of the loveliest to prepare for — lighter yarns, softer colours, and shoppers who are ready to browse, linger, and treat themselves after winter.

But if you’ve ever sat staring at your yarn stash wondering what on earth should I make, you’re not alone.

When time, yarn, and energy are limited, the goal isn’t to make everything — it’s to make the right things. Items that are quick to produce, easy to price, and genuinely appealing to spring market shoppers.

This guide shares tried-and-tested crochet items that consistently sell well at spring craft fairs. There are also practical tips to help you present, price and stock your table without burning out.

I’ve organised this post into easy sections. These include small giftable makes, baby items, and spring home décor. Other sections cover light wearables, taking orders using samples, and pricing crochet fairly. I also discuss how to help customers understand the value of your work without over-explaining, as well as tips on stocking your table. I have also included a FREE Mini Market Bundle printable. It comes with an order form and handmade labels, look for the sage coloured box below to download. Feel free to skip straight to the parts most helpful for you.

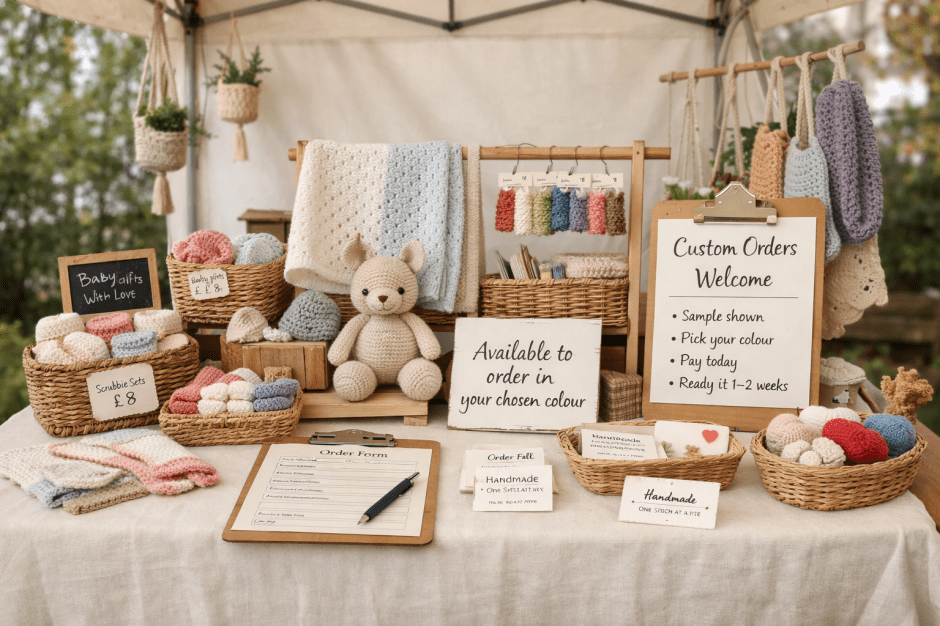
Small, Giftable Crochet Items (Your Spring Staples)

Crochet cup cozies
crochet cup cozy patterns
Crochet scrubies
crochet scrubbie pattern
Crochet bee with rosy cheeks
Crochet bag charm patterns

Small crochet items are often the quiet heroes of a market stall.

They’re affordable, easy to gift, and perfect for shoppers who want “just one little thing” — which often turns into two or three.

Popular spring sellers include:

Why they work so well

  • Low price point
  • Fast to make
  • Ideal for Mother’s Day gifting, thoughtful thank-yous, and meaningful handmade purchases that don’t need a big decision.

Market tip: Bundle items into small sets (for example, a face cloth + scrubbie) to increase value without much extra work.

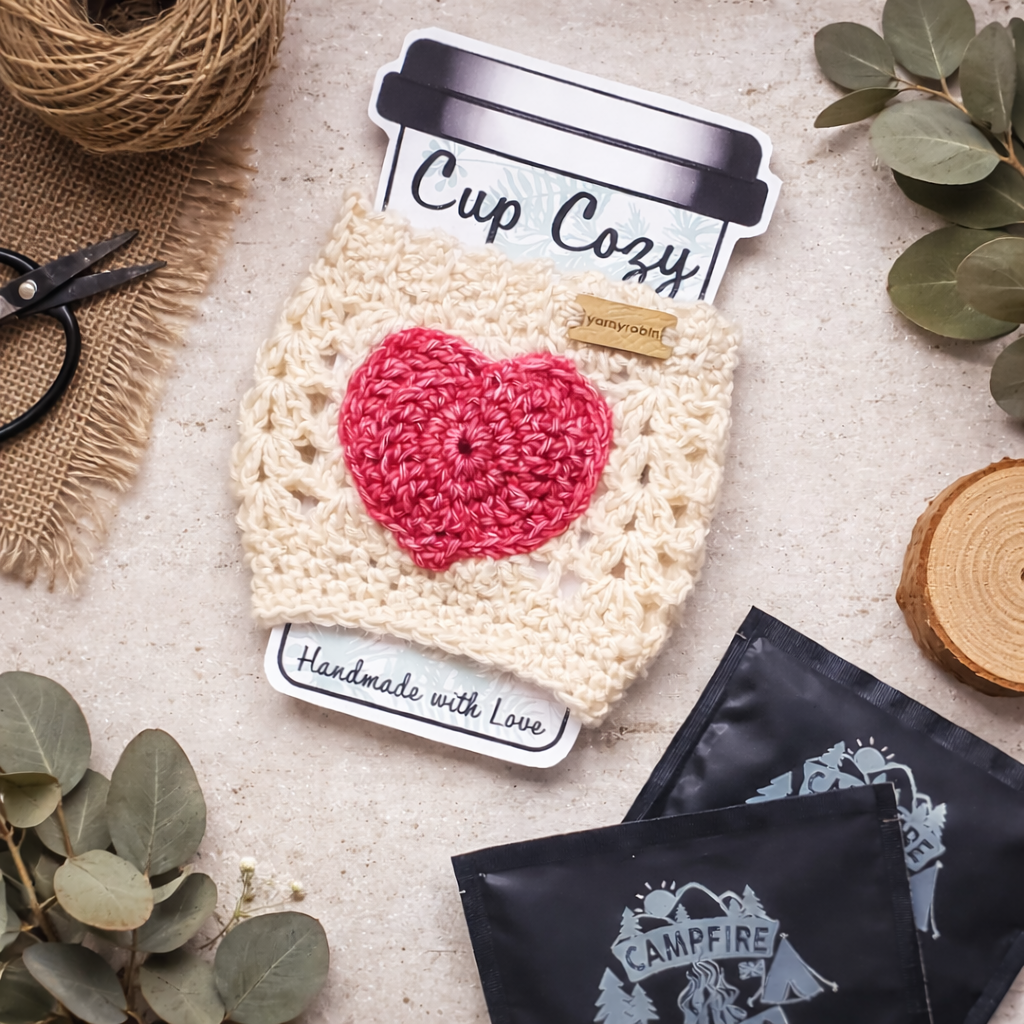
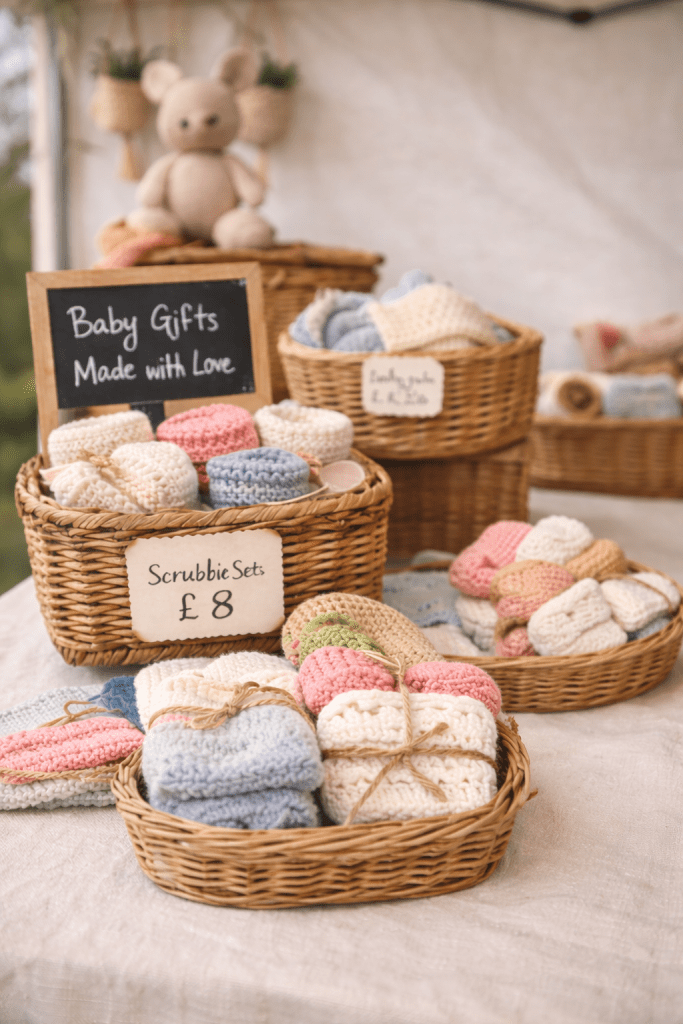
Baby & Children’s Crochet (Always in Demand)

crochet baby bib set
Crochet baby Bib set pattern
Baby Fox Bonnet
Fox bonnet pattern
Crochet baby teethers
crochet baby teethers

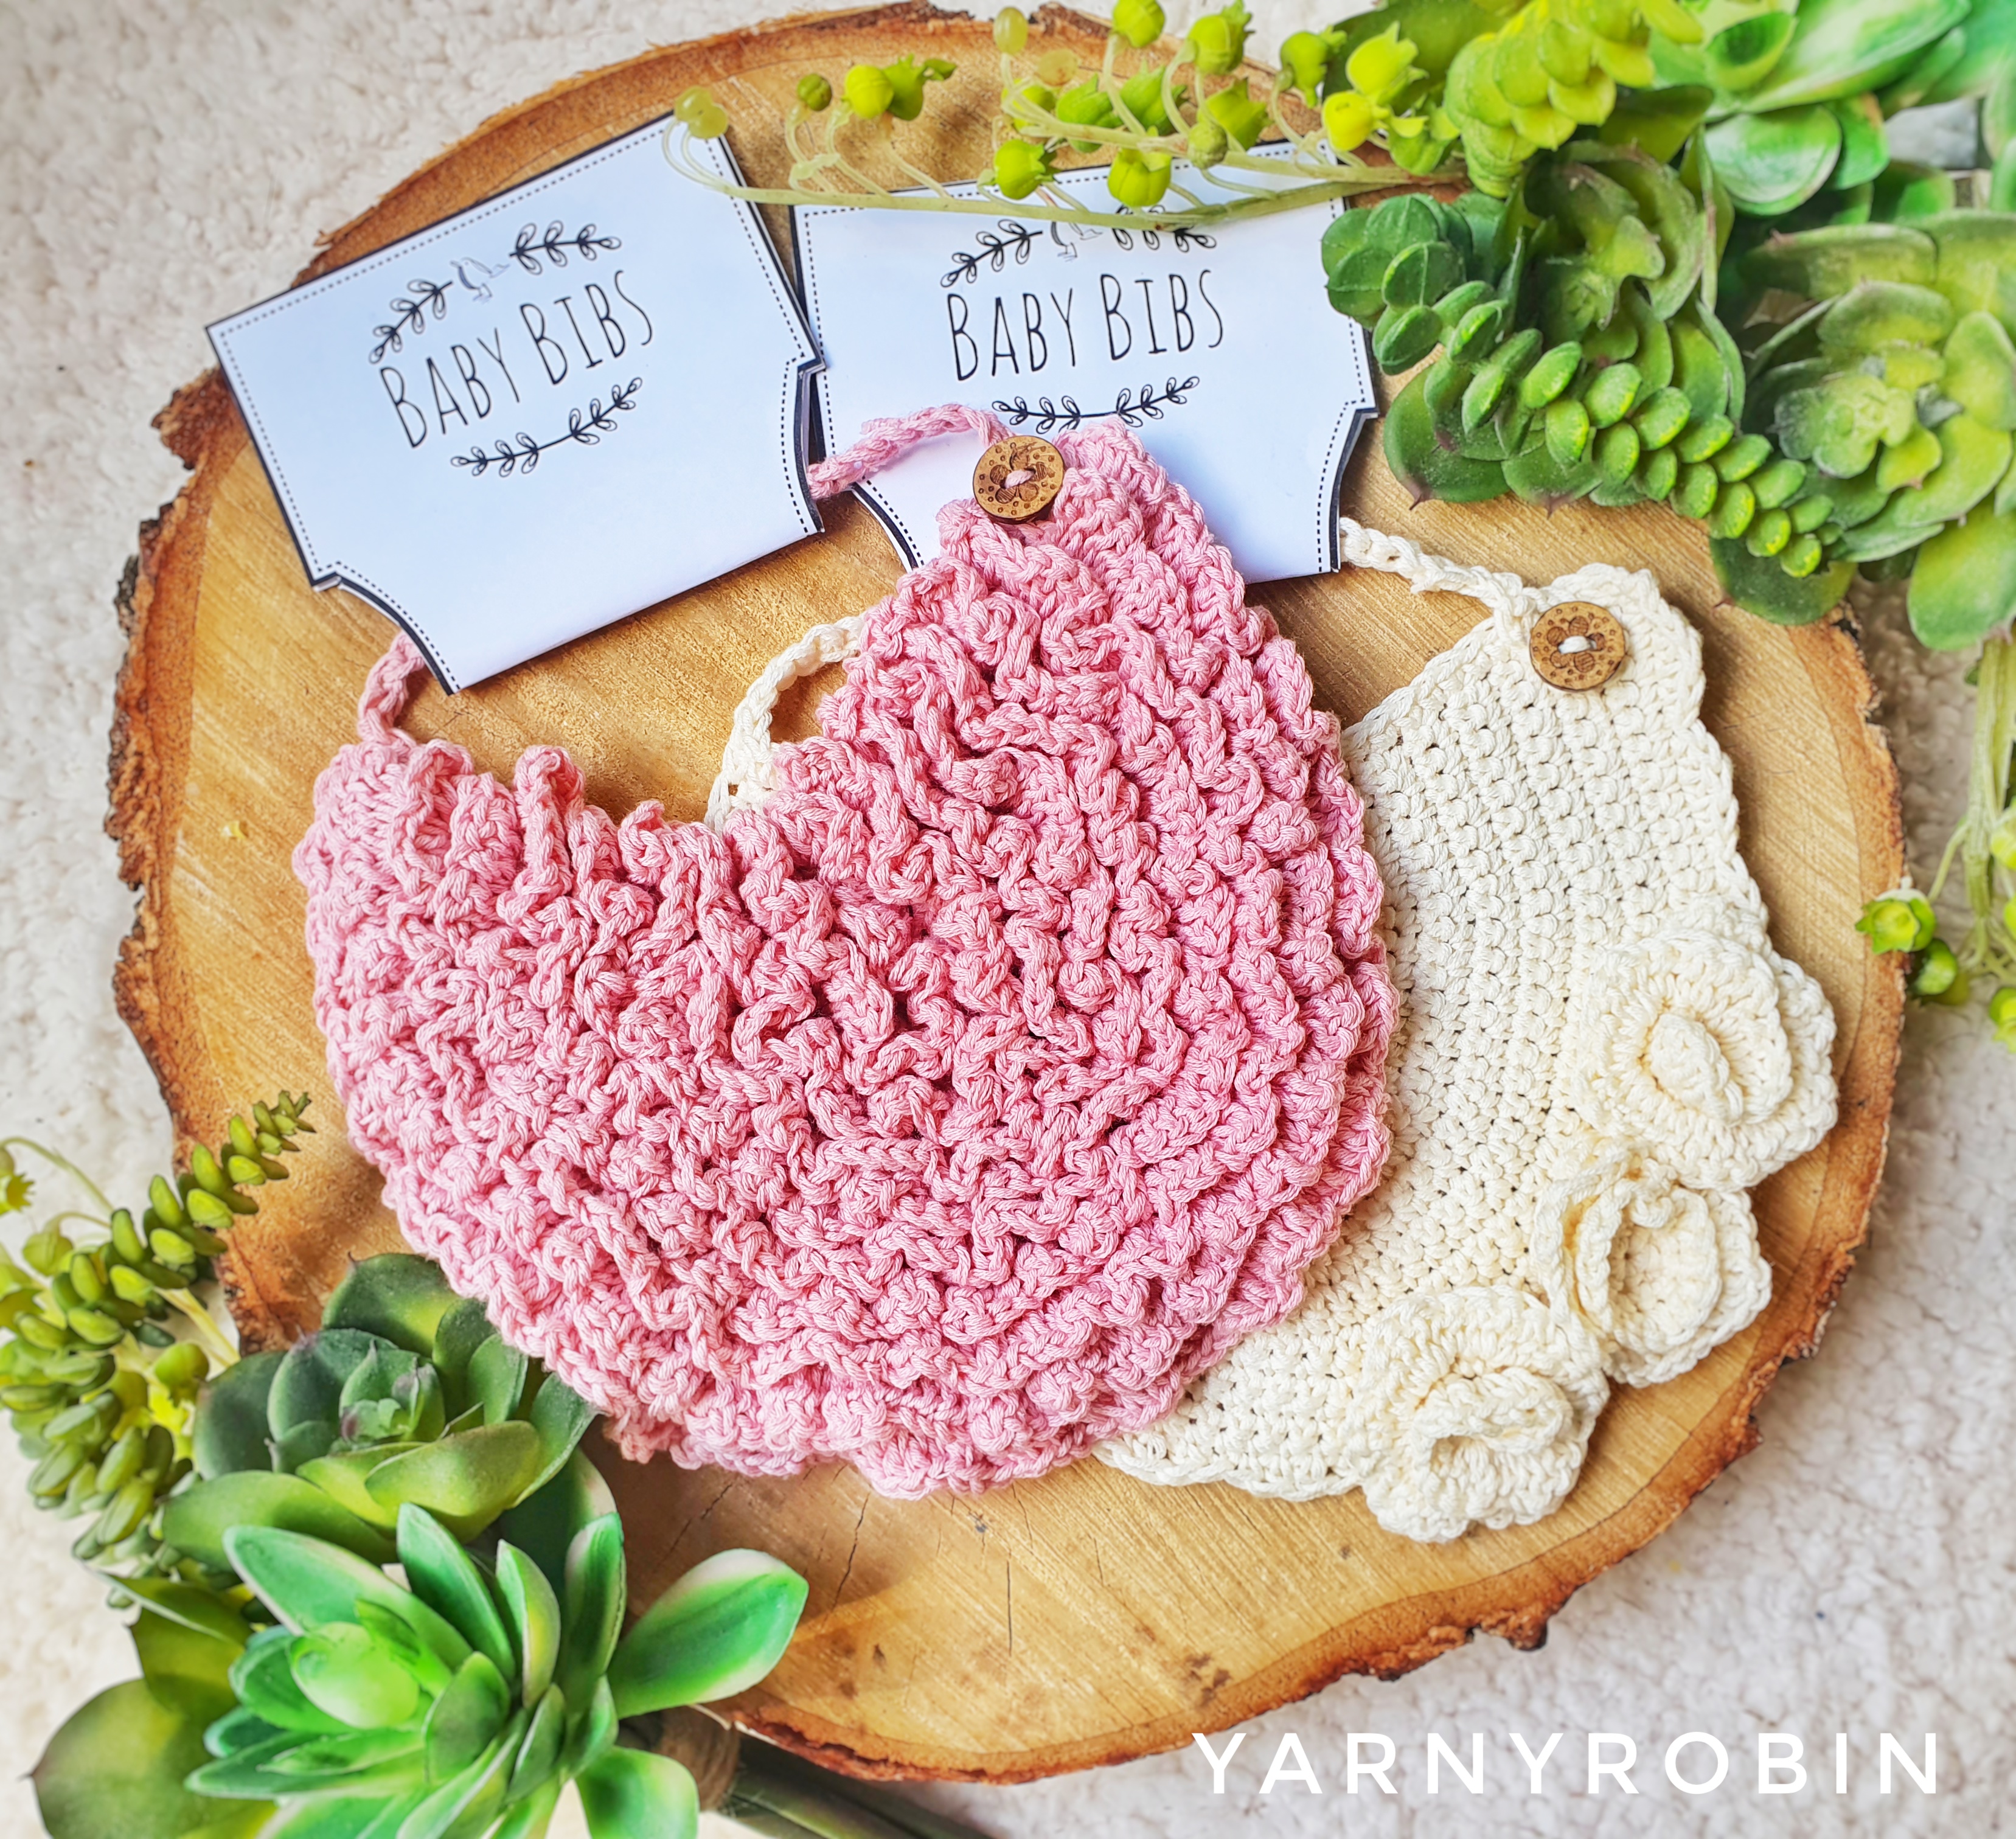
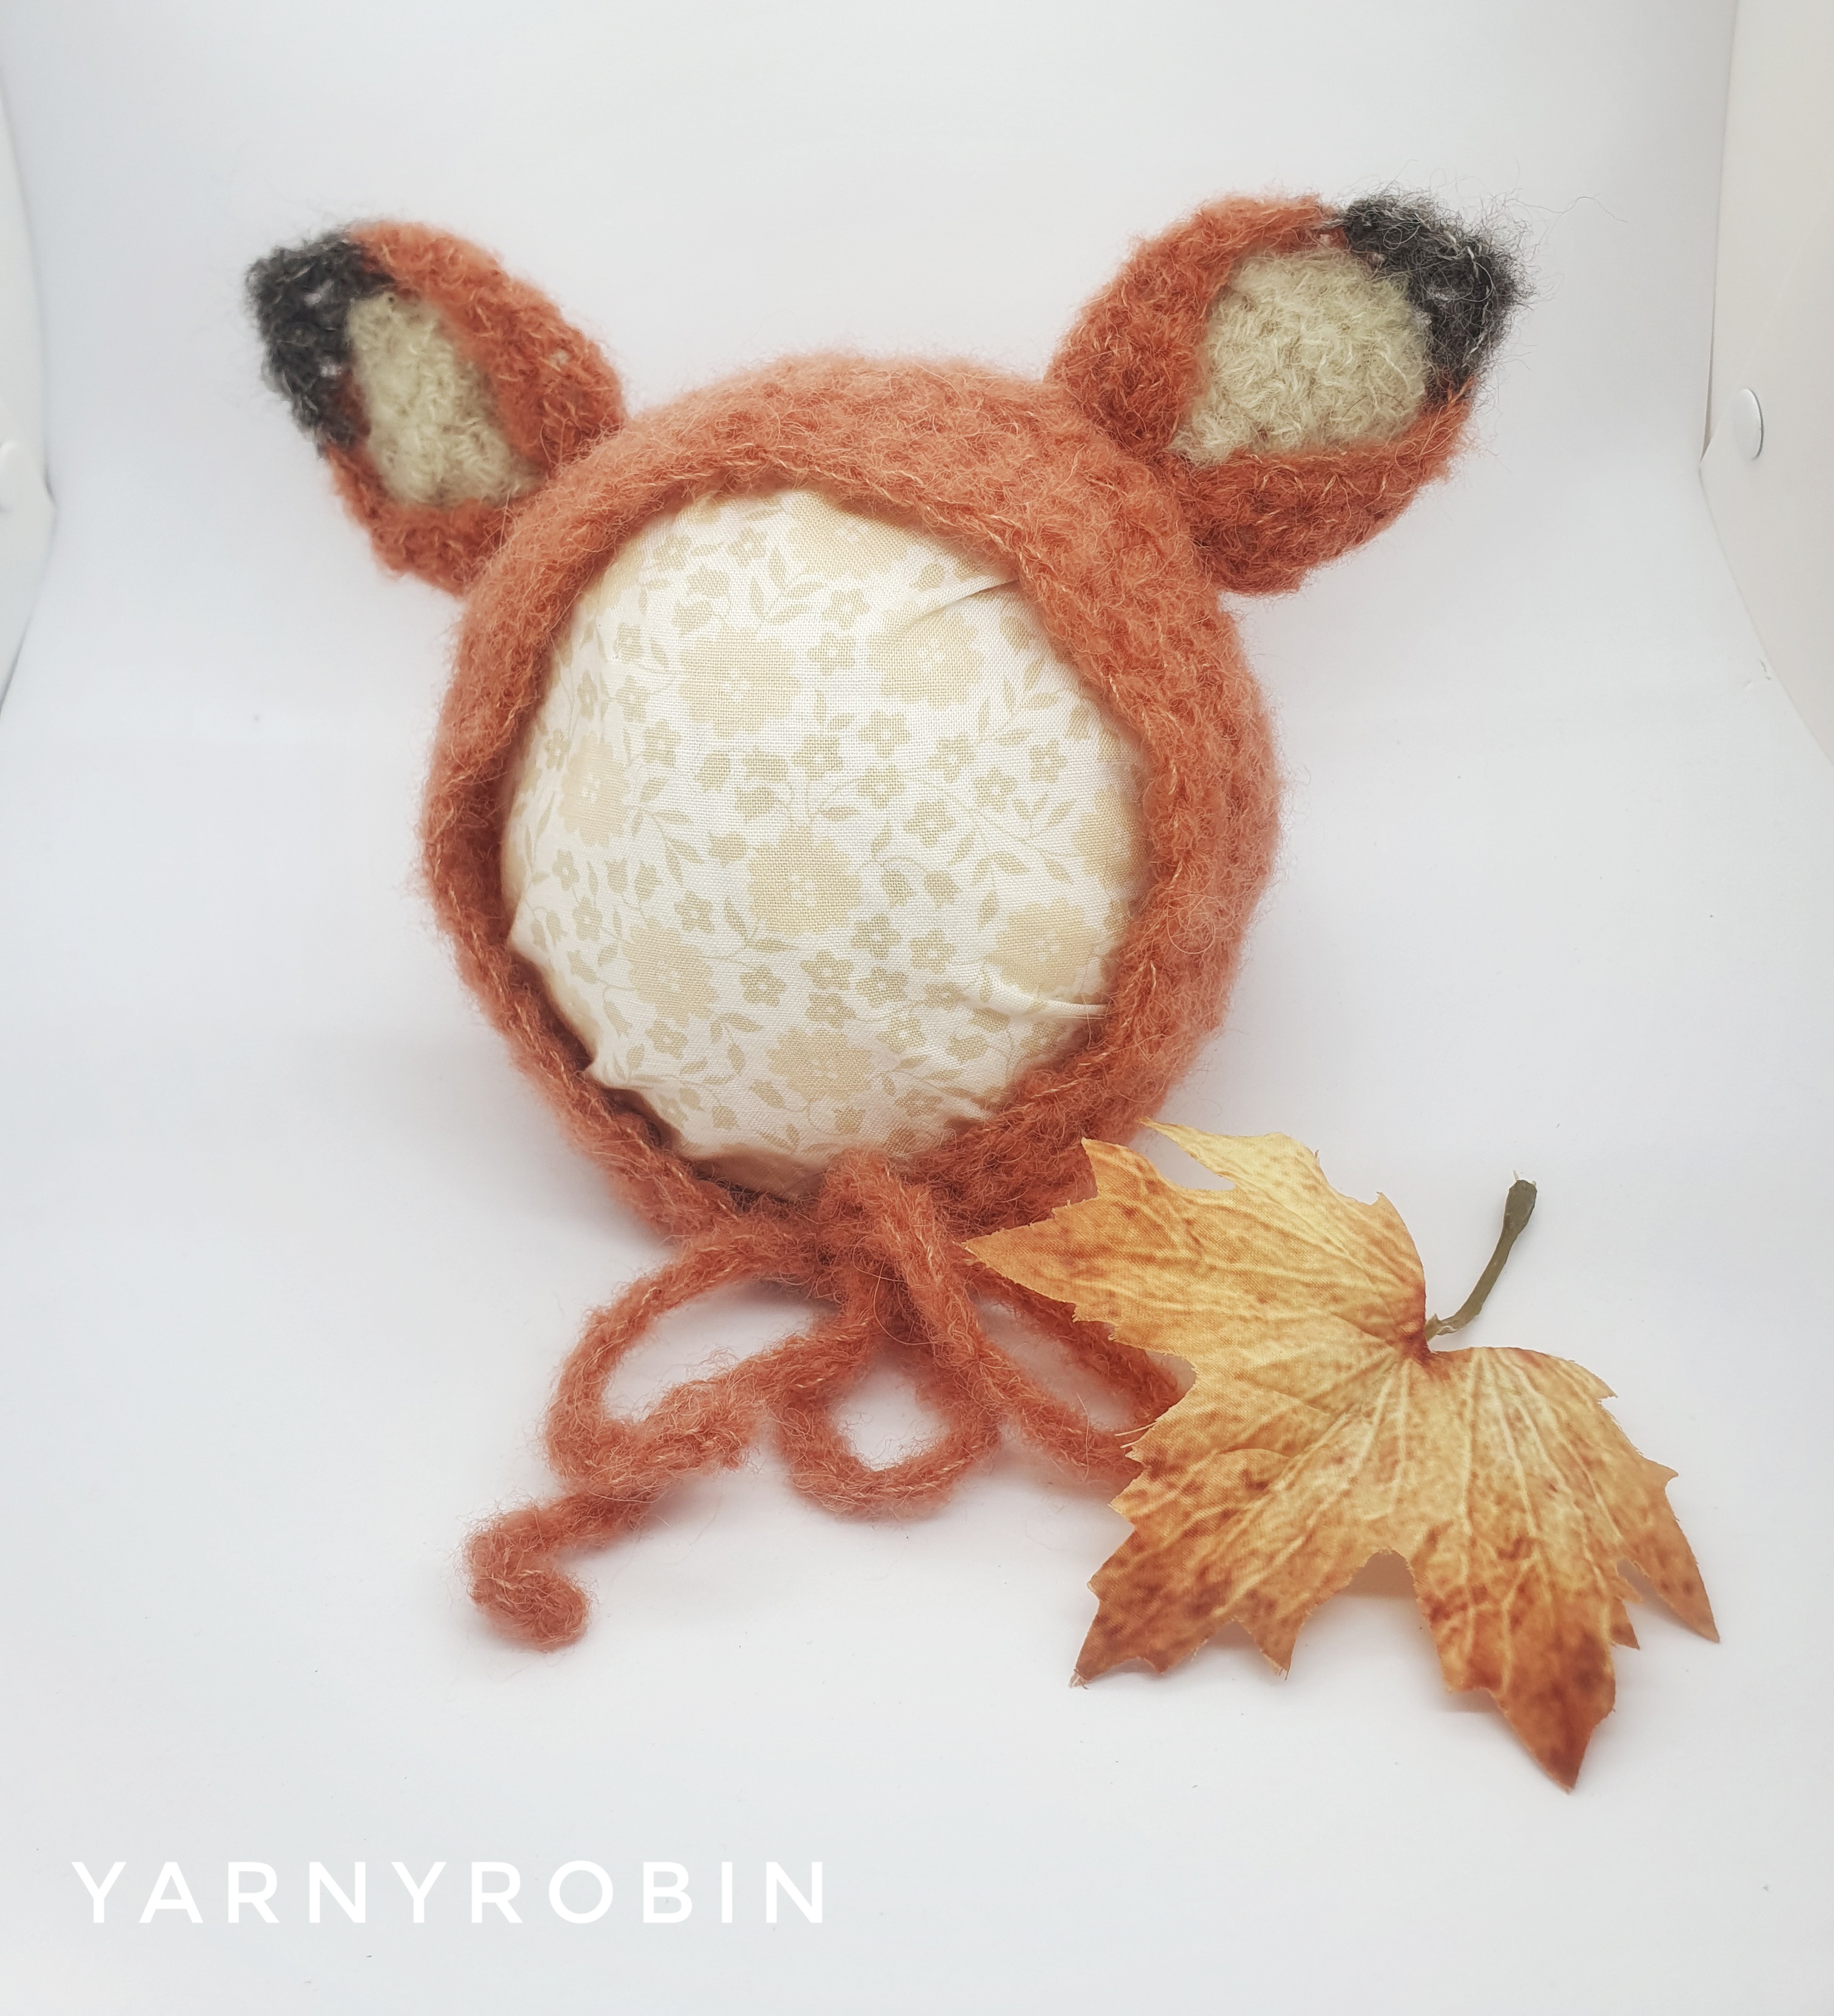
Spring is peak season for baby showers, Christenings, and thoughtful handmade gifts — and crochet shines here.

Best-selling baby makes include:

Choose cotton or bamboo blends in gentle spring colours and keep designs simple and practical.

Why these sell

  • Handmade feels extra special for babies
  • Parents appreciate natural fibres
  • Coordinated sets make beautiful gifts

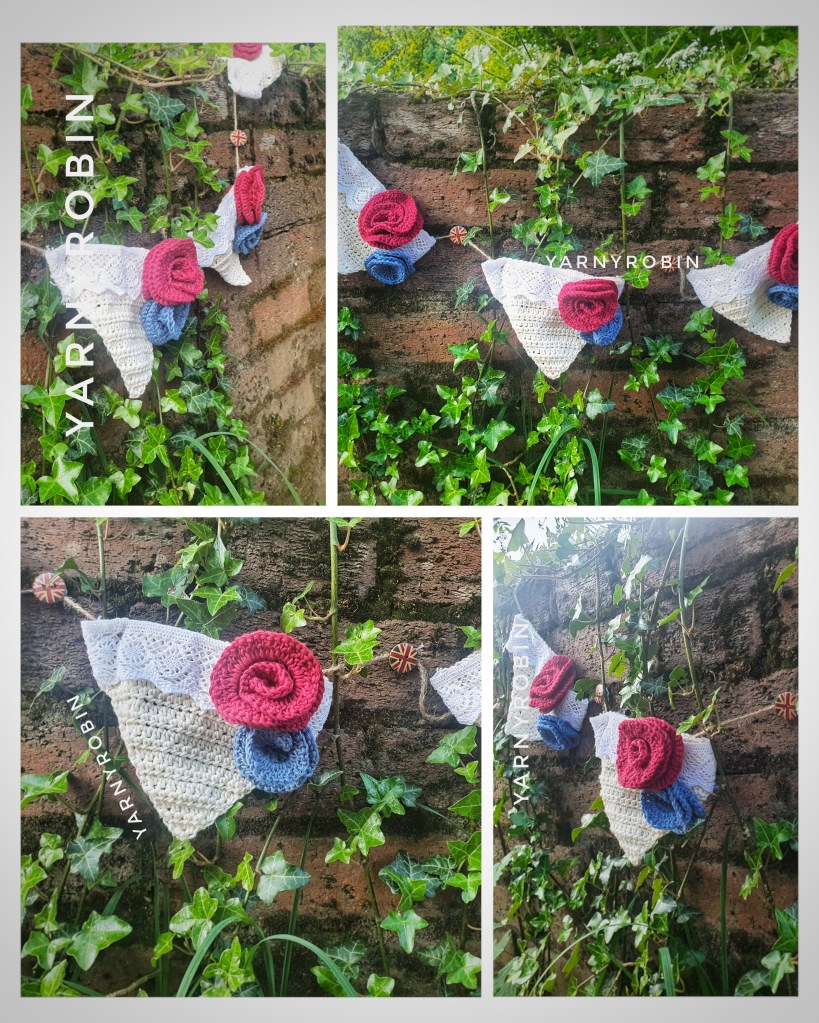
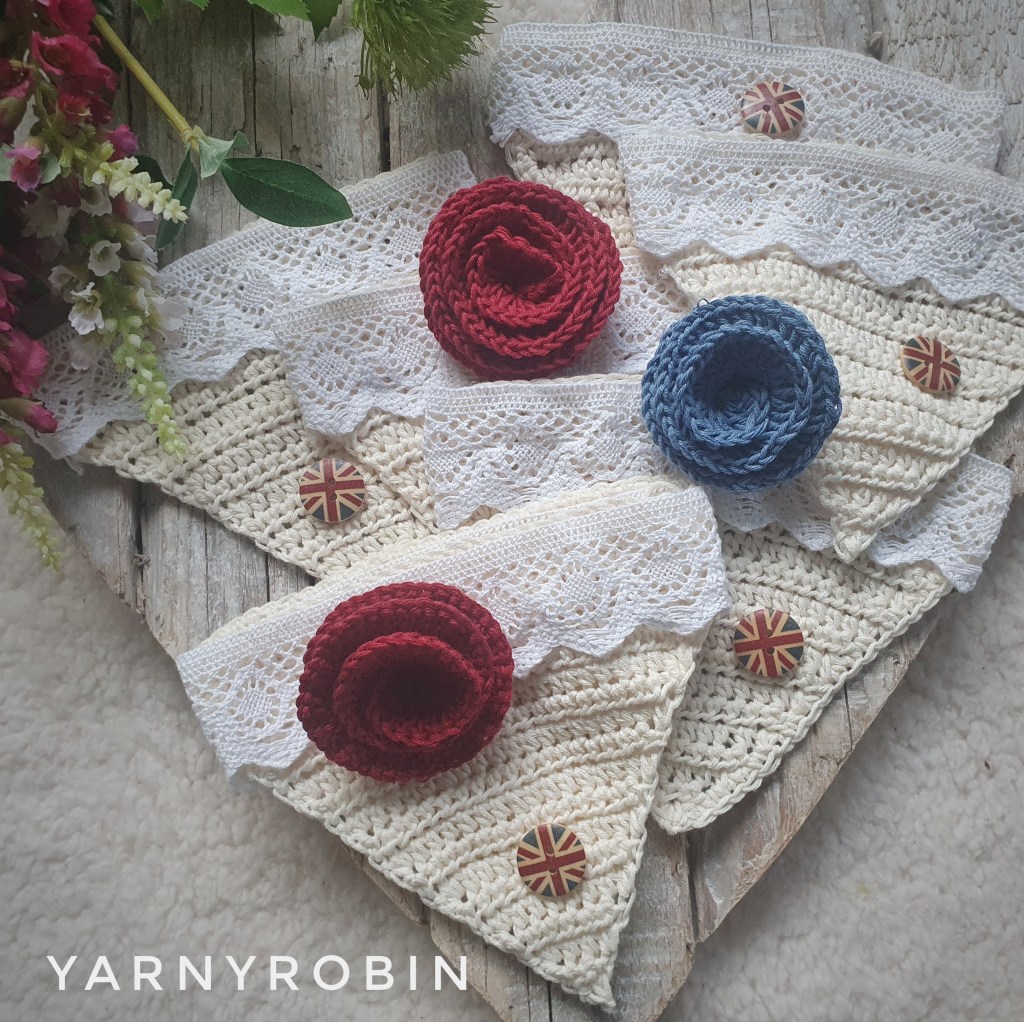
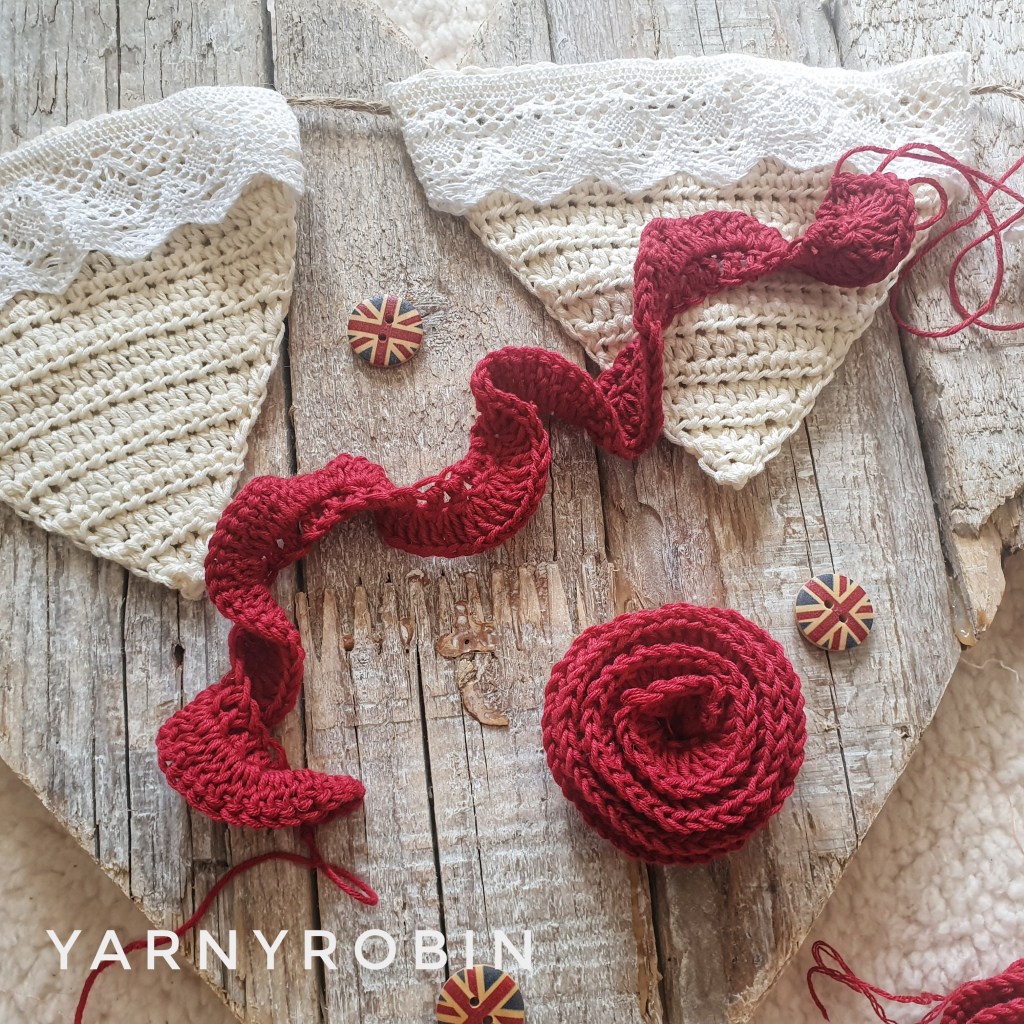
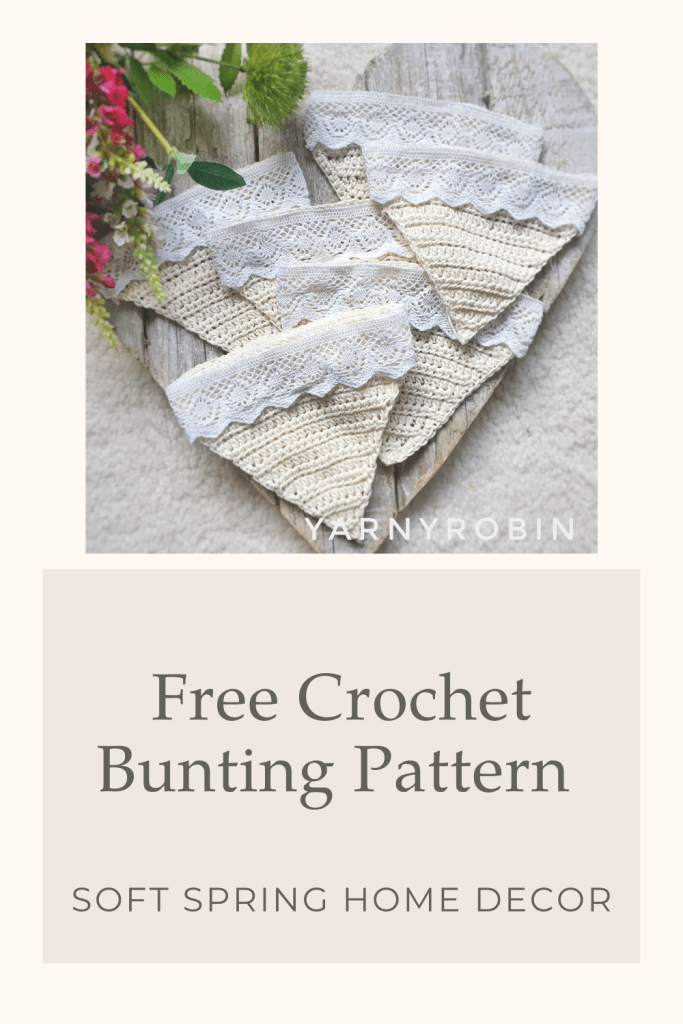
Spring Home Décor That’s Quick to Make

Crochet plant hanger
crochet plant hanger patterns
Crochet bunting
crochet bunting free pattern
Crochet basket
Crochet basket pattern

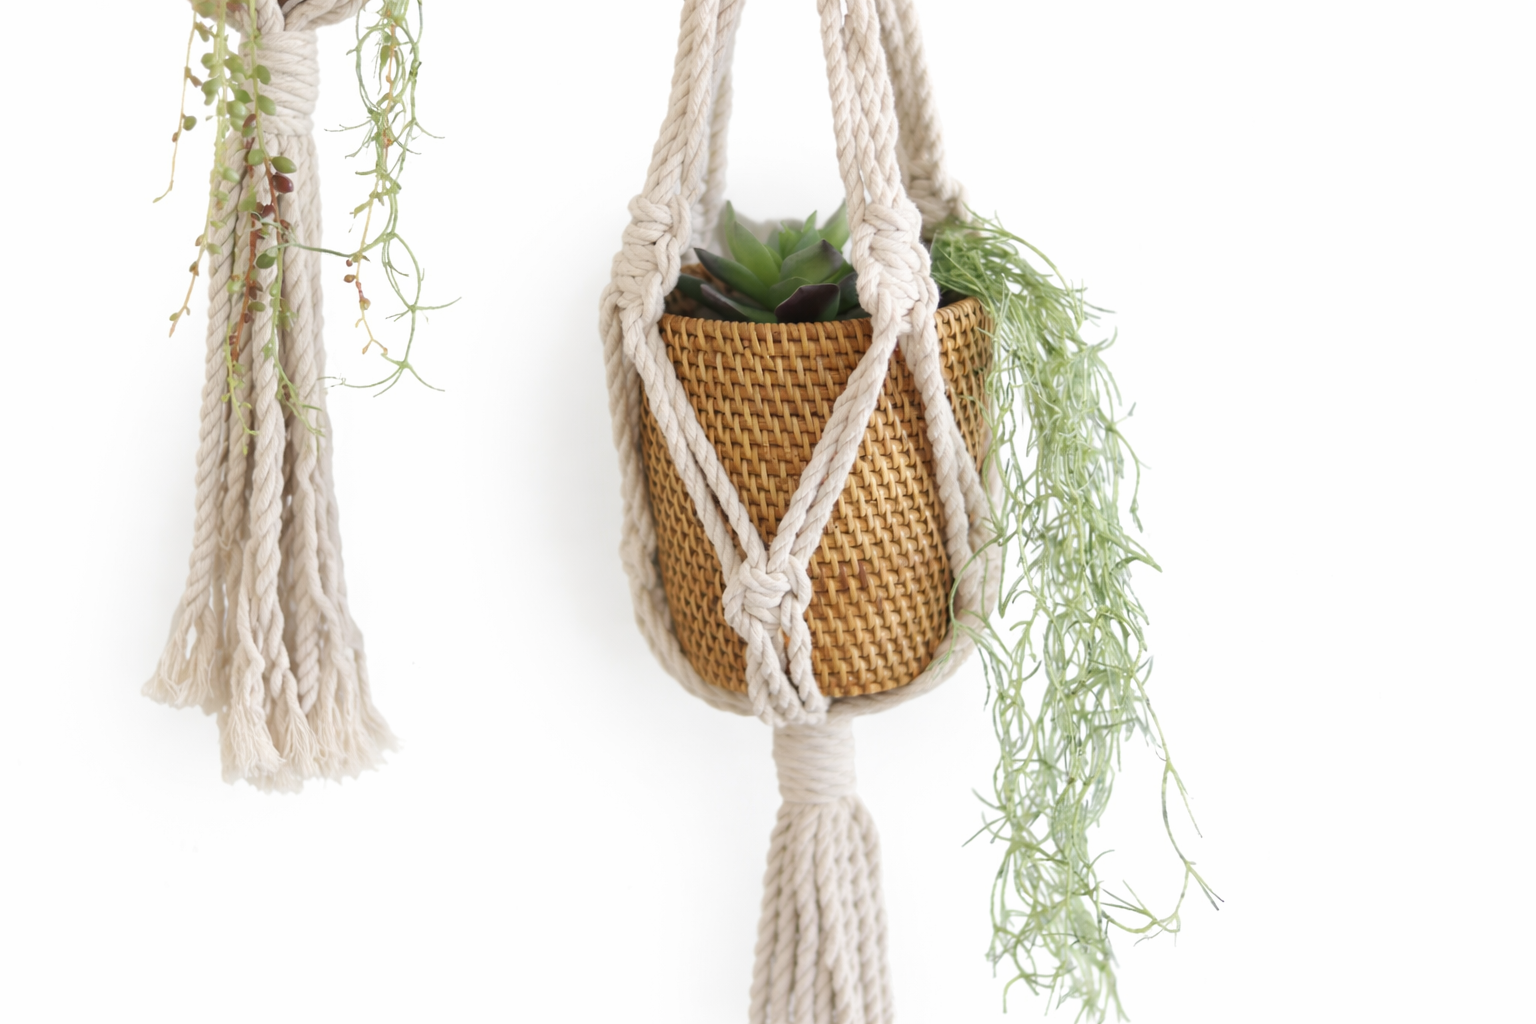
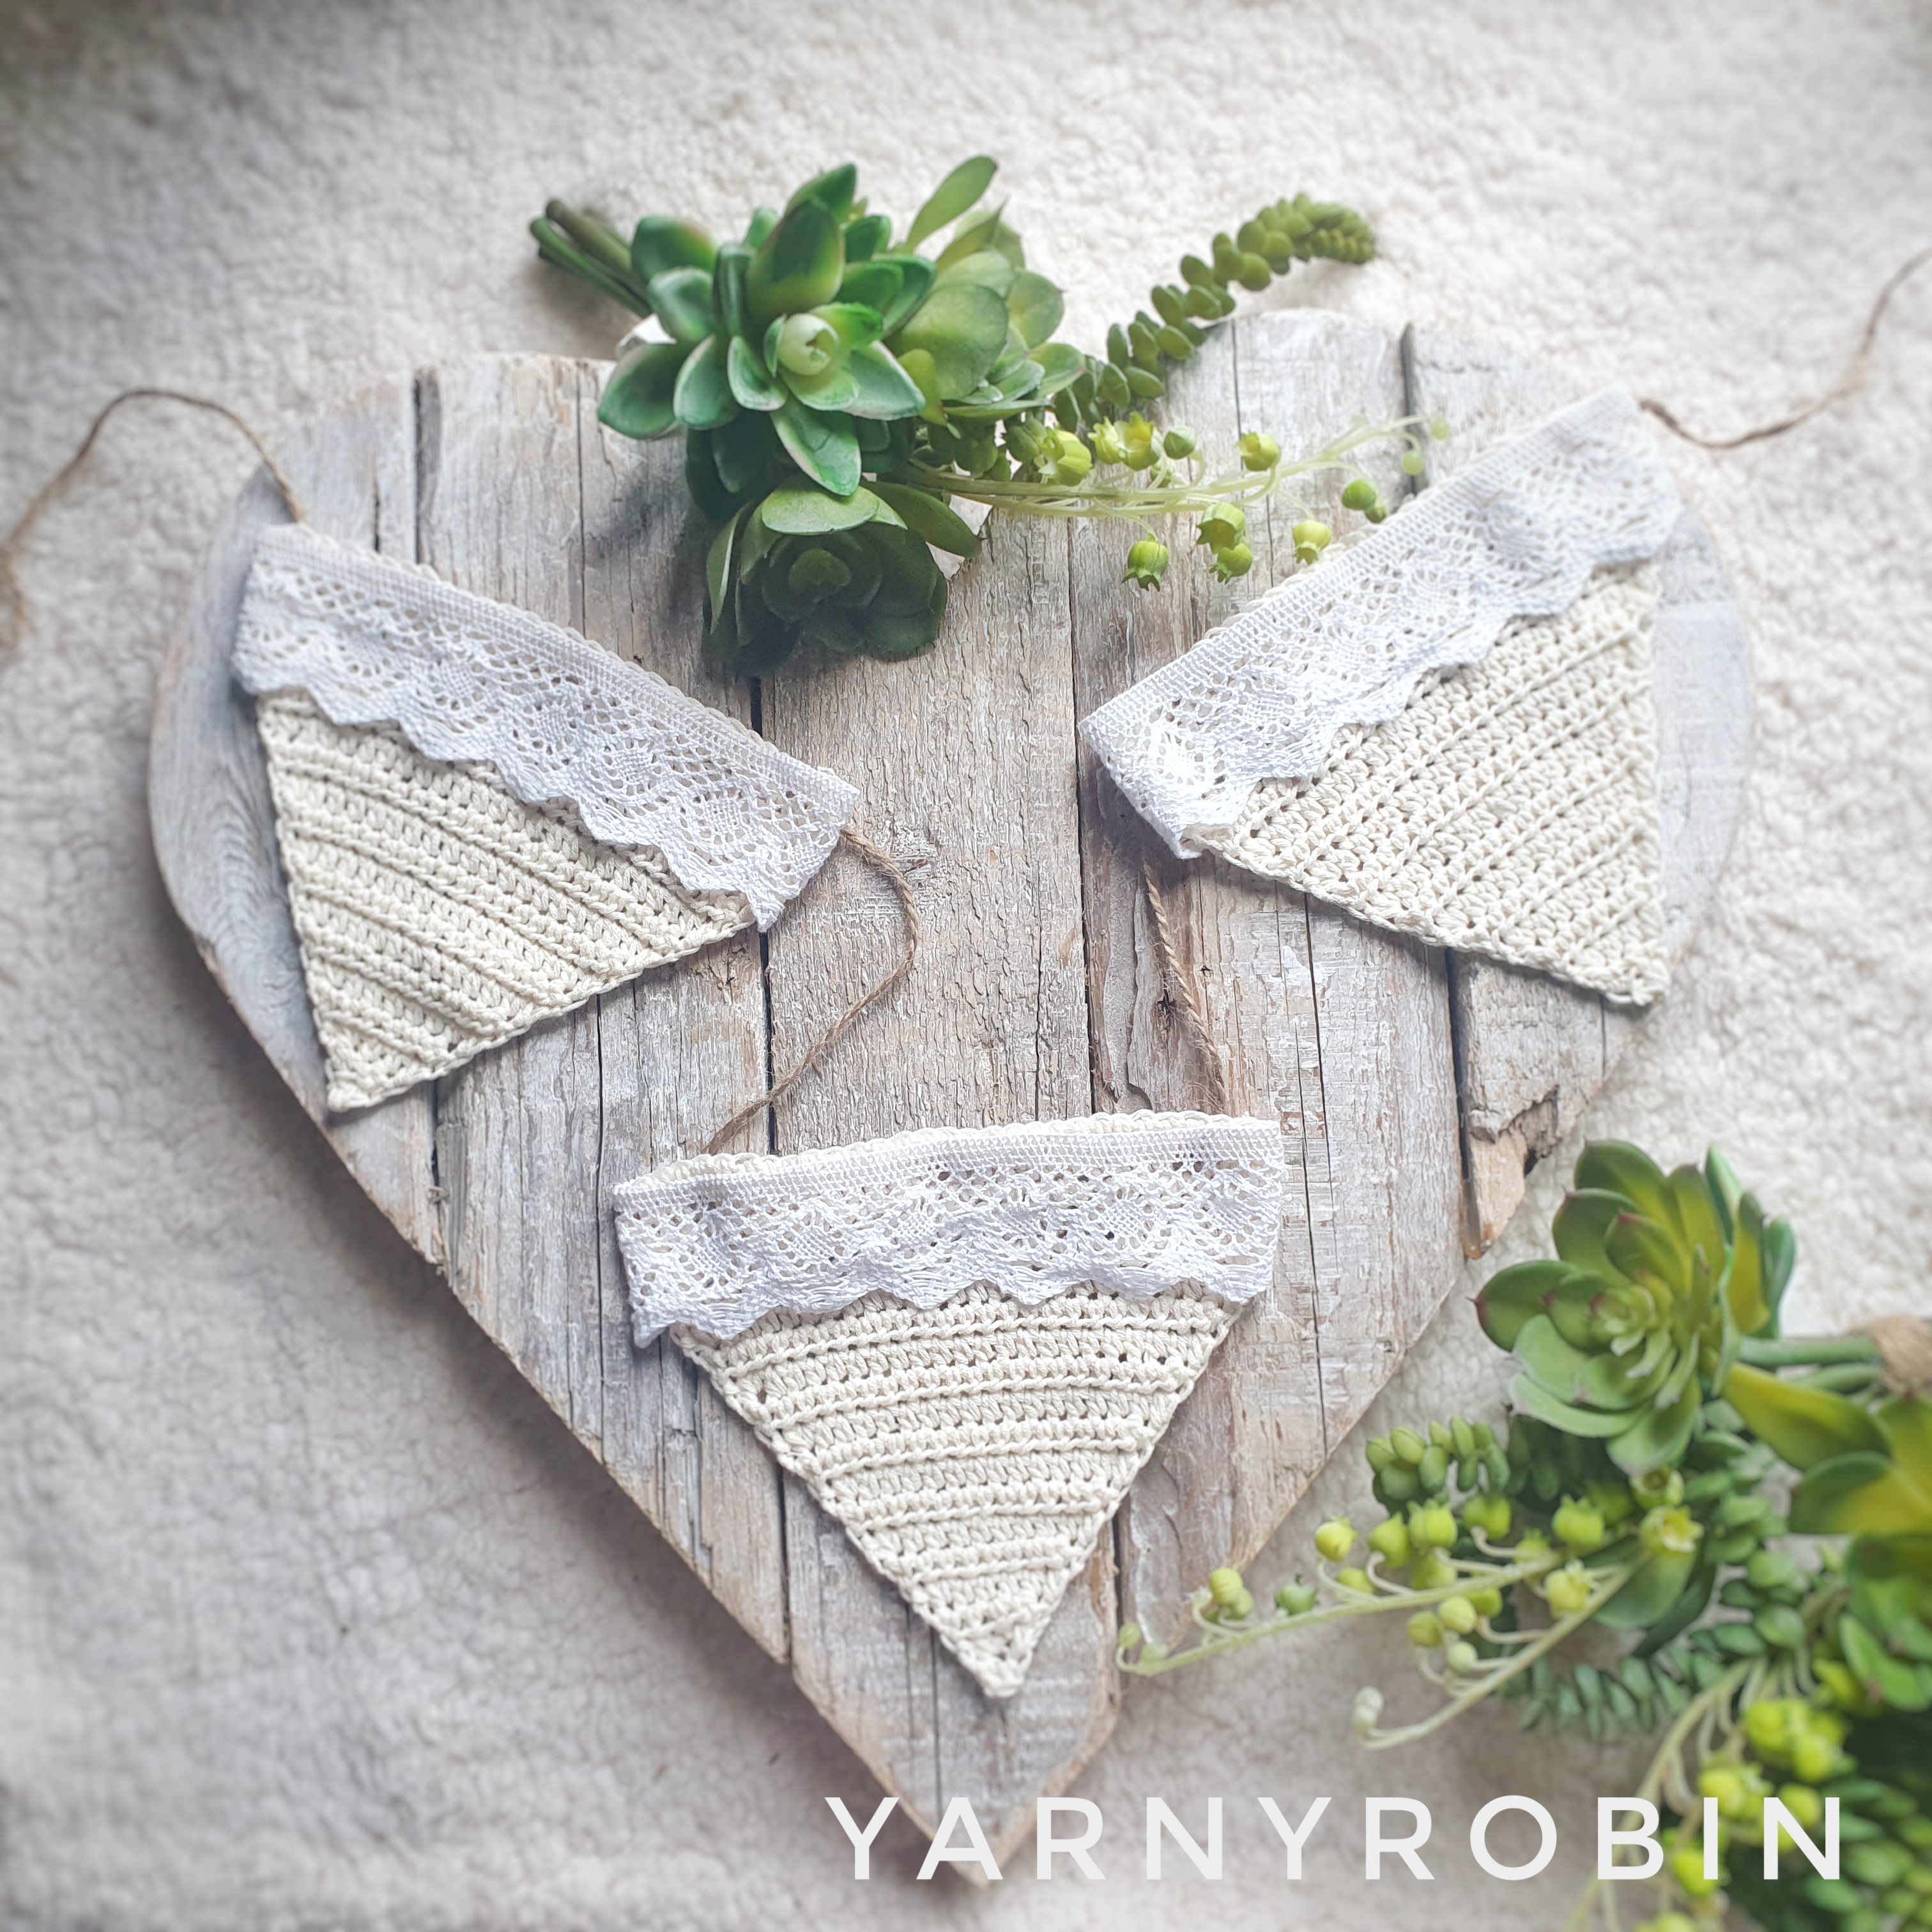
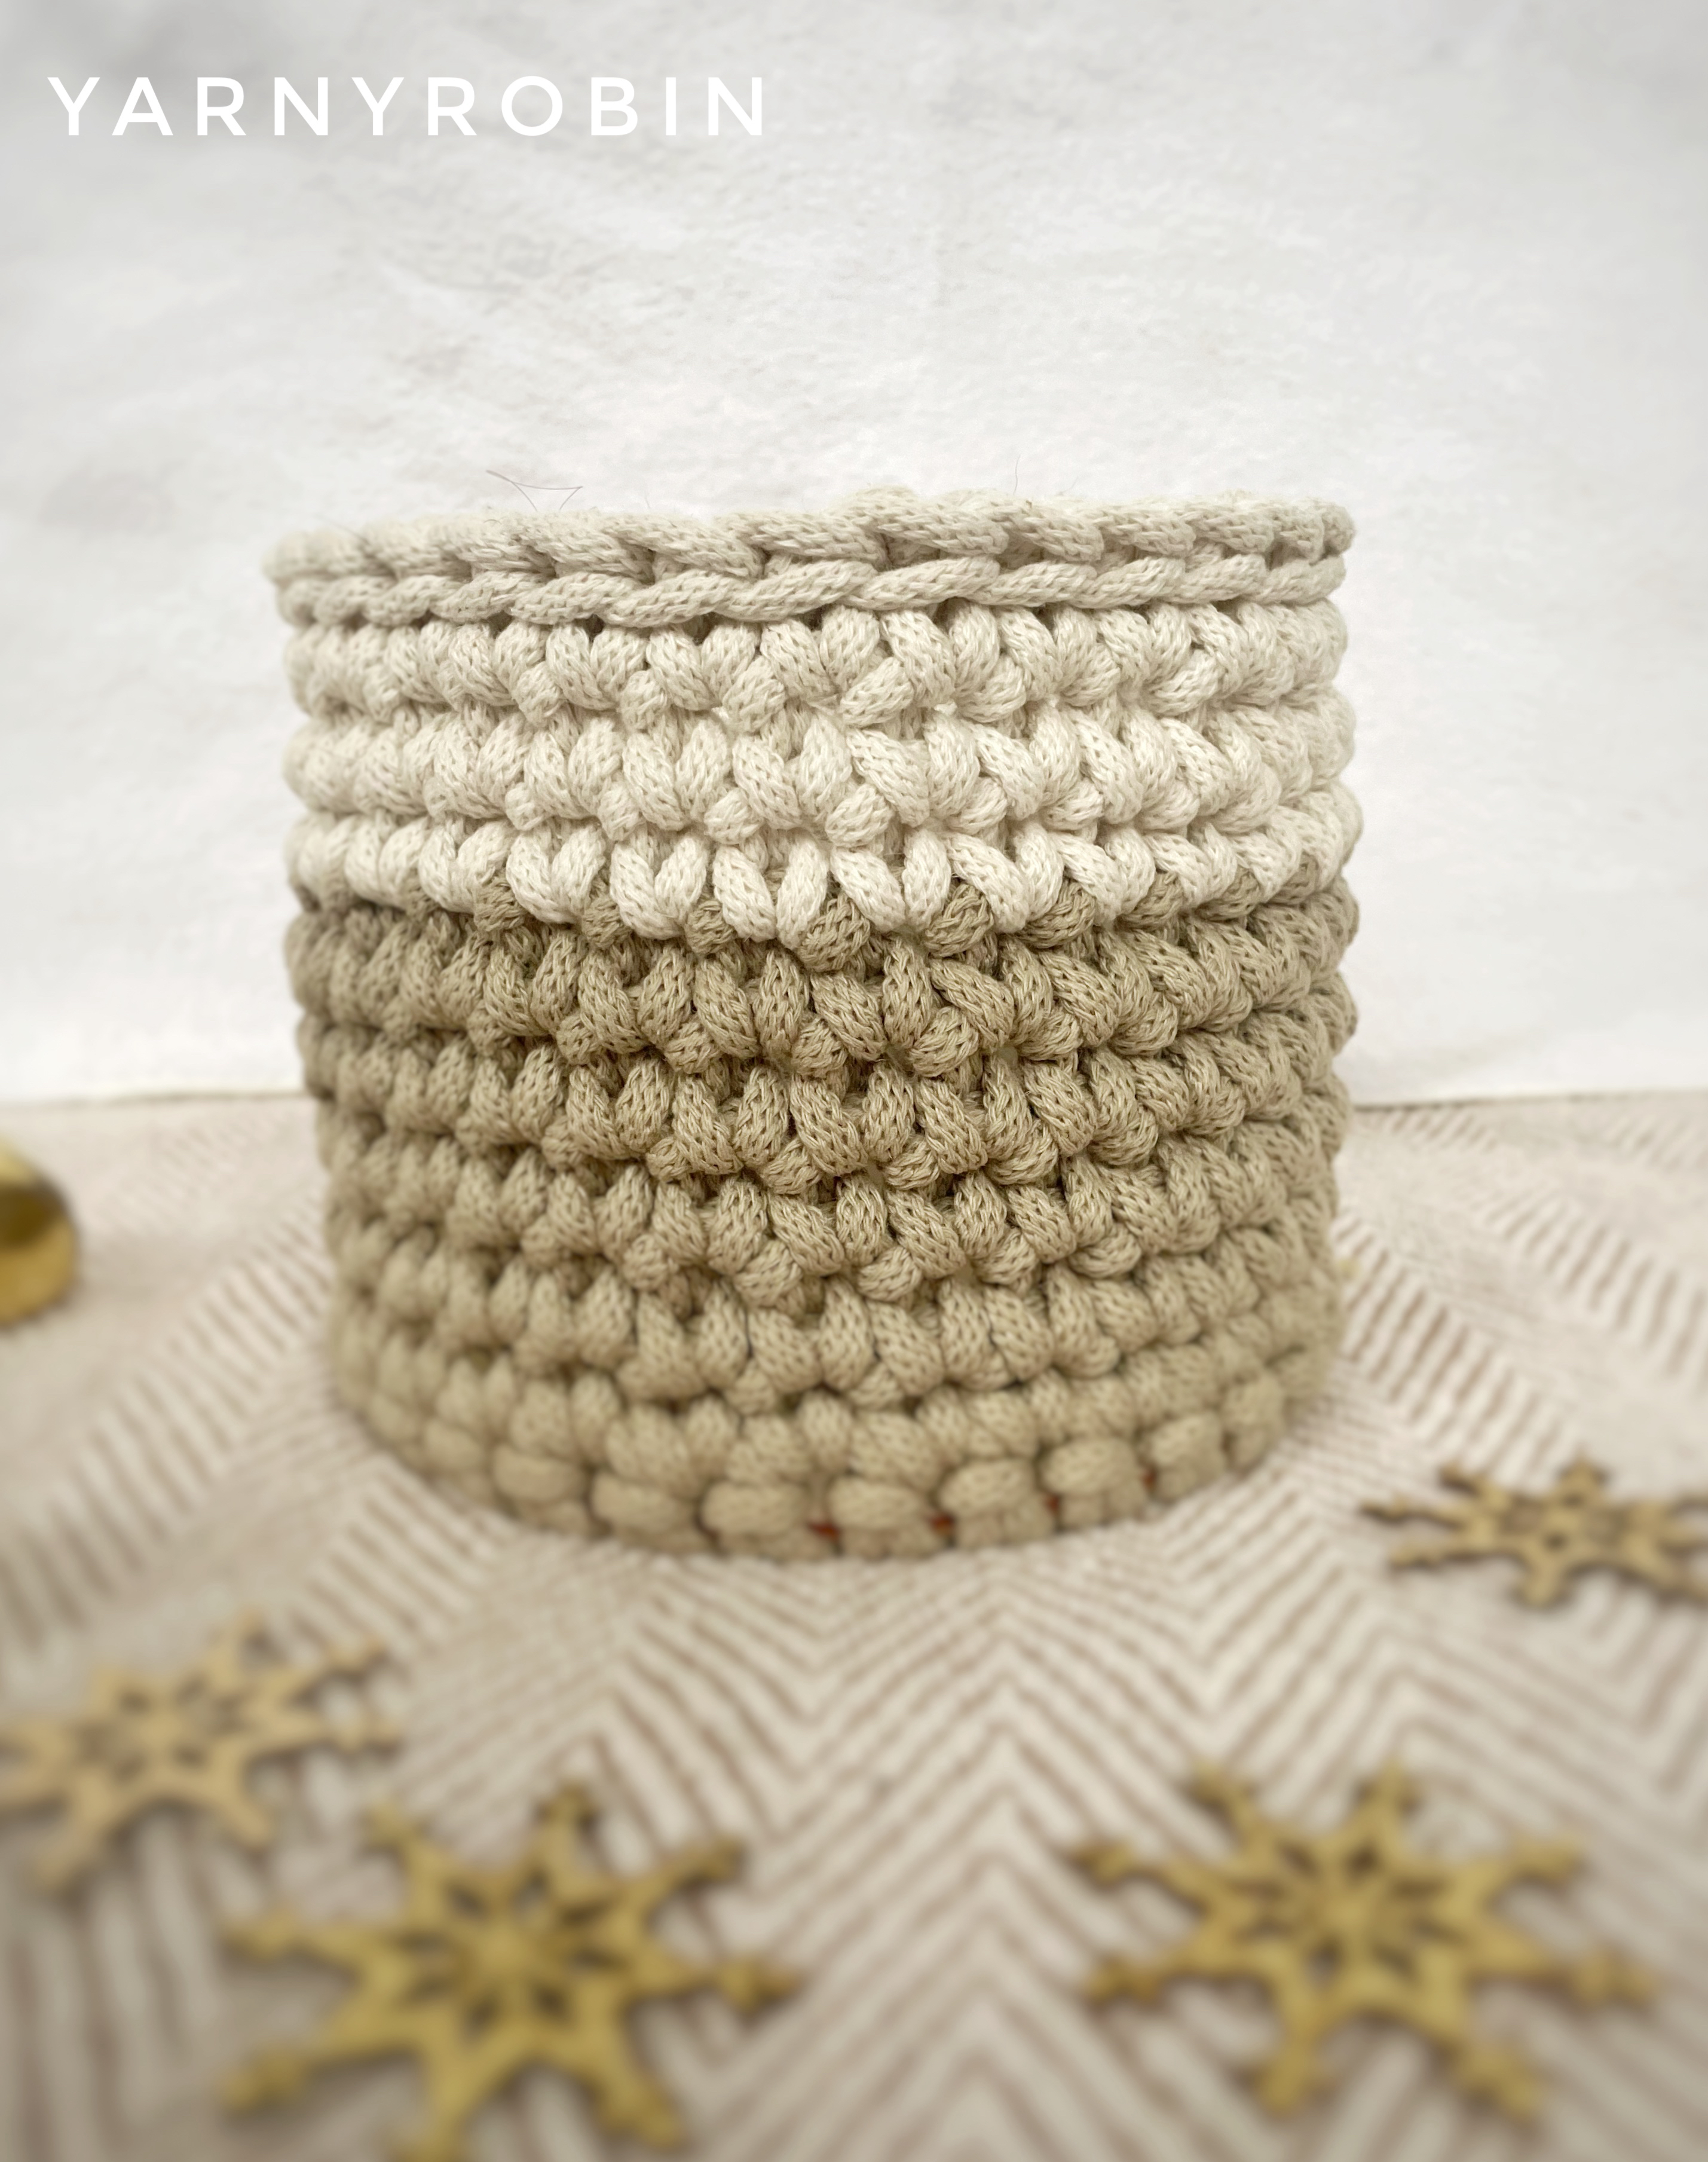
As the days get brighter, shoppers start refreshing their homes — and small crochet décor pieces fit beautifully into that mindset.

Spring-friendly décor ideas:

Why they sell

  • Lightweight and fit naturally into a Spring refresh mindset
  • Decorative but practical
  • Seasonal colour without commitment

Light Spring Wearables Shoppers Love to Try On

Grey dog wearing a  mint scarf
Pet accessories
Crochet bottle holder
bunny ear headbands
Crochet hair bands and accessory patterns

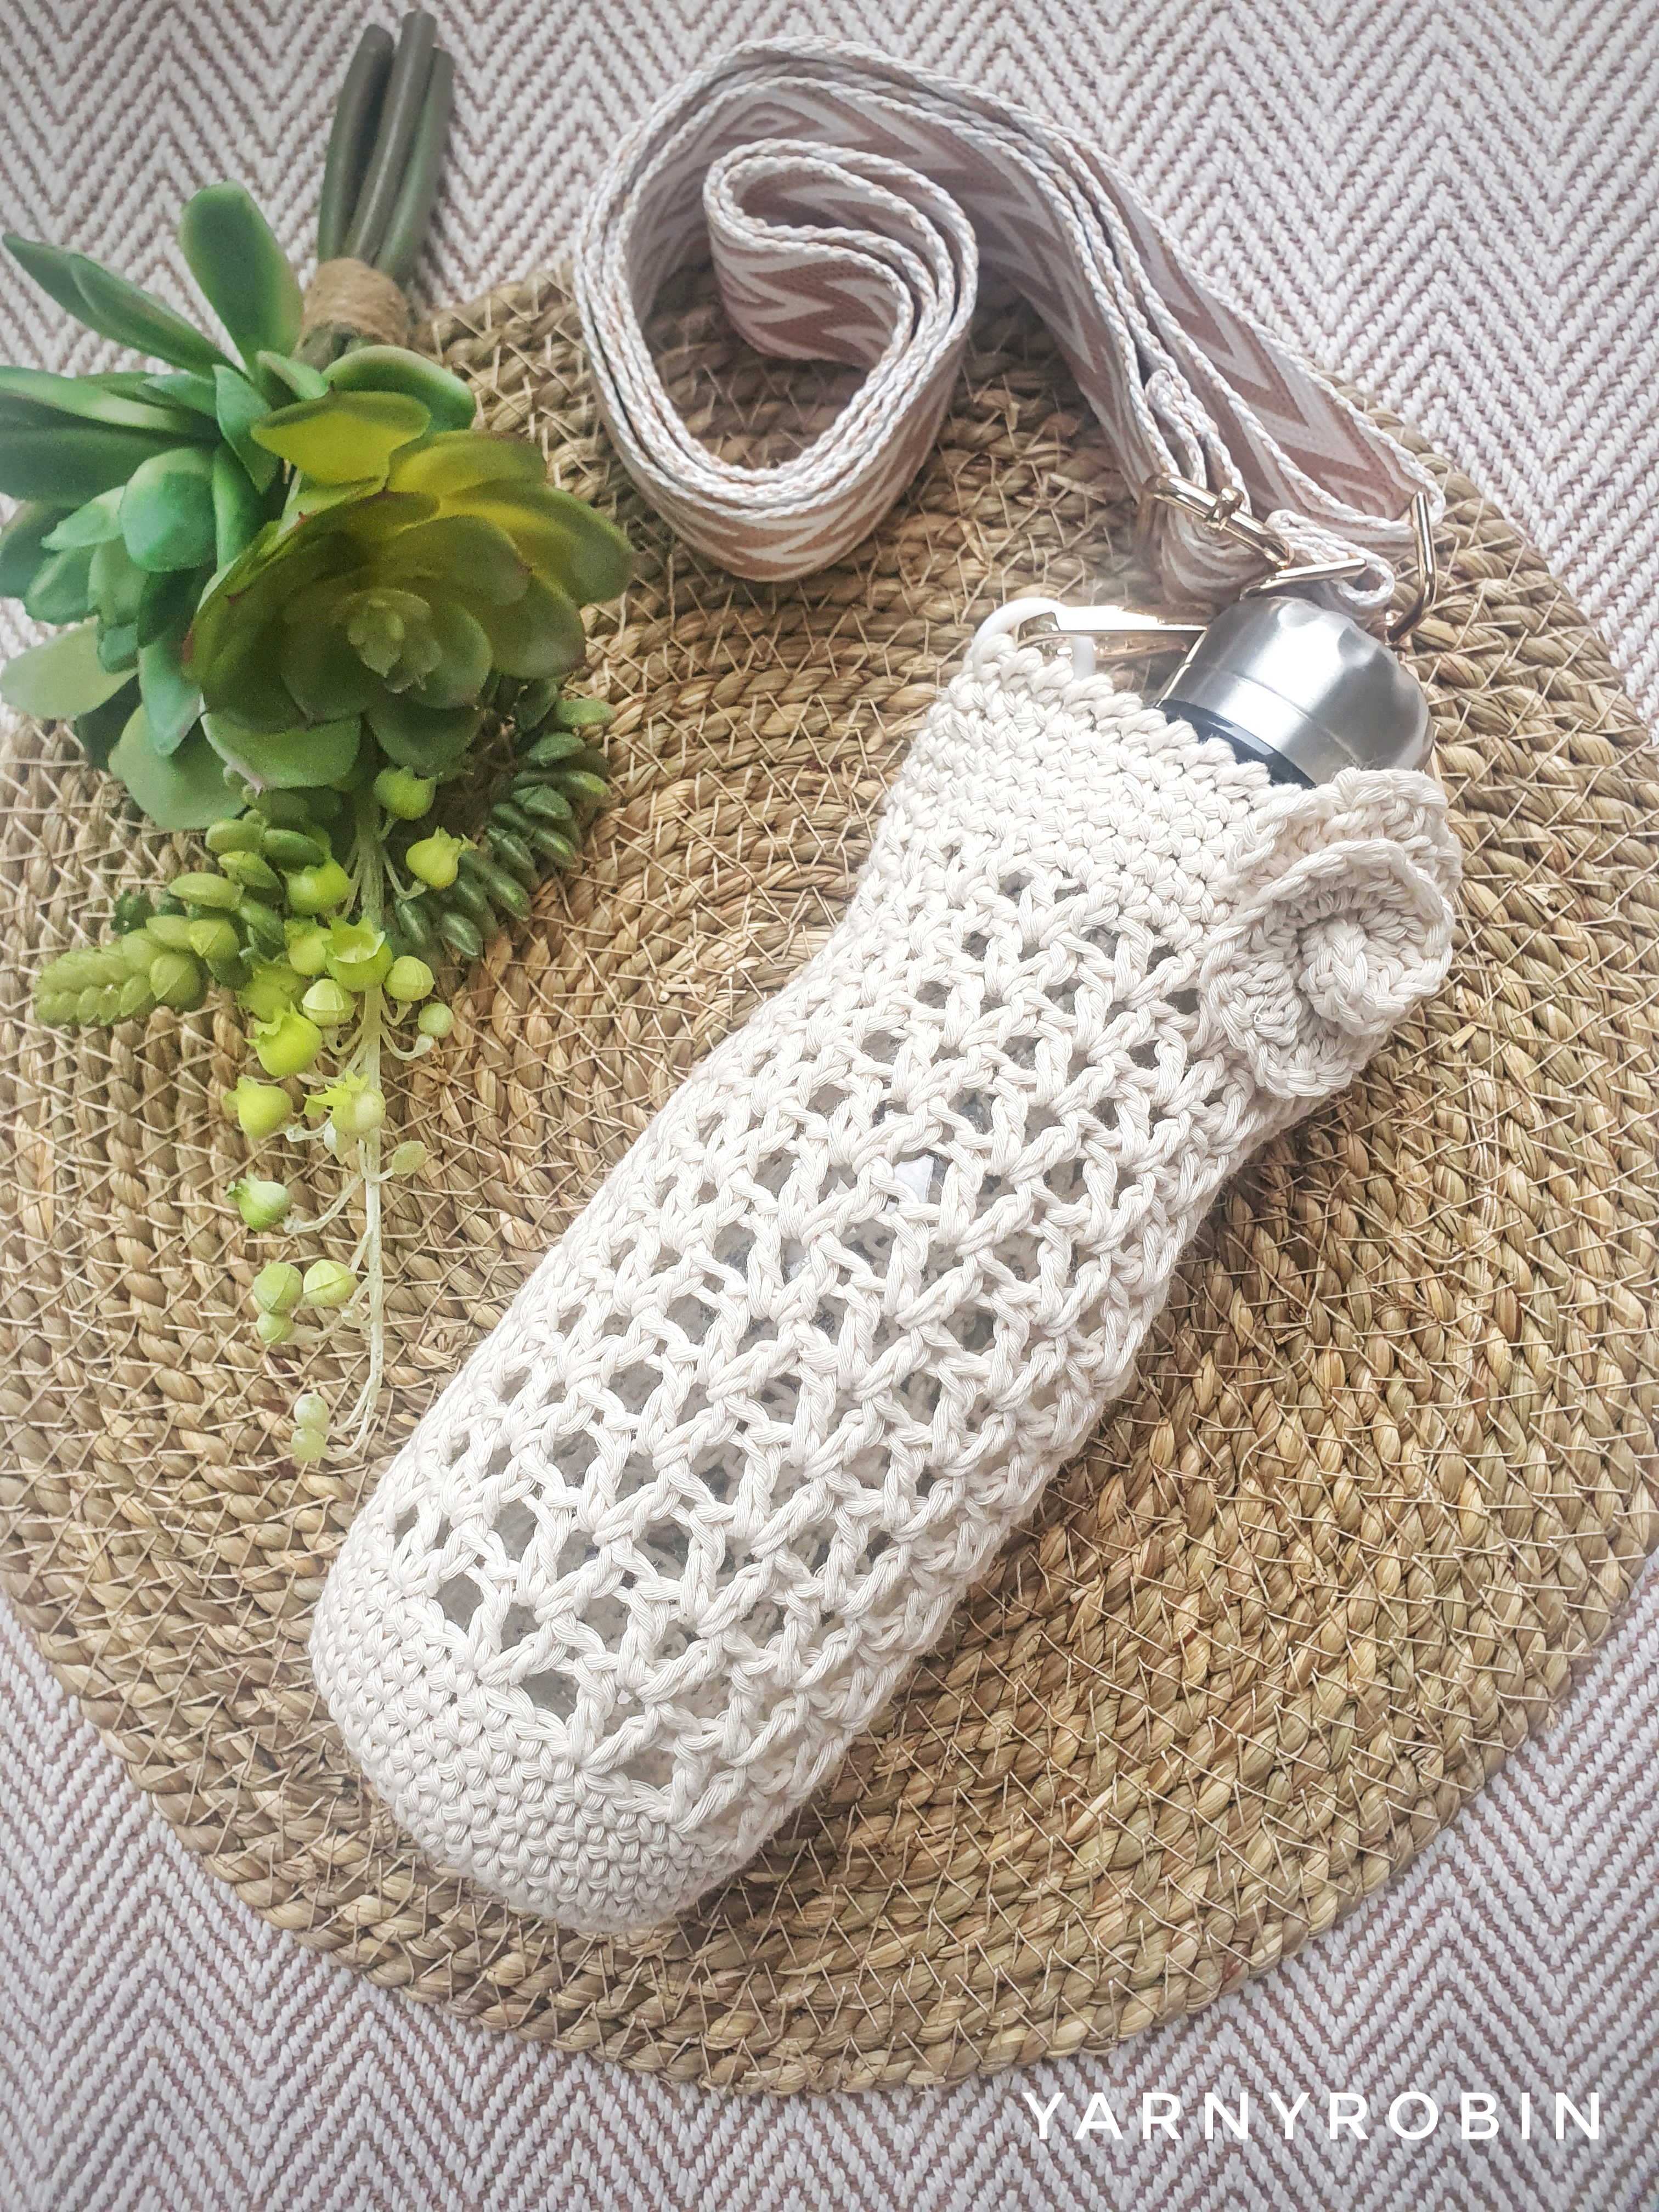
Heavy winter accessories tend to slow down in spring, but light, one-size wearables continue to sell well.

Popular options include:

Why they work

  • Easy to try on at the stall
  • One-size designs reduce sizing stress

Using Sample Pieces to Take Orders (Without Overloading Your Stock)

Crochet market stall
crochet market stall

One of the smartest ways to prepare for a spring craft market is to use sample pieces and take orders, rather than trying to pre-make every size or colour.

Instead of filling your table with multiples, you can display:

  • One finished sample
  • Clear colour options (small swatches or photos)
  • A sign stating that the item is made to order

This approach works especially well for:

  • Baby blankets
  • Cardigans or jumpers
  • Larger plushies
  • Home décor items in custom colours

Take payment at the time of order

Taking full payment when the order is placed keeps things clear and professional for both you and the customer. It confirms commitment, avoids awkward follow-ups, and ensures you’re not left out of pocket for yarn or time.

Be clear about:

  • What the customer is ordering
  • Their chosen colour or variation
  • Your estimated turnaround time

Get you FREE Market Prep Mini Pack below and stay professional and organised on the day

Screenshot

Decide how orders will be delivered

Before the market, decide how you’ll deliver finished orders and make this clear at the point of sale.

Common options include:

  • Postal delivery (build postage into the price or charge separately)
  • Local collection if appropriate

If offering local collection, always put personal safety first.
Choose public, well-lit locations, bring someone with you where possible, and never feel pressured to share private details. It’s absolutely fine to limit collections or offer postal delivery only.

A simple sign such as “Sample shown — available to order in your chosen colour” reassures shoppers. It opens the conversation naturally.

Pricing Crochet Fairly at Spring Craft Markets

Crochet takes time, skill, and physical effort — and it deserves to be priced accordingly.

While it can be tempting to lower prices to “compete,” consistently under-pricing handmade work benefits no one. Fair pricing protects your time, your body, and the long-term sustainability of your craft.

Rather than focusing on being cheap, focus on being well-made, intentional, and clearly valued.

A more realistic pricing framework (UK)

These are starting points, not limits — and your prices should always reflect your materials, time, and experience.

  • Small crochet items (hair accessories, keyrings):
    £6–£10
  • Bundled gift sets (2–3 coordinated items):
    £12–£25
  • Baby items & thoughtful gifts (bibs, bonnets, loveys):
    £15–£35
  • Home décor & accessories (plant hangers, coasters, baskets):
    £18–£40
  • Wearables & made-to-order pieces:
    £25–£60+

If those numbers feel uncomfortable at first, that’s often a sign we’ve been conditioned to underprice. It doesn’t mean they’re unreasonable.

Why higher pricing often works better

Shoppers at craft markets expect to pay more for handmade

Fewer sales at a fair price can be better than many sales at burnout prices

Clear pricing signals confidence and professionalism

Your work stands out as considered, not rushed

A Gentle but Important Word on Pricing & Experience

If you’re a newer crocheter, it’s completely normal for your work to still be finding its rhythm. Your tension may be uneven. Amigurumi stitches might be a little holey. Or, baskets may not yet hold their shape as intended. We’ve all been there.

That doesn’t mean you shouldn’t sell your work. However, it does mean pricing realistically. Set prices that are appropriate for your current skill level.

Pricing beginner-level pieces at the same price as highly refined, professional-quality crochet can lead to disappointment. Customers may feel let down, and you could experience frustration. Craft market shoppers may not have the technical language for what they’re noticing. However, they can usually sense differences in finish. They can also detect variations in structure and polish.

Being realistic protects everyone involved.

If you’re just starting out:

  • Price accessibly while you build confidence and consistency
  • Choose simpler designs that showcase neatness rather than complexity
  • Treat markets as valuable experience, not just income

As your skills grow — and they will — your pricing should grow with you.

Equally important:
Don’t let being a beginner stop you from taking part.
Selling your work, receiving feedback, and building confidence are all part of becoming a skilled maker. Every experienced crocheter started exactly where you are now. The goal isn’t perfection — it’s progress, honesty, and pride in what you’re offering.

Help customers understand the value (without over-explaining)

Simple cues make a big difference:

  • “Handmade using natural fibres”
  • “Designed and crocheted locally”
  • “Made slowly and with care”

These statements quietly reinforce value without apology.

Important reminder:
You are not pricing for everyone. You are pricing for the customer who values handmade, thoughtful work — and those customers do exist.

Stocking Tips for Spring Markets

Stock smarter

  • Focus on variety rather than volume
  • Repeat your top three sellers
  • Use samples to test higher-value items without over-committing

Seasonal pieces, such as Easter makes, are best produced in limited quantities. Having a few special items creates interest. This avoids the risk of leftover stock that’s hard to resell later. A calm, well-curated table almost always outperforms an overcrowded one.

Final Thoughts: Keep It Enjoyable

Spring craft markets should feel exciting, not exhausting.

Choose crochet items that:

  • You enjoy making
  • You can repeat comfortably
  • Fit your time, energy, and schedule

Simple, well-made crochet always finds the right home — especially when it’s made with care.

If you’re preparing for spring markets this year, I hope this guide helps you feel confident, organised, and inspired. If you’re planning spring markets, you might like to save this post on Pinterest. That way, it’s easy to come back to when you’re preparing your stock.

Happy hooking,
Niki

Jubilee Bunting…free crochet pattern

With Her Majesty’s Platinum Jubilee just around the corner I thought I’d share my progress on my Jubilee decorations and share the pattern with you. After all what good is a garden party or afternoon tea without a bit of bunting?

To make the bunting flags please see my previous post just here They are simple to make and the lace trim gives a pretty, vintage vibe. What’s more if you tie your embellishments to the flags rather than sew them on, the bunting can be recycled and dressed up again for the next occasion / holiday season in your calendar…clever eh!

I wanted my Jubilee bunting to be traditional in colour , so of course it had to be red, white and blue, but I wanted it to look pretty and almost understated, so you won’t find any navy or lipstick red here! instead I chose a more muted red tone and coupled it with a mid blue. I also wanted to incorporate the Union Jack and found these gorgeous little buttons, which again are more subtle in tone.

Yarn: Drops Saffran in cherry and denim blue

Buttons: Buttonboxdevon

Pattern Notes

This pattern is written using UK crochet terminology and the stitch abbreviations can be found below. I have included US terminology in brackets if you wish to convert.

Stitch Abbreviations:

Ch- chain / chain (US)                               St – stitch / stitch (US)

Slst – slip stitch / slip stitch (US)              Tr – treble / double crochet (US)

Dc – double crochet / single crochet (US)  

Dc: Insert hook into chain or under both loops of stitch, yarn over and pull through so there are 2 loops on hook, yarn over again and pull through both loops on hook.                  

Tr: Yarn over hook, insert hook into chain or under both loops of stitch, yarn over and pull through so there are 3 loops on hook, yarn over again and pull through 2 loops, yarn over and pull through last 2 loops on hook.

Large Jubilee Rose

In cherry

Leave a long tail, ch 50

Tr in 2nd ch from hook, tr in each ch along, dc in last ch

Ch3, turn

2tr in same space, 3tr in each st a long, dc in last st. Fasten off leaving a long tail

Small Jubilee Rose

In denim blue

Leave a long tail, ch 33

Tr in 2nd ch from hook, tr in each ch along, dc in last ch

Ch3, turn

2tr in same space, 3tr in each st a long, dc in last st. Fasten off leaving a long tail

To assemble

Spiral flower in an anti-clockwise direction with one long tail at the front of the rose and one long tail at the back of the rose. With a darning needle take the front tail through to the back of the rose to secure centre petal. Now make several passes of the needle at back of the rose making sure you catch all the layers of the rose. With other tail, thread darning needle and make several more passes at the back of the rose. Tie tails together in a knot to secure. Attach to bunting by passing both tails with a darning needle through to back of flag and tie neatly so tails tuck neatly behind flag and can be easily removed when you wish to re-dress your bunting. Add buttons to string in between flags with hot glue / glue gun.

If you like this pattern and would like me to continue to share my patterns please give me a clap and follow me on instagram

I would love to see your Jubilee Roses, so please tag me in your makes on social media and I will share your lovely makes.

#jubileerose / @yarnyrobin

Dress Me Up Bunting Free Pattern…

Hey lovely people, I want to share this crochet pattern for a lovely bunting. It is beautiful and understated, with a distinct cottage-core vibe. I’ve called it ‘dress me up bunting’ because you can dress it up for different celebrations. Add-on decorations allow you to re-dress it all over again. Think crochet flowers, faux flowers, ribbons, buttons etc.

I didn’t want to make bunting repeatedly to fit themes and color schemes. I thought I’d make some pretty bunting flags. These flags look great on their own. I can dress them accordingly and temporarily, making them extremely versatile.

I think this bunting looks so pretty and I have had fun trying it out around the nest. I have strung them for now on some hessian garden twine by simply pulling the twine through a few stitches at the back of each flag.

I really wanted to share the pattern with you, so keep reading if you are itching to make your own. The pattern is quick to make and would definitely elevate your home decor or would make a lovely gift for a crafty friend. The pattern is simple and ideal for beginners, using half treble crochet (UK) or half double crochet (US) and some decrease stitches.

I already have plans to dress this bunting for the Queens Platinum Jubilee celebrations which are just a few weeks away now…so watch this space as I am currently hooking some Jubilee roses.

You will need to gather some simple supplies if you want to hook up your own ‘dress me up bunting’.

Want to make this bunting without hunting for supplies? I’ve linked my favourite yarns and tools below that work perfectly for this project.

I used MillaMia Naturally Soft cotton yarn in off white. I made 7 flags from 50g and by keeping short tails.

A 3.5mm hook, scissors and darning needle

I chose a simple white lace with a depth of 4cms. I used 22cms per flag, so just over a 1m 50cms for the 7 flags I made.

I also used a glue gun to attach the lace, but you could also sew this on if you prefer.

You will also need some ribbon or twine to string your flags with.

Don’t forget to tag me with your bunting makes using @yarnyrobin I would love to share your lovely makes!

If you enjoy making handmade home decor like this, you might also love my FREE Crochet Basket Pattern — perfect for refreshing your space.

Stitches Used.

Ch: chain st

st: stitch

Htr: Yarn over before inserting hook into chain or under both loops of stitch, insert hook, yarn over and pull through so there are 3 loops on the hook, yarn over and pull through all 3 loops on hook.

Htr-dec: Yarn over before inserting hook into chain or under both loops of stitch, insert hook, yarn over and pull through so there are 3 loops on the hook, yarn over and pull through 2 loops, yarn over, insert hook into next st, yarn over and pull through so there are 4 loops on your hook, yarn over and pull through all 4 loops on hook.

The pattern is worked in rows and you will need to turn your work at the end of each row. Turning ch1 does not count as a st

Ch 31

R1: htr in 2nd ch from hook, htr in each ch along, ch1 turn (30htr)

R2 – 4: htr in each st along, ch1 turn (30htr)

R5: htr-dec, htr in next 26sts, htr-dec, ch1 turn (28htr)

R6: htr-dec, htr in next 24sts, htr-dec, ch1 turn (26htr)

R7: htr-dec, htr in next 22sts, htr-dec, ch1 turn (24htr)

R8: htr-dec, htr in next 20sts, htr-dec, ch1 turn (22htr)

R9: htr-dec, htr in next 18sts, htr-dec, ch1 turn (20htr)

R10: htr-dec, htr in next 16sts, htr-dec, ch1 turn (18htr)

R11: htr-dec, htr in next 14sts, htr-dec, ch1 turn (16htr)

R12: htr-dec, htr in next 12sts, htr-dec, ch1 turn (14htr)

R13: htr-dec, htr in next 10sts, htr-dec, ch1 turn (12htr)

R14: htr-dec, htr in next 8sts, htr-dec, ch1 turn (10htr)

R15: htr-dec, htr in next 6sts, htr-dec, ch1 turn (8htr)

R16: htr-dec, htr in next 4sts, htr-dec, ch1 turn (6htr)

R17: htr-dec, htr in next 2sts, htr-dec, ch1 turn (4htr)

R18: htr-dec, htr-dec, ch1 turn (2htr)

R19: htr-dec, (1htr) fasten off and weave in ends.

Use glue gun to attach lace across the top of the flag, making sure to secure a small overlap of lace at the back of the flag to give a neat edge. Alternatively, you could sew the lace in place with a needle and thread.

Make as many flags as you desire and simply string with ribbon or twine by hooking it through a few stitches at the back of the flag, behind the lace.

To make the flags hang nicely I hooked the twine through at 3 points on each flag, on the left, the right and in the centre.

You can now dress your bunting up with whatever you choose. In order to dress this bunting up and down attach any accessories so that they can easily be removed, that way your bunting can be dressed and re-dressed to your hearts content.

Final Thought

If you have enjoyed this pattern you can help support what I do by

• leave me a like or a comment below

• Pin the image below for later on your Pinterest board

• tag me in your makes using @ayarnyrobin

• Join me here and hit follow so you don’t miss new free patterns and all the crochet goodness I share along the way.