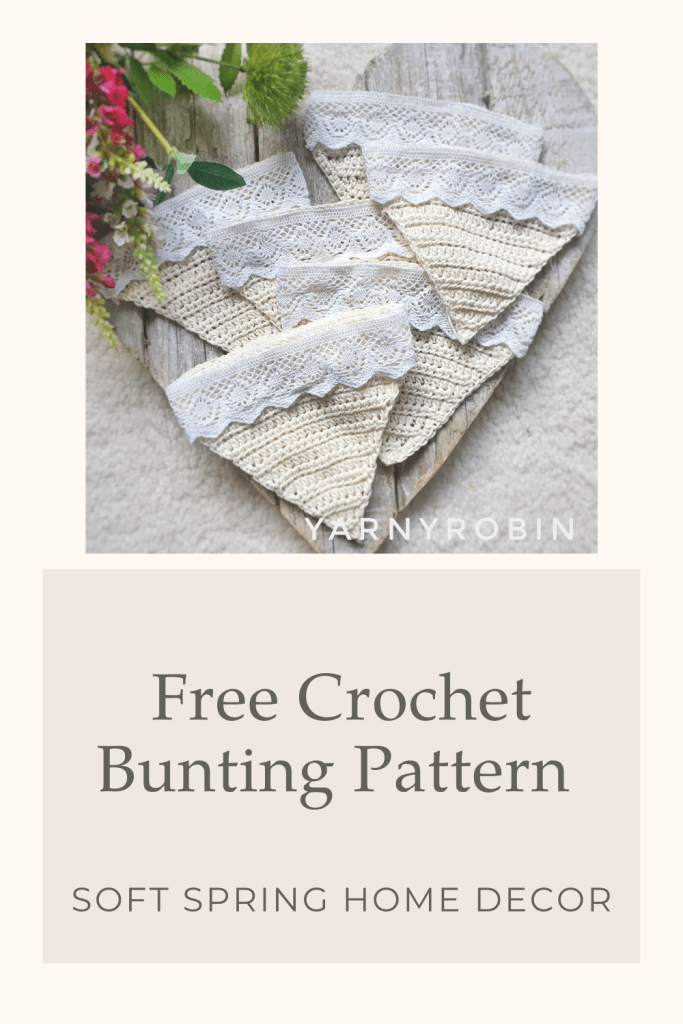
With Her Majesty’s Platinum Jubilee just around the corner I thought I’d share my progress on my Jubilee decorations and share the pattern with you. After all what good is a garden party or afternoon tea without a bit of bunting?

To make the bunting flags please see my previous post just here They are simple to make and the lace trim gives a pretty, vintage vibe. What’s more if you tie your embellishments to the flags rather than sew them on, the bunting can be recycled and dressed up again for the next occasion / holiday season in your calendar…clever eh!
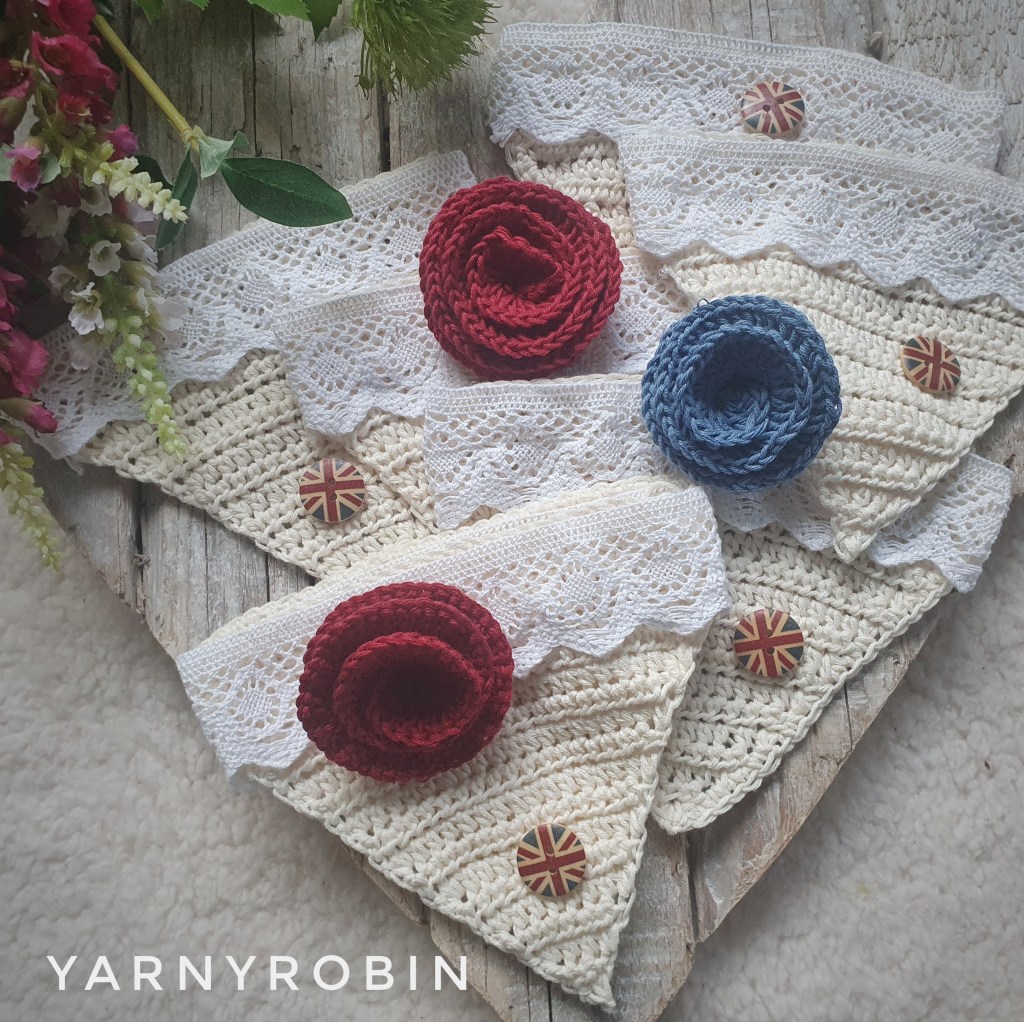
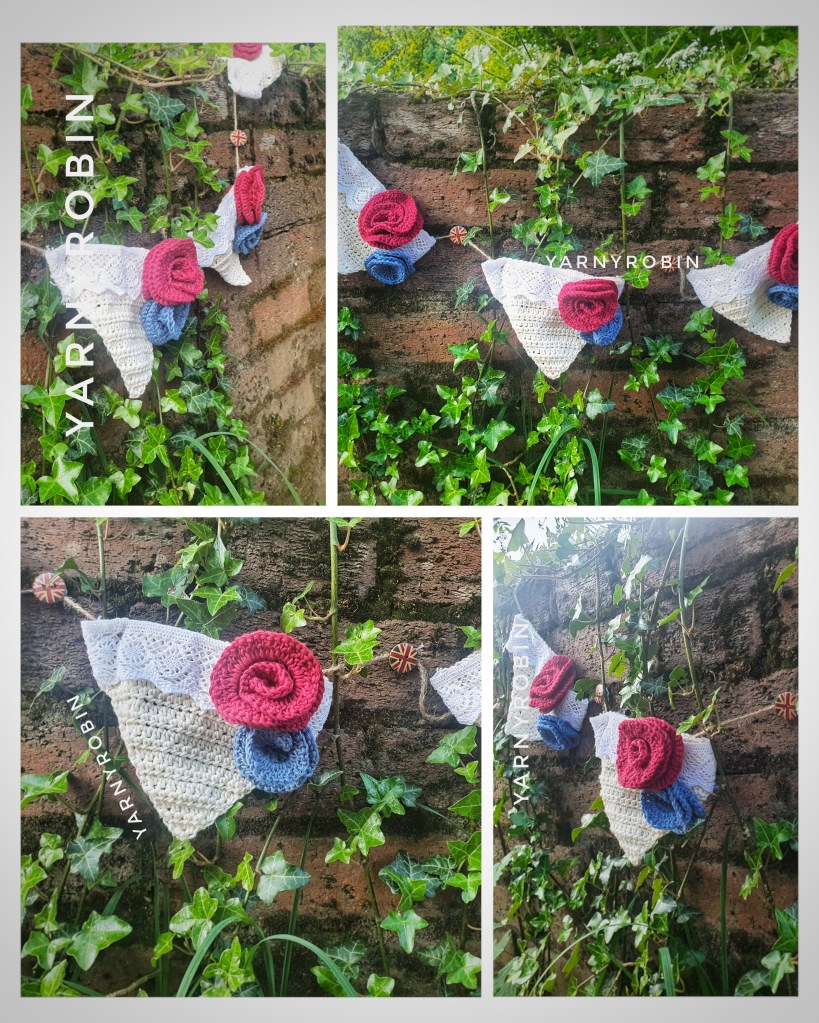
I wanted my Jubilee bunting to be traditional in colour , so of course it had to be red, white and blue, but I wanted it to look pretty and almost understated, so you won’t find any navy or lipstick red here! instead I chose a more muted red tone and coupled it with a mid blue. I also wanted to incorporate the Union Jack and found these gorgeous little buttons, which again are more subtle in tone.
Yarn: Drops Saffran in cherry and denim blue
Buttons: Buttonboxdevon
Pattern Notes
This pattern is written using UK crochet terminology and the stitch abbreviations can be found below. I have included US terminology in brackets if you wish to convert.
Stitch Abbreviations:
Ch- chain / chain (US) St – stitch / stitch (US)
Slst – slip stitch / slip stitch (US) Tr – treble / double crochet (US)
Dc – double crochet / single crochet (US)
Dc: Insert hook into chain or under both loops of stitch, yarn over and pull through so there are 2 loops on hook, yarn over again and pull through both loops on hook.
Tr: Yarn over hook, insert hook into chain or under both loops of stitch, yarn over and pull through so there are 3 loops on hook, yarn over again and pull through 2 loops, yarn over and pull through last 2 loops on hook.

Large Jubilee Rose
In cherry
Leave a long tail, ch 50
Tr in 2nd ch from hook, tr in each ch along, dc in last ch
Ch3, turn
2tr in same space, 3tr in each st a long, dc in last st. Fasten off leaving a long tail
Small Jubilee Rose
In denim blue
Leave a long tail, ch 33
Tr in 2nd ch from hook, tr in each ch along, dc in last ch
Ch3, turn
2tr in same space, 3tr in each st a long, dc in last st. Fasten off leaving a long tail

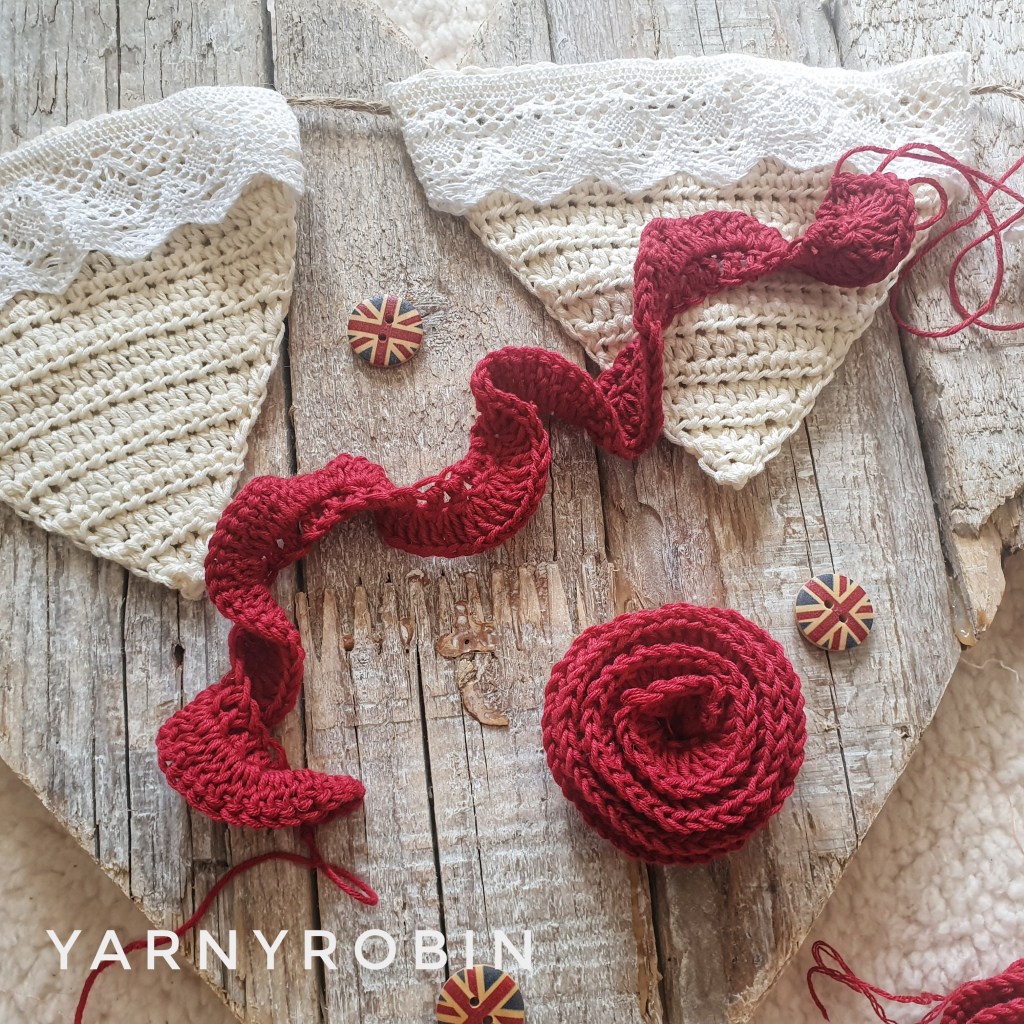
To assemble
Spiral flower in an anti-clockwise direction with one long tail at the front of the rose and one long tail at the back of the rose. With a darning needle take the front tail through to the back of the rose to secure centre petal. Now make several passes of the needle at back of the rose making sure you catch all the layers of the rose. With other tail, thread darning needle and make several more passes at the back of the rose. Tie tails together in a knot to secure. Attach to bunting by passing both tails with a darning needle through to back of flag and tie neatly so tails tuck neatly behind flag and can be easily removed when you wish to re-dress your bunting. Add buttons to string in between flags with hot glue / glue gun.
If you like this pattern and would like me to continue to share my patterns please give me a clap and follow me on instagram
I would love to see your Jubilee Roses, so please tag me in your makes on social media and I will share your lovely makes.
#jubileerose / @yarnyrobin