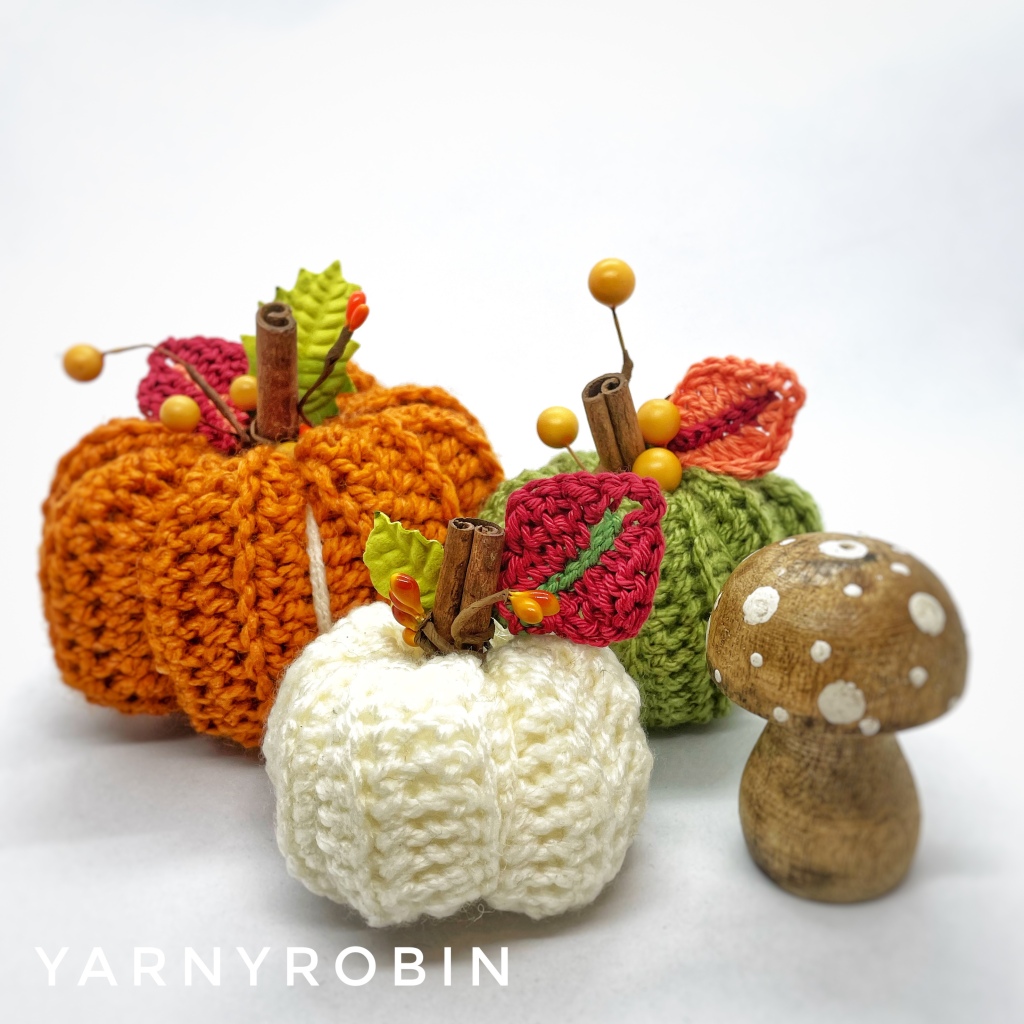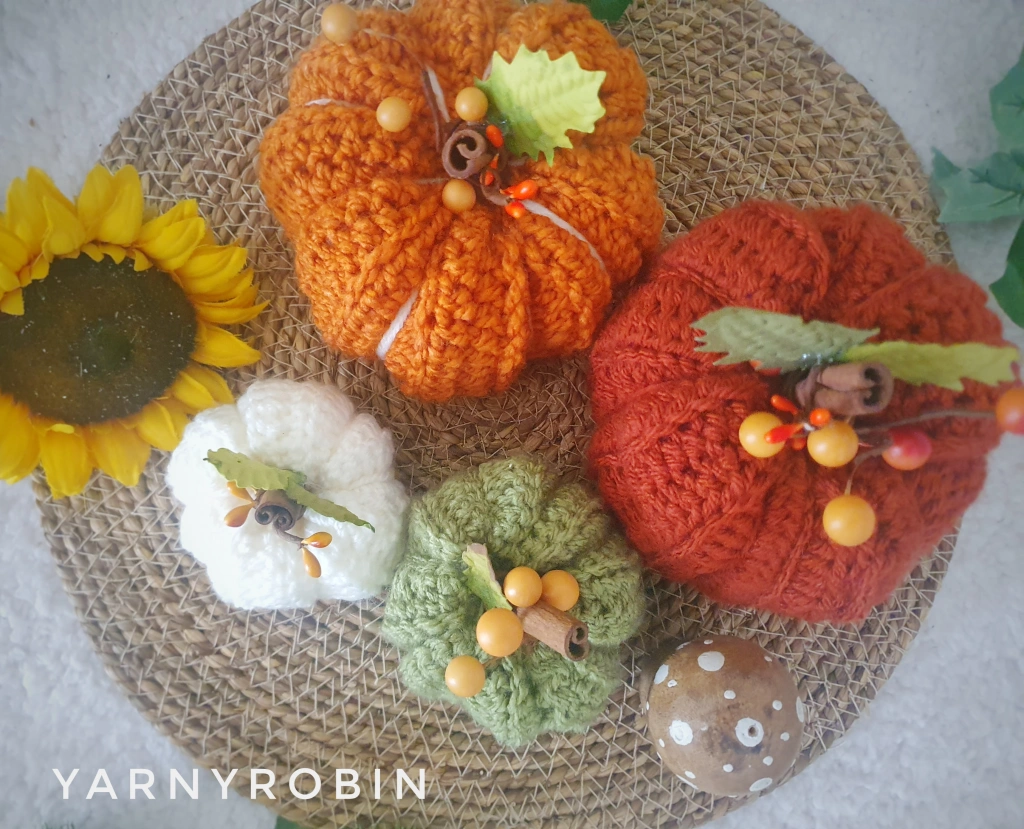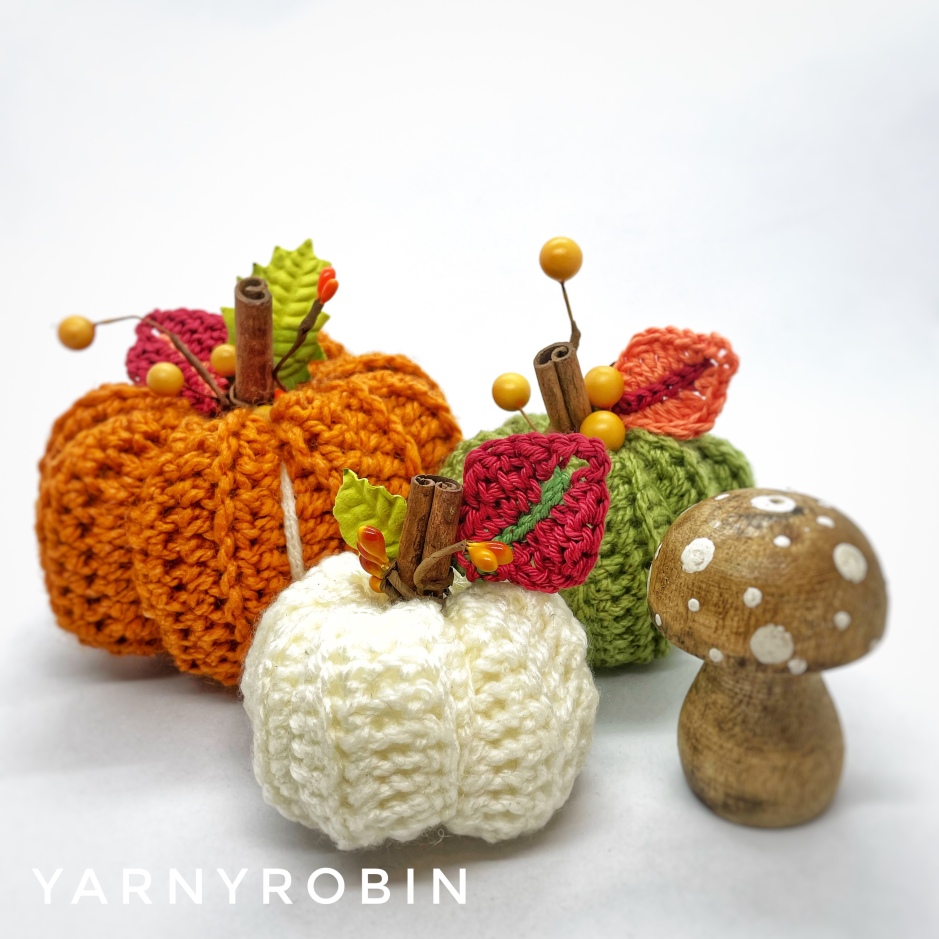
It’s my favourite time of the year and to celebrate I’m sharing my crochet pattern for my Twiddly Pumpkins. I just love the Autumn, when the nights draw in and home becomes my sanctuary. There is nothing like drawing the curtains, lighting the candles and settling down in your comfies to watch some good television and crochet the evening away. I love the crisp, cold but sunny mornings and the chill in the air that creeps in, the deeper into Autumn we travel. The renewal of the hot chocolate station in the kitchen and of course lots of lovely celebrations…Harvest, Bonfire night and Christmas. There is just so much sparkle to Autumn…It really is my happy place.

Home decoration really takes on a new meaning in Autumn and can be ramped up without being over the top. These twiddly pumpkins are a cute way to decorate your space and welcome Autumn into you home. Why not adorn your fireside mantle or create a centre table display.
They are a great stash buster and are quick to make. Which makes them ideal to gift or sell as they will cost you pennies to make! You can make them from any weight yarn in varying sizes and the pattern can easily be adapted in terms of size and stitch.
Why not join us at The Nest and get a monthly newsletter straight to your inbox, full of crochet goodness, early access to free patterns and exclusive discount codes.

You will need to gather some supplies before you start. I recommend having a hunt through your stash to see what you’ve forgotten about and start there. You will also need a hook suitable for the yarn you have selected.
You will also need a pair of scissors, a darning needle, some polyester toy filling (fire safety satndard / EN71), some cinnamon sticks, a hot glue gun and some twiddly bits!

Twiddly bits are anything that you wish to decorate your pumpkin with. I used artificial leaves and berries, but you could use twine, ribbon or what ever else you fancy. Be creative and use what you already have. The cinnamon sticks make whimsical pumpkin stalks and they smell delicious too! Alternative stalks can be made from twigs from the garden to create a more rustic vibe.

This pattern is written using UK crochet terminology and the stitch abbreviations can be found below.
Prefer a PDF copy? Get your ad-free printable download just here
Gauge is not important for this project. You will find instructions for a small, medium and large pumpkin.
This pattern can easily be adapted to make smaller or larger pumpkins by adding or decreasing the number of chains in the starting chain. You can even change the stitch for a different textured pumpkin
Stitch Abbreviations:
Ch- chain
St – stitch
Slst – slip stitch
Dc – double crochet
Htr – half treble
BLO – back loop only
Dc: Insert hook into chain or under both loops of stitch, yarn over and pull through so there are 2 loops on hook, yarn over again and pull through both loops on hook.
Htr: Yarn over before inserting hook into chain or under both loops of stitch, insert hook, yarn over and pull through so there are 3 loops on the hook, yarn over and pull through all 3 loops on hook.
BLO: Work stitch as stated, but in back loop of stitch only.
working in blo tutorial
click the link above for a short video of working in the back loop
Small Pumpkin
Leave long tail, Ch17
Row 1: dc into 2nd ch from hook and each st along, turn (16dc)
Row 2 -19: in BLO, ch1, htr in next st and in each st along, turn (16htr)
Row 20: Ch1, dc in next st, and each st along (16dc) Fasten off leaving a long tail
Medium Pumpkin
Leave long tail, Ch22
Row 1: dc into 2nd ch from hook and each st along, turn (21dc)
Row 2 -24: in BLO, ch1, htr in next st and in each st along, turn (21htr)
Row 25: Ch1,dc in next st, and each st along (21dc) Fasten off leaving a long tail
Large Pumpkin
Leave long tail, Ch27
Row 1: dc into 2nd ch from hook and each st along, turn (26dc)
Row 2 -29: in BLO, ch1, htr in next st and in each st along, turn (26htr)
Row 30: Ch1,dc in next st, and each st along (26dc) Fasten off leaving a long tail
To assemble.
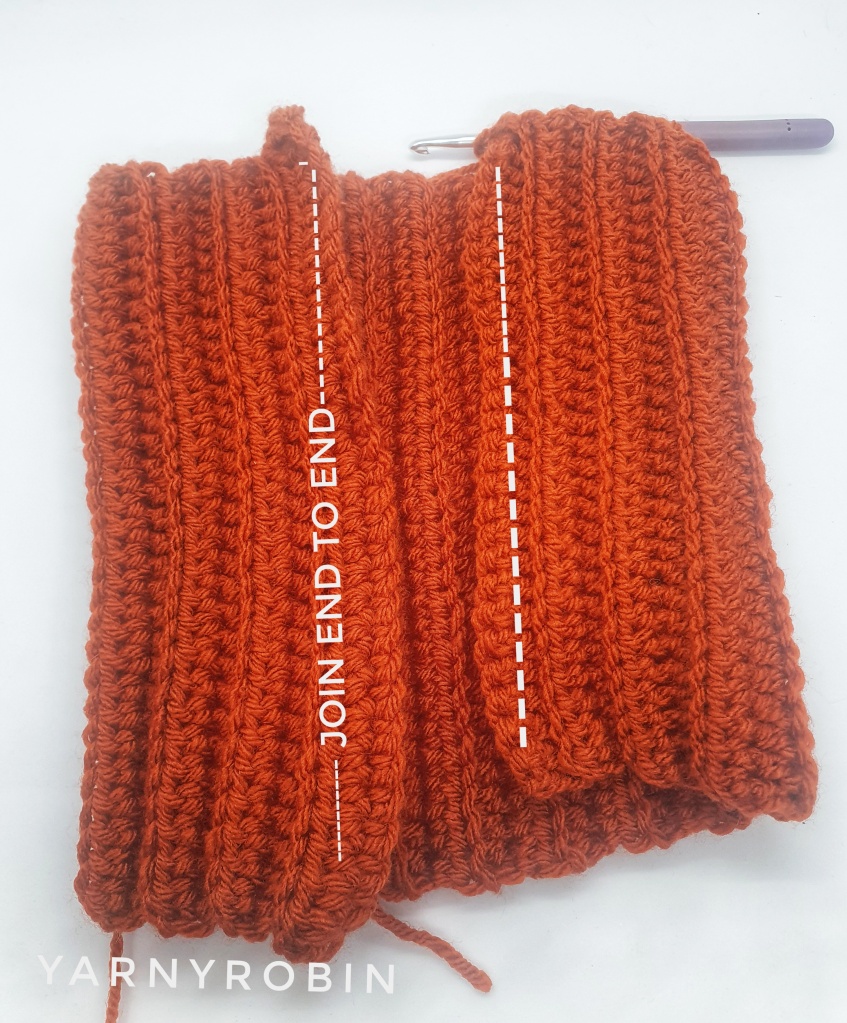
With ribs running vertically fold edges of pumpkin together and sew edges together using a simple running stitch or whip stitch to create a tube.

With darning needle, weave long tail in and out, around bottom of pumpkin (it does not matter which end this is)

Once completed pull long tail tightly to gather pumpkin and sew across middle in a zig zag to close neatly.

Fill pumpkin generously with toy stuffing.

Now with second long tail weave in and out along top edge and pull tight to gather top of pumpkin. Insert cinnamon stick towards the end of this process and pull the tail tightly. Wrap yarn a couple of times around base of cinnamon stick, take needle through the pumpkin and exit centrally at the bottom of pumpkin. Fasten off and weave in any loose ends.
To create the indentations in the side of the pumpkin you will take yarn through the middle of the pumpkin from top to bottom or vice versa. Always insert needle centrally at the top or the bottom of the pumpkin as indicated.
With new yarn, inset needle into bottom of pumpkin, leaving a tail at the bottom of the pumpkin and pull up through the middle of the pumpkin, so that your needle exits the top of the pumpkin, centrally. Take the yarn on the outside of the pumpkin and insert needle into the bottom of the pumpkin, back through the centre of the pumpkin and exit again at the top of the pumpkin and pull tight to create indentation in the side of the pumpkin.

Repeat this process taking the yarn on the opposite side of the 1st indentation to create a second indentation. Repeat around the pumpkin to create equal indentations all around. As a guide, segment the pumpkin into quarters and then in between each quarter.
Weave in any loose ends
Twiddly Bits
Now with a glue gun add your twiddly bits. If you do not have a glue gun consider tying or sewing twiddly bits into position.
When you make this project don’t forget to tag me in your social media as I would love to see your pumpkin creations Tag me using @yarnyrobin using #twiddlypumpkins

- Pin for later on your Pinterest board
- Leave a comment below to let me know what you think of this pattern
- Come say Hi over on Instagram…I would love to see what’s on your hook!


