

I’ve been asked several times to put together a tutorial about how I joined my 100 patch granny square blanket… so here it is…
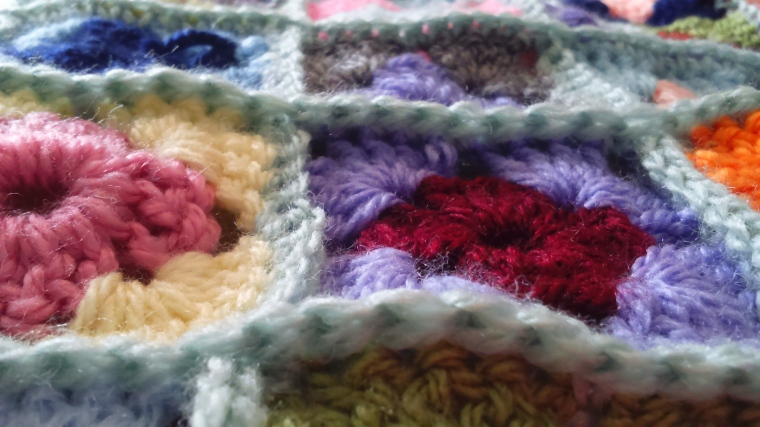
I love joining squares with a double crochet (dc) English terminology that is…single crochet if you use American speak! The reason is that lovely little ridge which just frames each square.
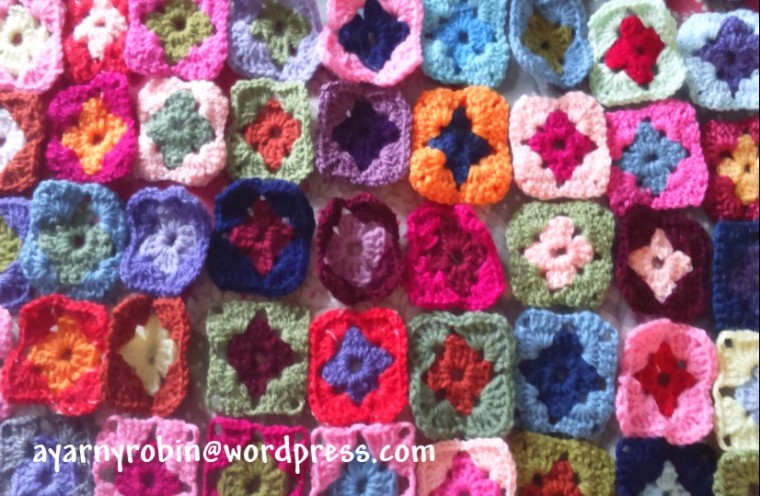
The hard, but fun part is deciding upon the placement of each tiny square, but once you have made your mind up the joining together is quick and easy.
To download the pdf version click here, otherwise full instructions are below:
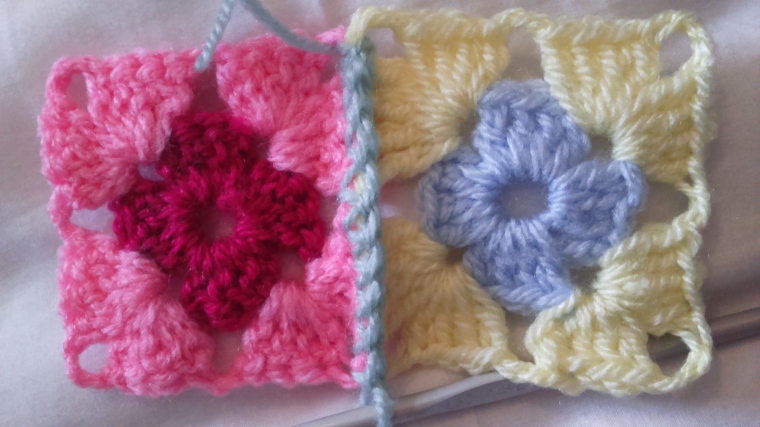
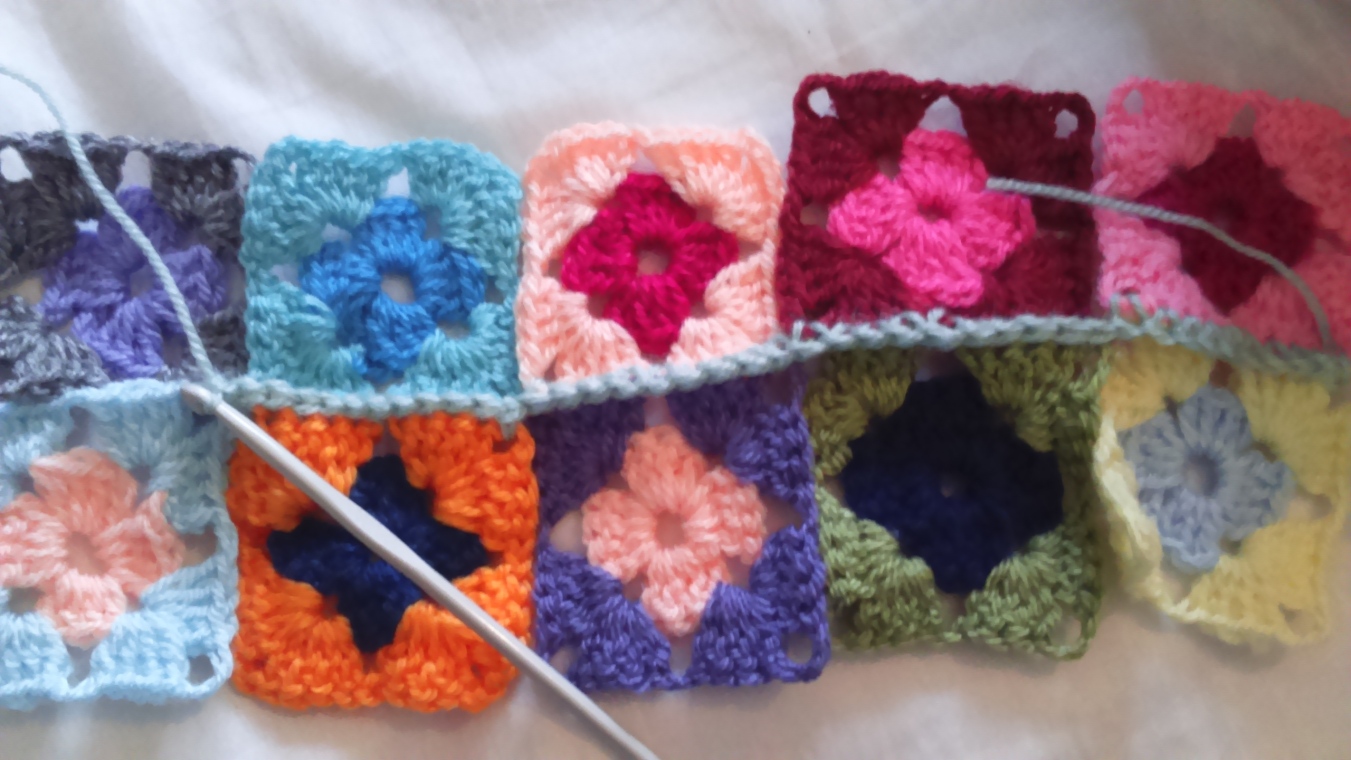
To join two rows take 2 squares, and place them together so that the corners align. The front of squares should be facing outwards….(the back of one square should be facing the back of the other square)
With the joining yarn, pull through a loop. Leave a long tail (for weaving in later!) and for now just hold securely behind your work, until you have made a few stitches.
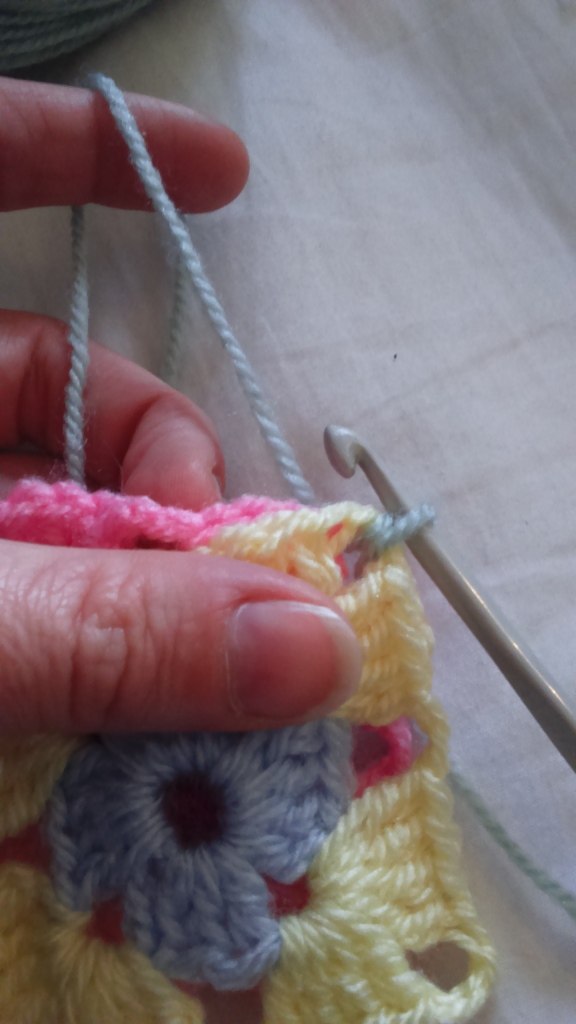
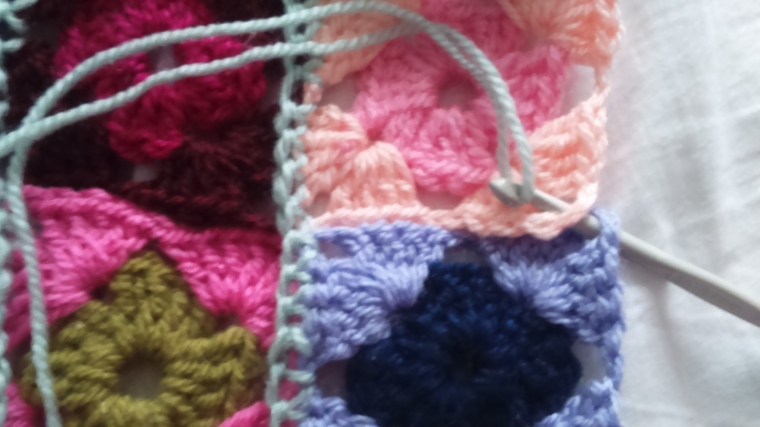
Ch1, then dc in the same space. Taking the hook through both squares, as shown.
taking the hook through both squares stitches; dc in each of the next 4sts, then dc in space,
dc in next 4sts, then dc in space.
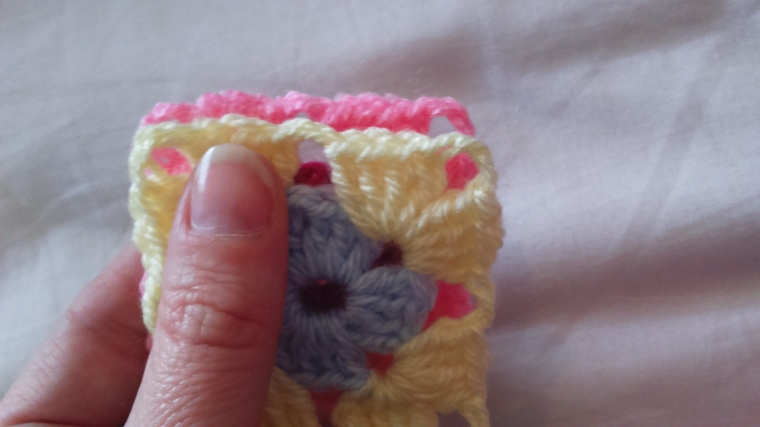
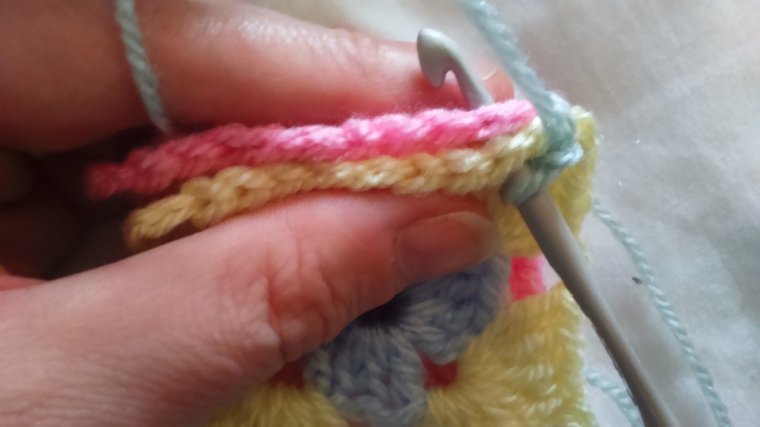
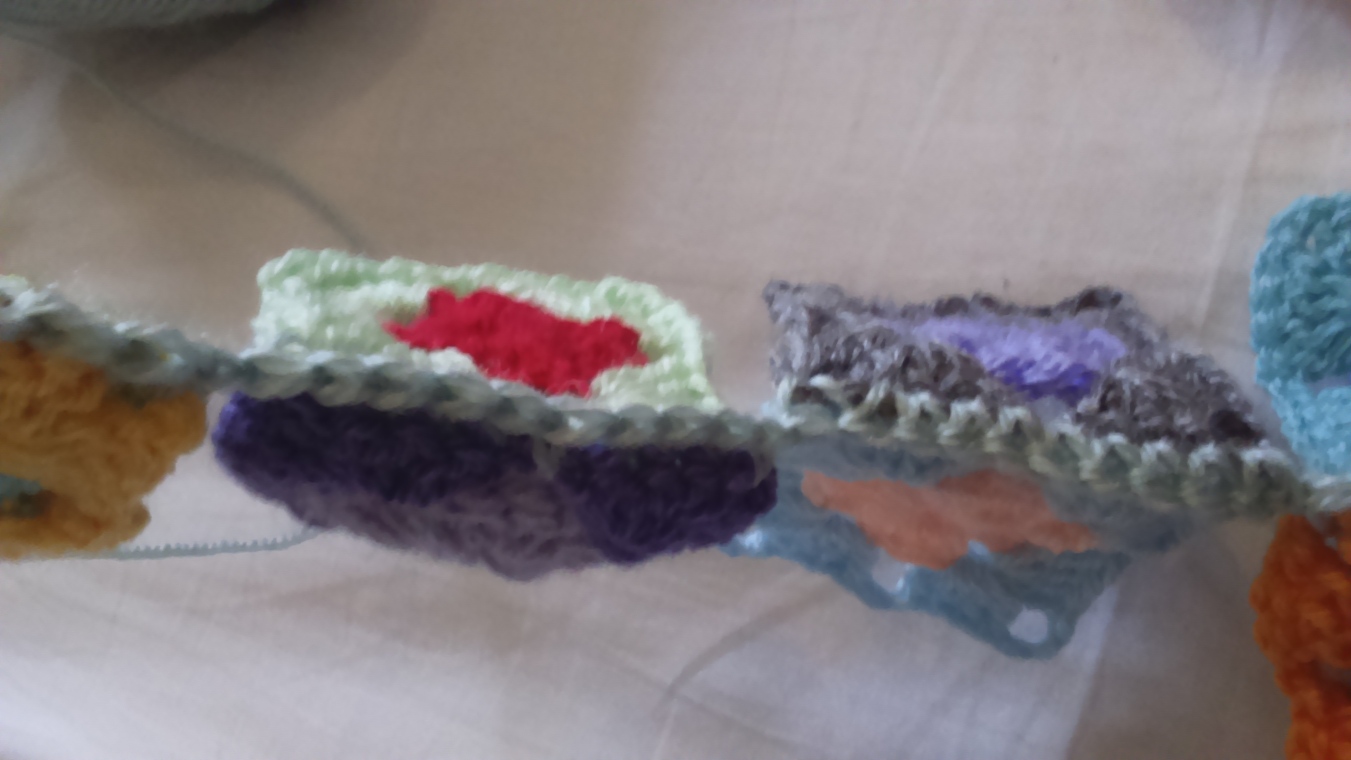
your squares are now joined, but do not fasten off. If you open your squares out you will notice that there is a little ridge along the one side….this is the front side of your work.
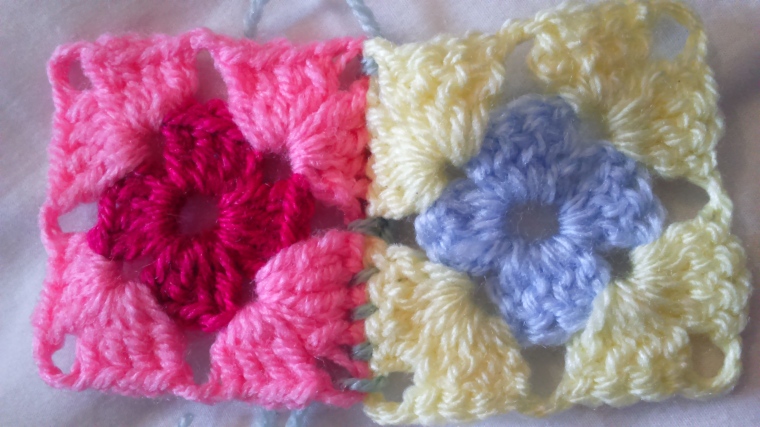
The back of your work will look like this.
Top tip, always note the front and back of your work…it is soul destroying to find out that you have some ridges on the front and some on the back of your work; then spending ages having to unpick all that hard work!!
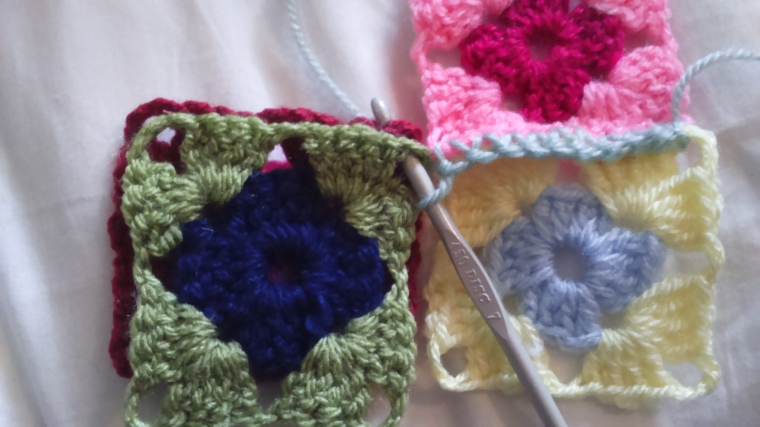
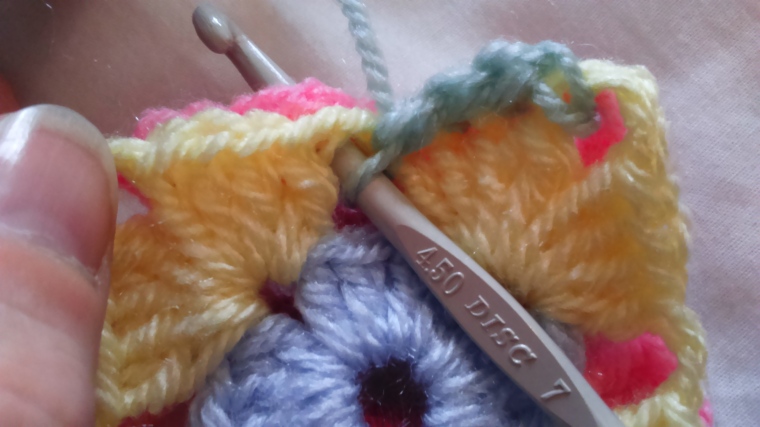
Taking two more squares, align corners as before… front sides facing out, and ridge of previous squares facing up! Dc in corner space, then dc in next 4sts, dc in space, dc in next 4 sts.
Repeat this process until you have joined two rows of squares. Fasten off at the end and leave a long tail again!
For the 100 patch granny blanket there were 10 squares per row.
As you can see, the squares are just joined along one side.
Put to one side and repeat the process x 4 more times, so that you end up with x5 lots of joined double rows.
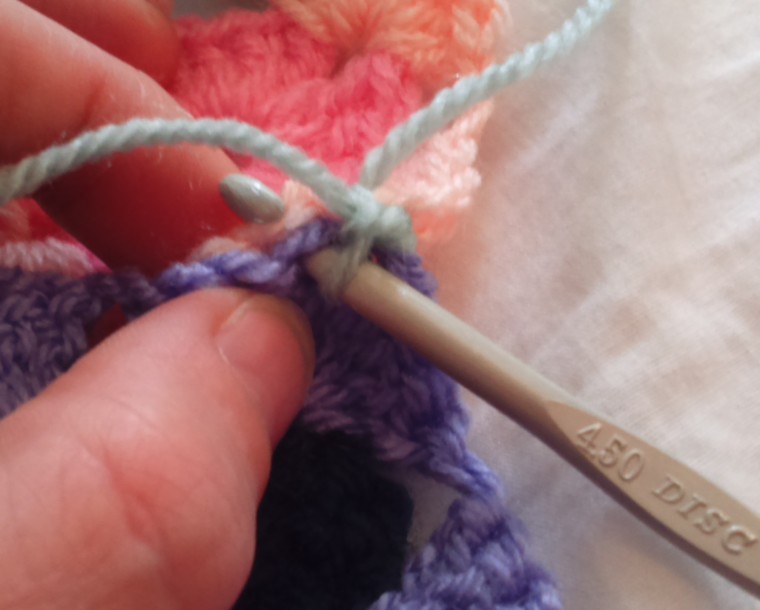
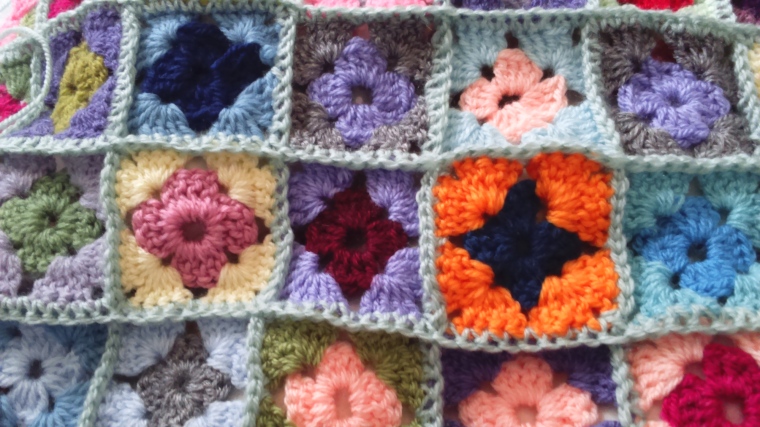
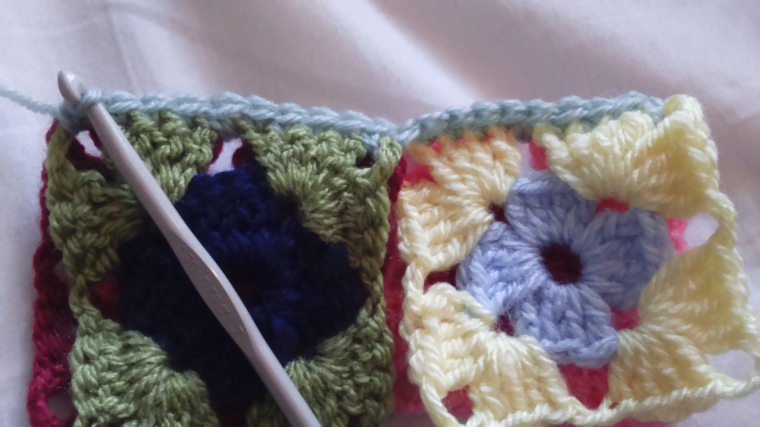
Next lay out the double rows adjacent to each other. The next stage is to join the double rows together horizontally. With right sides facing up (ridge side up), align the squares adjacent to one another.
On the right edge, pull through a loop in the corner space with your joining yarn, ch1, dc in same space. Dc in next 4sts, dc in space, dc in next 4 sts.

Continue along the row, making sure 1dc is placed in each st and in each space. Fasten off as before at the end of the row, remembering to leave a long tail for weaving in purposes. Repeat until all 10 rows are joined horizontally.
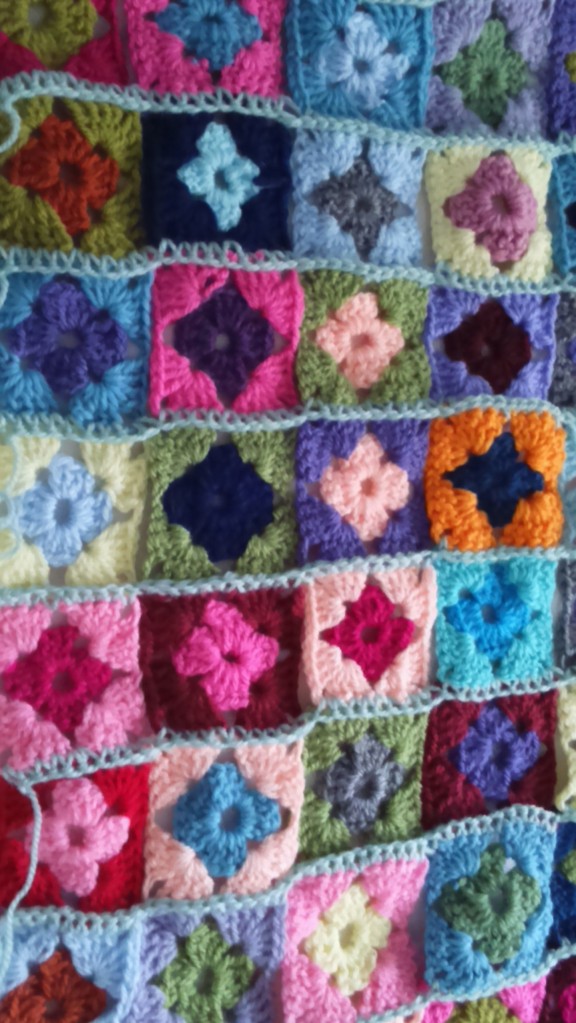
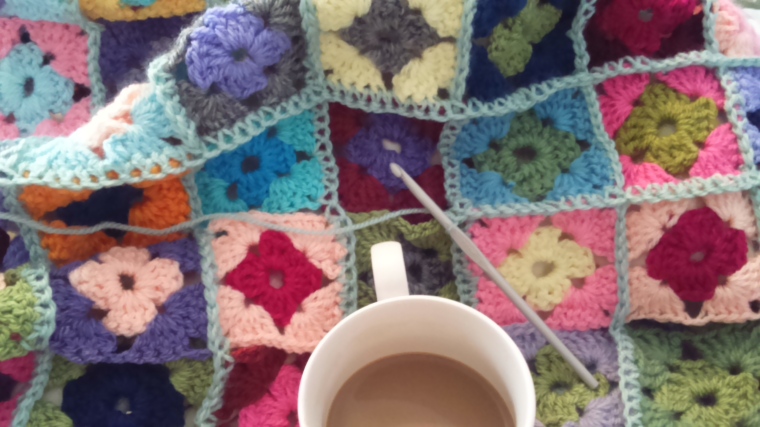
You should now have a 100 squares all joined horizontally.
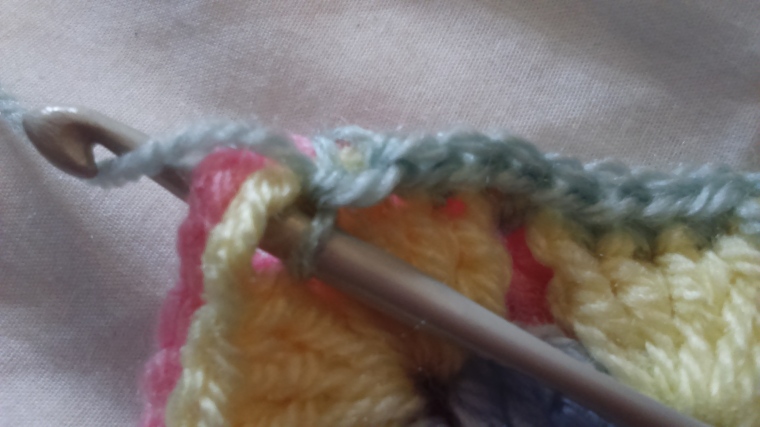
Your next task is to join the squares vertically. I found this easier to do by flipping the work around and hooking the verticals, horizontally…if that makes sense!! As in the picture above… the completed joining ridge you can see is the horizontal join previously completed.

The process is the same… with chosen joining yarn (leaving a long tail, ch1 in edge corner space, dc in same space, 1dc in next 4 sts, dc in space, 1 dc in next 4sts, dc in corner space…as above.
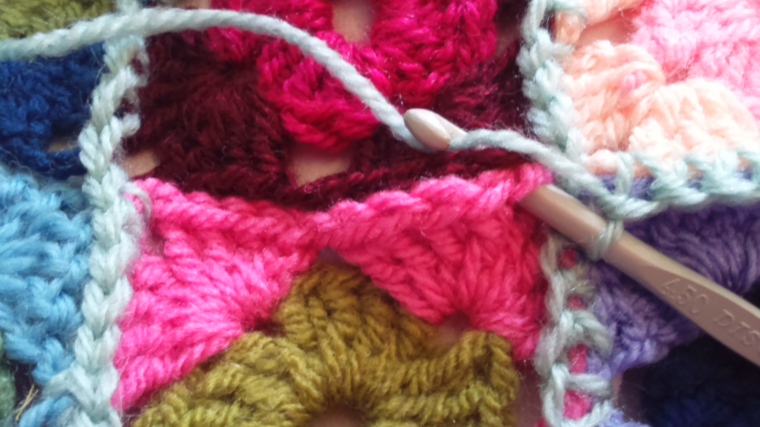
Taking hook over the top of horizontal ridge, dc in next corner space as shown and repeat. Making a dc in each space and in each st along. Making sure to take the hook over any horizontal ridges before placing a dc in the following corner space.
Repeat process for each vertical run.
Then weave in those ends, ready to border.
xxxxx


Very nice tutorial. Making a true, Granny Square blanket is on my list of Need to Try. I want to smoosh each square. I love the pastels and that lavender with that maroon is outstanding.
LikeLike
I love this Dotty. The frame set it off perfectly. I have thousands of tiny squares made, just have never taken the time to put them together. Now I know how to do it, and make it outstanding at the same time. Hopefully will be able to hold my hook again soon, find some help, and put those little squares together for a project started when Moses was a pup.
LikeLike
Wonderful tutorial!
LikeLike
Great tutorial! Thank you!
LikeLike
Great, thanks for sharing x
LikeLiked by 1 person
Gorgeous blanket – thanks for the tutorial 👍🏻
LikeLike
Vey easy and precise instruction. Love the tutorial.
LikeLike
Thank you for your feedback…It’s always reassuring to know that what I write makes sense xx
LikeLiked by 1 person
This is the first non-video crochet tutorial I have understood, and it has explained my double/single crochet confusion (I learnt from american you tube tutorials!) xx
p.s your blog is my ‘distraction of the day’
LikeLike
hehehehe…get back to your assignments…..xx
LikeLiked by 1 person
Please let me know where you got your design. Thanks a lot
LikeLike